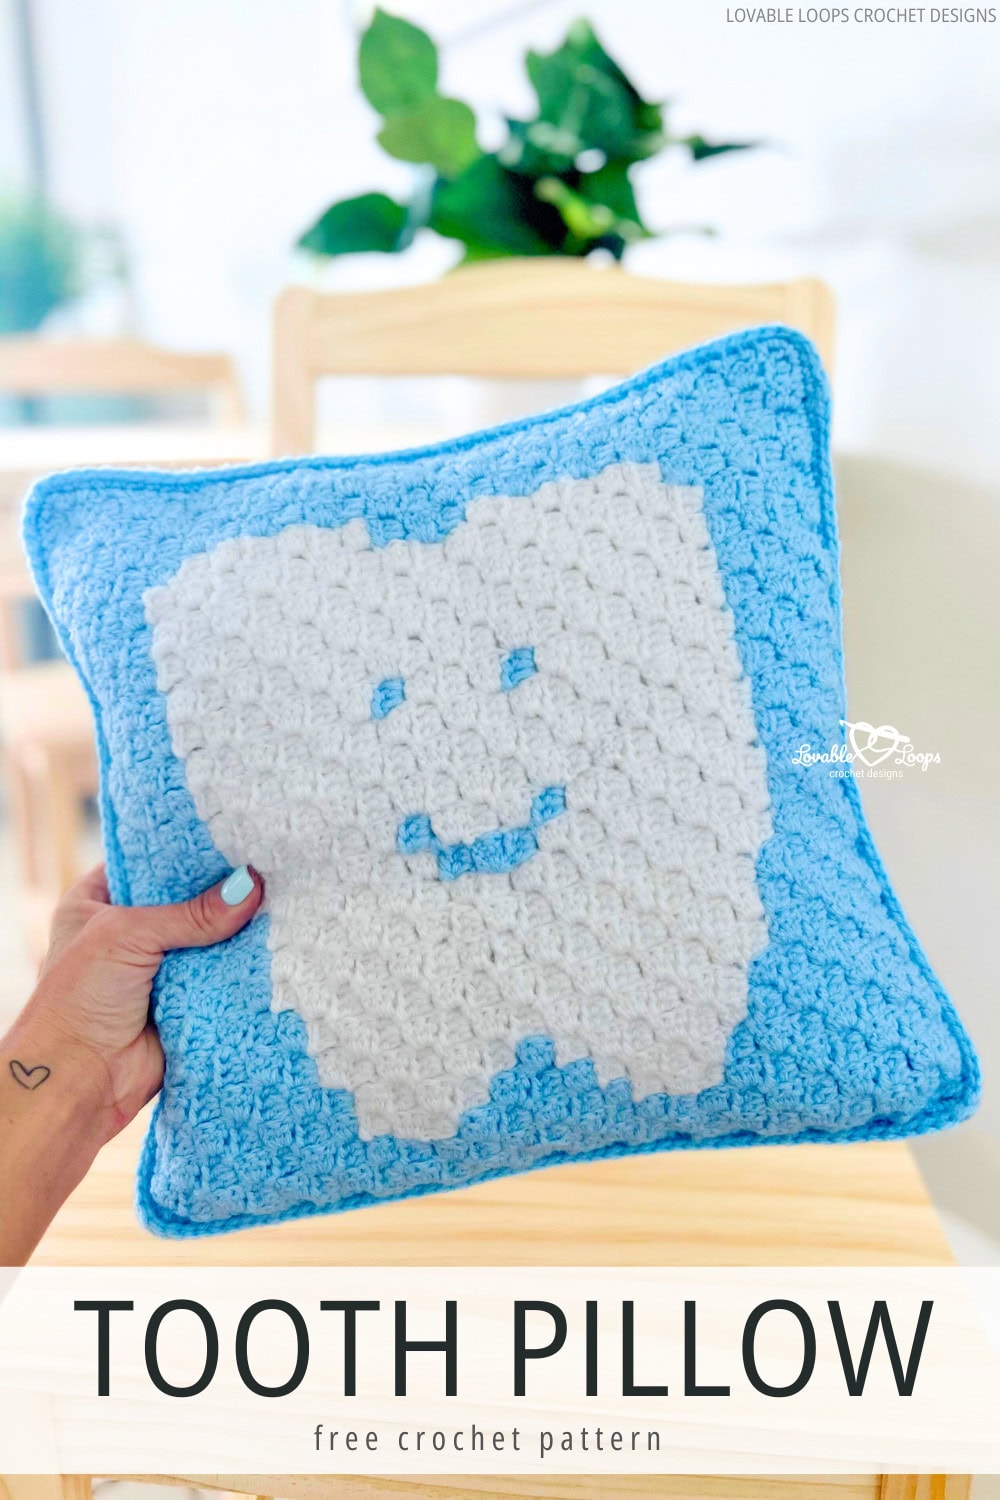
Tooth fairy pillow crochet pattern
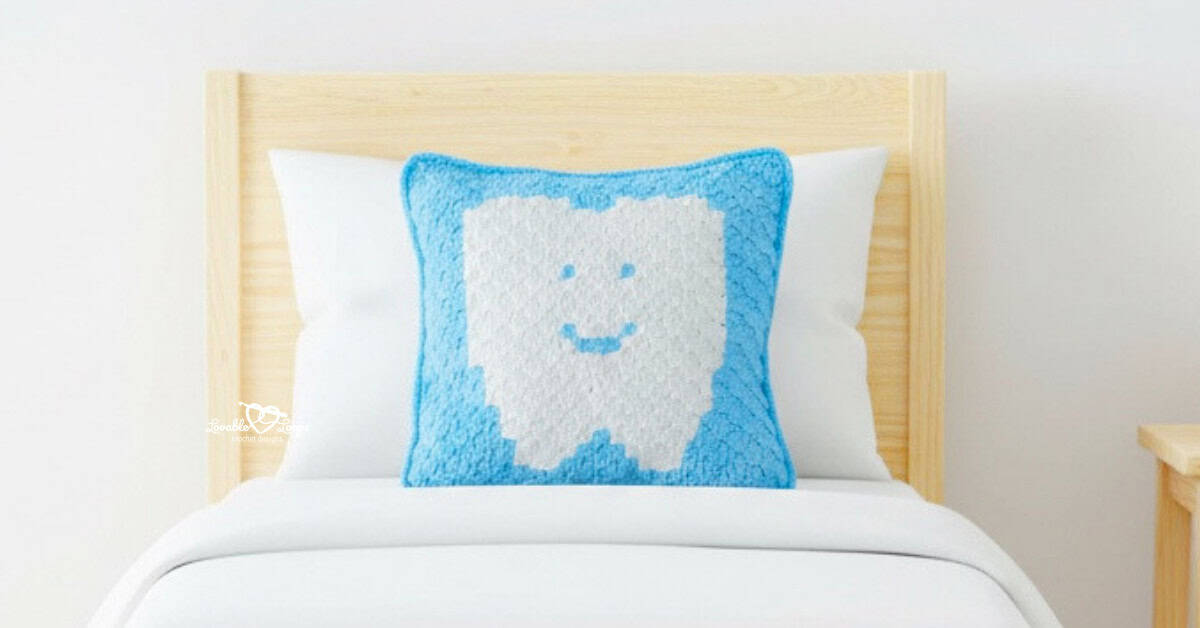
Make losing a tooth extra magical with this adorable C2C Tooth Fairy Pillow crochet pattern! This fun and free design is perfect for kids—and for parents looking to create a sweet keepsake. Worked in the corner-to-corner technique, the design features a tooth motif that’s both playful and simple. It’s a cute and easy project that brings big smiles!
Whether you’re searching for creative tooth fairy ideas, something fun to make for your child or grandchild, or a cute item to sell at your next crochet craft fair, this free crochet pattern has you covered.

Why you’ll love this tooth fairy pillow pattern
This crochet pattern is fun to make, quick to finish, and super cute for kids! It uses simple stitches and a little bit of colorwork to create a happy tooth design that really pops. The square shape makes it easy to crochet and stuff, even if you’re still learning.
You’ll love how fast this project comes together—and how great it looks when it’s done. It’s easy to customize with a different color background, and it’s a perfect way to use up scrap yarn. If you want to practice color changes or just make something fun and useful, this is the perfect pattern to try!
The tooth fairy pillow tradition: how it all started
Have you ever wondered why kids leave a tooth under their pillow? This magical tradition has been around for a long time! Long ago, people believed baby teeth had special powers. Some kids would toss their teeth on the roof or bury them for good luck.
In the U.S. and other places, the tooth fairy became the main part of the story. To make it easier for the fairy to find the tooth, parents started using small pillows with pockets. These tooth fairy pillows were soft and cute—just the right size to keep a tooth safe overnight.
Today, using a crochet tooth fairy pillow is a fun way to carry on this sweet tradition. It’s a simple way to add some magic to a big moment in every kid’s life: losing a tooth!
Skill level
Advanced beginner
Materials needed
To make your own tooth fairy pillow crochet pattern, you’ll need the following:
- Worsted weight yarn in white and blue
- G-6 4 mm size crochet hook
- Fiber fill or a small pillow insert
- Tapestry needle
- Scissors
Color inspiration
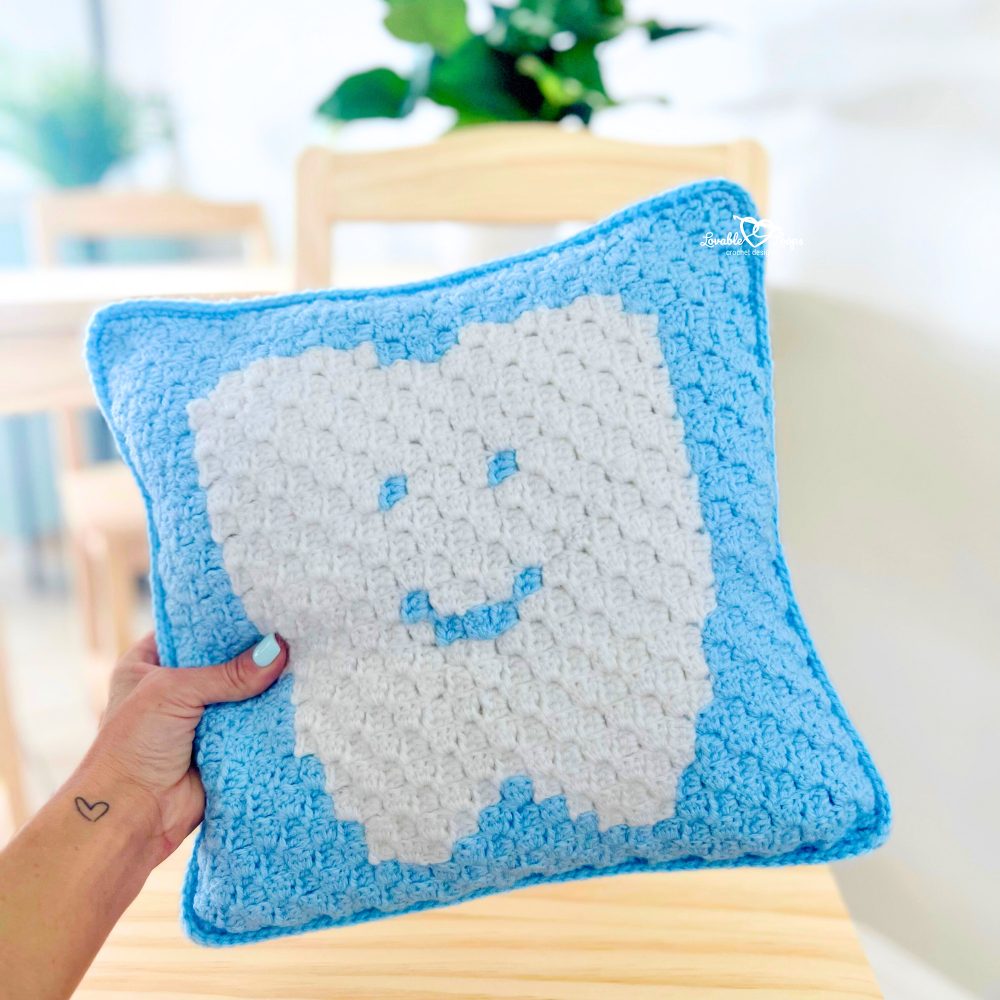
I used white for the tooth and a cheerful blue for the background, but you can use any color you like. Try pink, green, or even yellow! This tooth pillow pattern free works well with scrap yarn, too—so it’s a great stash-busting project.
Finished size
The finished pillow measures about 12.5 inches by 12.5 inches, or approximately 32 cm x 32 cm. It’s the perfect size for little hands and makes a fun decoration for a child’s room.
Gauge
- Gauge is 8 C2C squares = 4 inches
Getting the correct gauge helps your pillow turn out the right size. If you tend to crochet tightly or loosely, you may want to adjust your hook size slightly to match the pattern.
Tip: If your gauge is too small, try using a bigger hook. If it’s too big, try a smaller hook!
Stitch abbreviations
- ch = chain
- dc = double crochet
- sc = single crochet
- sl st = slip stitch
What is C2C crochet?
This C2C (corner to corner) crochet pattern is worked diagonally—from one corner of the pillow to the other. You’ll make two separate panels:
- The front features a smiling tooth design
- The back is a solid color with a simple border
Once both panels are done, just sew them together and stuff to make the pillow!
C2C crochet means you’re working in small blocks (each made of a chain-3 and three double crochet stitches) that build up in diagonal rows. It’s a popular technique for crochet pixel art, like this tooth design. You’ll follow a chart that shows you where to place each color—kind of like a coloring page, but with yarn!
C2C is easy to learn, works up fast, and it’s so fun to watch the picture appear as you go. Even if you’ve never tried color changes before, this is a great pattern to get started with.
Watch the C2C video tutorial
Never tried C2C before? No problem! I created a full video tutorial on my YouTube channel that shows you step-by-step how to follow a corner to corner c2c pattern.
Whether you’re new to the stitch or just need a quick refresher, the video will help you feel confident as you follow this tooth crochet pattern free.
Pattern notes
- The front pillow cover has the smiling tooth
- The back pillow cover is a solid color- use the same instructions without making color changes
- Follow the pixel graph or the written instructions
- Each square is made up of a chain 3 + 3 double crochet
- ↙ You are working on the “right side”
- ↗ You are working on the “wrong side”
- Chain 6 to start a new row
- Chain 3 to start a new square
Why some content is locked
I’m so happy you’re here! All of my crochet patterns are completely free for you to enjoy on my website. Some patterns, templates, and special extras are available as exclusive content, which means you’ll just need to enter your email to unlock them.
Collecting email addresses helps me share:
- New free patterns
- Crochet tips and tutorials
- Special updates and freebies!
Your email is safe with me — I will never spam you or sell your information. You can unsubscribe anytime (but I hope you’ll stick around for all the crochet fun!). Thank you for supporting my blog and helping me keep sharing free patterns with the crochet community! 🫶Melissa
Pixel graph
Download the crochet tooth fairy pillow pattern graph.
Written instructions for the crochet tooth fairy pillow
↙ Row 1: blue x 1 (1 square)
↗ Row 2: blue x 2 (2 squares)
↙ Row 3: blue x 3 (3 squares)
↗ Row 4: blue x 4 (4 squares)
↙ Row 5: blue x 5 (5 squares)
↗ Row 6: blue x 6 (6 squares)
↙ Row 7: blue x 7 (7 squares)
↗ Row 8: blue x 8 (8 squares)
↙ Row 9: blue x 9 (9 squares)
↗ Row 10: blue x 10 (10 squares)
↙ Row 11: blue x 7, white x 1, blue x 3 (11 squares)
↗ Row 12: blue x 3, white x 3, blue x 6 (12 squares)
↙ Row 13: blue x 5, white x 5, blue x 3 (13 squares)
↗ Row 14: blue x 4, white x 5, blue x 5 (14 squares)
↙ Row 15: blue x 4, white x 7, blue x 4 (15 squares)
↗ Row 16: blue x 5, white x 7, blue x 4 (16 squares)
↙ Row 17: blue x 4, white x 8, blue x 5 (17 squares)
↗ Row 18: blue x 6, white x 8, blue x 4 (18 squares)
↙ Row 19: blue x 4, white x 12, blue x 3 (19 squares)
↗ Row 20: blue x 3, white x 13, blue x 4 (20 squares)
↙ Row 21: blue x 4, white x 14, blue x 3 (21 squares)
↗ Row 22: blue x 4, white x 14, blue x 4 (22 squares)
↙ Row 23: blue x 4, white x 6, blue x 2, white x 6, blue x 5 (23 squares)
↗ Row 24: blue x 5, white x 6, blue x 1, white x 8, blue x 4 (24 squares)
↙ Row 25: blue x 4, white x 9, blue x 1, white x 5, blue x 6 (25 squares)
Corner: Start decreasing on both ends
↗ Row 26: blue x 6, white x 14, blue x 4 (24 squares)
↙ Row 27: blue x 3, white x 5, blue x 1, white x 3, blue x 1, white x 5, blue x 5 (23 squares)
↗ Row 28: blue x 5, white x 14, blue x 3 (22 squares)
↙ Row 29: blue x 3, white x 13, blue x 5 (21 squares)
↗ Row 30: blue x 5, white x 12, blue x 3 (20 squares)
↙ Row 31: blue x 3, white x 5, blue x 1, white x 6, blue x 4 (19 squares)
↗ Row 32: blue x 4, white x 11, blue x 3 (18 squares)
↙ Row 33: blue x 4, white x 9, blue x 4 (17 squares)
↗ Row 34: blue x 4, white x 8, blue x 4 (16 squares)
↙ Row 35: blue x 4, white x 7, blue x 4 (15 squares)
↗ Row 36: blue x 4, white x 7, blue x 3 (14 squares)
↙ Row 37: blue x 3, white x 6, blue x 4 (13 squares)
↗ Row 38: blue x 4, white x 5, blue x 3 (12 squares)
↙ Row 39: blue x 3, white x 4, blue x 4 (11 squares)
↗ Row 40: blue x 4, white x 3, blue x 3 (10 squares)
↙ Row 41: blue x 3, white x 2, blue x 4 (9 squares)
↗ Row 42: blue x 8 (8 squares)
↙ Row 43: blue x 7 (7 squares)
↗ Row 44: blue x 6 (6 squares)
↙ Row 45: blue x 5 (5 squares)
↗ Row 46: blue x 4 (4 squares)
↙ Row 47: blue x 3 (3 squares)
↗ Row 48: blue x 2 (2 squares)
↙ Row 49: blue x 1 (1 square)
Adding a border
Use blue yarn. In each corner you will make (sc, ch-2, sc) and in the side of each square you will make 2 sc.
Make the back cover
Make the back cover the same size as the front. Make it in a solid color. I made mine in white with a blue border.
Finishing instructions
Once both covers are finished, place them together with the right sides facing out. Use a tapestry needle to sew around the edges. Leave a small opening so you can add your fiber fill or pillow insert. Once it’s stuffed to your liking, sew it closed and weave in any loose ends.
How to use your crochet tooth fairy pillow
This pillow is perfect crochet for kids—they’ll love using it during visits from the Tooth Fairy! It also makes a thoughtful handmade gift for birthdays or baby showers.
Need tooth fairy gifts for a classroom or church group? This is a fun, affordable way to make something personal and special.
Printable pattern option
Love this pattern and want a printable copy?
You can find a beautifully formatted, ad-free PDF version of this crochet tooth fairy pillow pattern in my Etsy shop!
It’s perfect if you want to crochet on the go, print it out for easy reading, or keep it in your project binder.
👉 View the listing in my Etsy shop and grab your PDF copy! COMING SOON
Thank you so much for supporting my small business — it helps me keep sharing more free crochet patterns with you! 🫶Melissa
Celebrate and share your crochet tooth fairy pillow!
When you finish your crochet tooth fairy pillow, don’t forget to show it off! Share a picture with your friends, in crochet groups, or on social media. Sharing your work inspires others and helps grow our crochet community.
More fun patterns for kids
Looking for more projects like this? I have lots of crochet pillow patterns free and other free pattern crochet designs that are perfect for kids. From fun hats to playful blankets, you’ll find something fun to make next.
This tooth pillow is great for craft fairs!
This pillow is a great seller at local events and makes a fun, unique item for your crochet craft fair booth. Shoppers love handmade gifts that are practical, cute, and made with care—this checks all the boxes!
Let’s connect!
Want to stay connected? I’d love to see what you’re making! Come hang out with me on social media:
- 📸 Instagram: @lovable_loops
- 📌 Pinterest: @LovableLoops
- 📘 Facebook: @LovableLoopsShop
- 🧶 Etsy: @LovableLoopsShop
Share your projects, ask questions, or just say hi! I love seeing all the amazing things you create. Happy crocheting! 🫶Melissa