
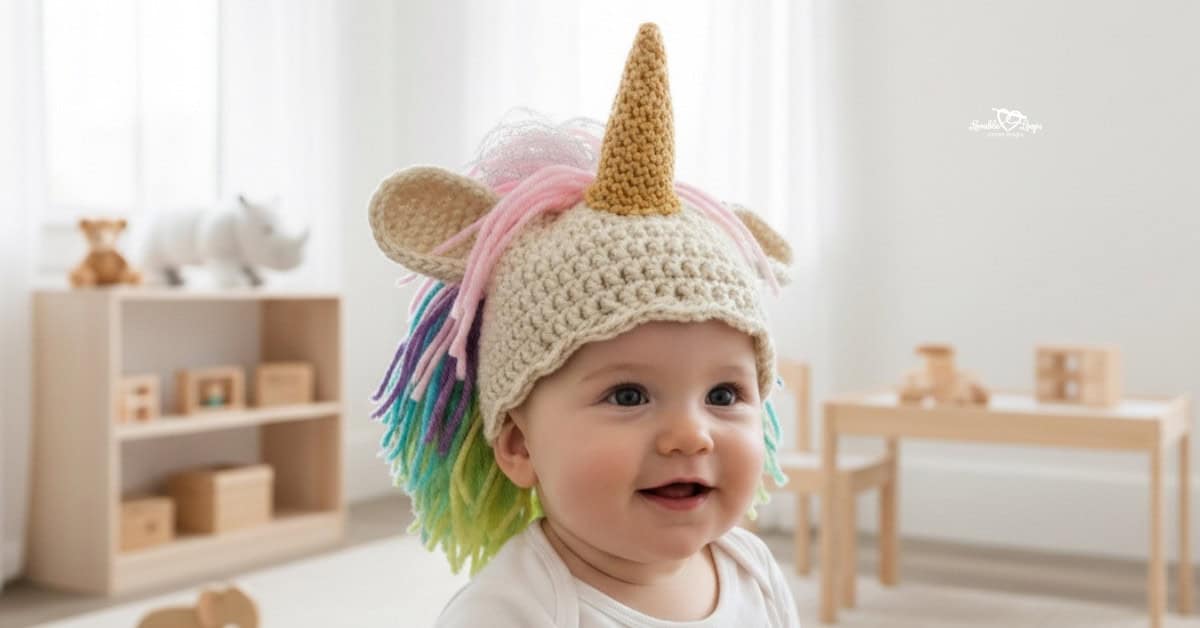
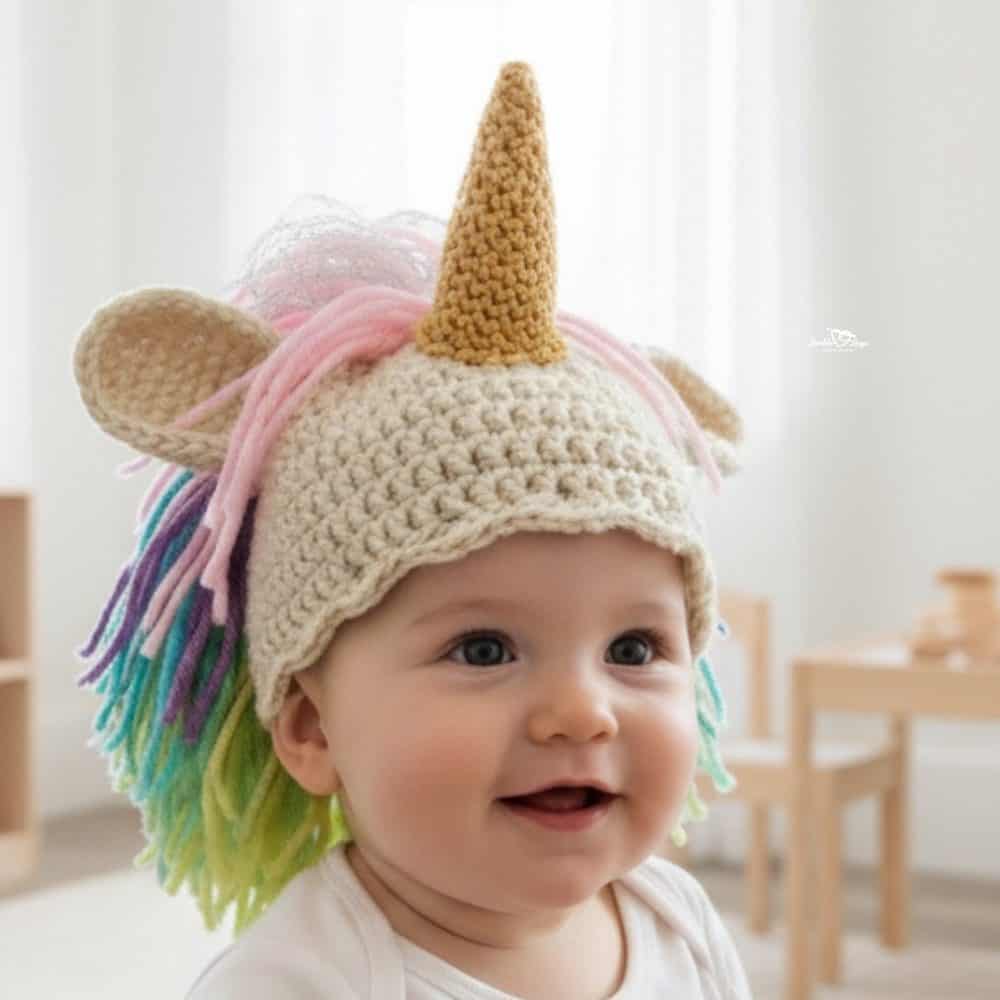
Crochet unicorn hat pattern
Add a sprinkle of magic to your crochet projects with my Crochet Unicorn Hat Pattern! This whimsical hat, complete with a flowing mane and a sparkly horn, is perfect for unicorn lovers of all ages. Whether you’re crafting for a little one or just want to add some fantasy flair to your wardrobe, this unicorn hat is sure to be a hit.
The pattern is easy to follow, and with the included video tutorial, you’ll have no trouble creating this magical accessory. Let’s crochet this enchanting unicorn hat and bring a bit of fantasy into your life! The free crochet pattern is below.
Looking for more cute designs? Explore my full collection of crochet animal hat patterns.

Free Crochet Unicorn Hat Pattern
Unicorns are beloved for their magical and mythical qualities, symbolizing purity, beauty, and the power of imagination. They’ve captured the hearts of people for centuries with their enchanting presence and the sense of wonder they inspire.
This Crochet Unicorn Hat Pattern captures the magic of these mystical creatures, making it a fun and enchanting project for anyone who loves fantasy and whimsy. Whether you’re crafting for a unicorn enthusiast or just want to add a touch of magic to your day, this hat is sure to bring joy!
Crochet Project Materials Needed
- Crochet hook sizes:
I-9 5.5 mm (hat) or size needed for gauge
H-8 5 mm (horn & ears) - Yarn: Worsted weight yarn #4 in white, gold, and pastel pink, purple, blue, green, and yellow.
- Fiber fill: Use this to stuff the unicorn horn.
- Yarn needle: Use this to weave in your ends.
- Scissors: Use scissors to fasten off your yarn.
- Stitch marker(s): Optional. Use these to help keep track of your stitches.
Crochet Unicorn Hat Pattern Information
Looking for a handmade gift that’s as magical as it is cozy? The Crochet Unicorn Hat is the perfect choice! Its whimsical design makes it a standout piece that’s sure to be loved by anyone who receives it.
Whether you’re making it for a birthday, a holiday, or just because, this unicorn hat is a thoughtful and enchanting gift that shows you care. It’s also a fantastic option for selling at craft fairs, where its magical design is sure to attract customers looking for something special and handmade.
Skill Level
Beginner. This crochet hat pattern uses basic stitches in basic form and in simple repeats in rounds.
Size Chart
| Hat Size | Crown | Circumference | Height |
| 0-3 Months | 4.5 inches | 13-14 inches | 5 inches |
| 3-6 Months | 5 inches | 14-15 inches | 5.5 inches |
| 6-12 Months | 5.5 inches | 16-17 inches | 6.25 inches |
| Toddler | 6 inches | 18-19 inches | 6.75 inches |
| Child | 6.5 inches | 19-20 inches | 7 inches |
| Adult | 7 inches | 20-23 inches | 7.75 inches |
Gauge
15 stitches and 10 rounds = 4 inches
Crochet Terms
- dc = double crochet
- sc = single crochet
- sc2tog = single crochet decrease
- ch/chs = chain/chains
- st/sts = stitch/stitches
- sl st = slip stitch
- rnd/rnds = round/rounds
- rem = remaining
Crochet Pattern Notes
- The chain at the beginning of each round does not count as your first stitch.
- Join each round with a slip stitch to the first stitch made in that round.
- Repeat instructions between the asterisks (*) for the rest of the round.
- You are crocheting in the round from the top of the hat down.
- The pattern is written in US terms.
Magic Circle Alternative
If you find the magic circle tricky, try this easier method for round 1: Chain 4, make 11 dc in the 4th ch from the hook, join (11 stitches)
Crochet Unicorn Hat Pattern Instructions
0-3 Month Baby Crochet Unicorn Hat Pattern
Rnd 1: Magic circle, ch 2, 11 dc, join (11 stitches)
Rnd 2: ch 2, 2 dc in each st, join (22 stitches)
Rnd 3: ch 2, *2 dc, dc in next st*, join (33 stitches)
Rnd 4: ch 2, *2 dc, dc in next 2 sts*, join (44 stitches)
Rnd 5: ch 2, *2 dc, dc in next 10 sts*, join (48 stitches)
Rnds 6– 13: ch 2, dc in each st, join (48 stitches)
If you want ear-flaps, stop here and scroll down for ear-flap pattern.
Rnd 14: ch 2, *skip a st, 4 dc in next st, skip a st, slip st in next st*, join
3-6 Month Baby Crochet Unicorn Hat Pattern
Rnd 1: Magic circle, ch 2, 11 dc, join (11 stitches)
Rnd 2: ch 2, 2 dc in each st, join (22 stitches)
Rnd 3: ch 2, *2 dc, dc in next st*, join (33 stitches)
Rnd 4: ch 2, *2 dc, dc in next 2 sts*, join (44 stitches)
Rnd 5: ch 2, *2 dc, dc in next 10 sts*, join (48 stitches)
Rnd 6: ch 2, *2 dc, dc in next 11 sts*, join (52 stitches)
Rnds 7– 15: ch 2, dc in each st, join (52 stitches)
If you want ear-flaps, stop here and scroll down for ear-flap pattern.
Rnd 16: ch 2, *skip a st, 4 dc in next st, skip a st, slip st in next st*, join
6-12 Month Baby Crochet Unicorn Hat Pattern
Rnd 1: Magic circle, ch 2, 11 dc, join (11 stitches)
Rnd 2: ch 2, 2 dc in each st, join (22 stitches)
Rnd 3: ch 2, *2 dc, dc in next st*, join (33 stitches)
Rnd 4: ch 2, *2 dc, dc in next 2 sts*, join (44 stitches)
Rnd 5: ch 2, *2 dc, dc in next 10 sts*, join (48 stitches)
Rnd 6: ch 2, *2 dc, dc in next 11 sts*, join (52 stitches)
Rnd 7: ch 2, *2 dc, dc in next 12 sts*, join (56 stitches)
Rnds 8– 16: ch 2, dc in each st, join (56 stitches)
If you want ear-flaps, stop here and scroll down for ear-flap pattern.
Rnd 17: ch 2, *skip a st, 4 dc in next st, skip a st, slip st in next st*, join
Toddler Size Crochet Unicorn Hat Pattern
Rnd 1: Magic circle, ch 2, 11 dc, join (11 stitches)
Rnd 2: ch 2, 2 dc in each st, join (22 stitches)
Rnd 3: ch 2, *2 dc, dc in next st*, join (33 stitches)
Rnd 4: ch 2, *2 dc, dc in next 2 sts*, join (44 stitches)
Rnd 5: ch 2, *2 dc, dc in next 10 sts*, join (48 stitches)
Rnd 6: ch 2, *2 dc, dc in next 11 sts*, join (52 stitches)
Rnd 7: ch 2, *2 dc, dc in next 12 sts*, join (56 stitches)
Rnd 8: ch 2, *2 dc, dc in next 13 sts*, join (60 stitches)
Rnds 9– 18: ch 2, dc each st, join (60 stitches)
If you want ear-flaps, stop here and scroll down for ear-flap pattern.
Rnd 19: ch 2, *skip a st, 4 dc in next st, skip a st, slip st in next st*, join
Child Size Crochet Unicorn Hat Pattern
Rnd 1: Magic circle, ch 2, 11 dc, join (11 stitches)
Rnd 2: ch 2, 2 dc in each st, join (22 stitches)
Rnd 3: ch 2, *2 dc, dc in next st*, join (33 stitches)
Rnd 4: ch 2, *2 dc, dc in next 2 sts*, join (44 stitches)
Rnd 5: ch 2, *2 dc, dc in next 10 sts*, join (48 stitches)
Rnd 6: ch 2, *2 dc, dc in next 11 sts*, join (52 stitches)
Rnd 7: ch 2, *2 dc, dc in next 12 sts*, join (56 stitches)
Rnd 8: ch 2, *2 dc, dc in next 13 sts*, join (60 stitches)
Rnd 9: ch 2, *2 dc, dc in next 14 sts*, join (64 stitches)
Rnds 10– 19: ch 2, dc in each st, join (64 stitches)
If you want ear-flaps, stop here and scroll down for ear-flap pattern.
Rnd 20: ch 2, *skip a st, 4 dc in next st, skip a st, slip st in next st*, join
Adult Size Crochet Unicorn Hat Pattern
Rnd 1: Magic circle, ch 2, 11 dc, join (11 stitches)
Rnd 2: ch 2, 2 dc in each st, join (22 stitches)
Rnd 3: ch 2, *2 dc, dc in next st*, join (33 stitches)
Rnd 4: ch 2, *2 dc, dc in next 2 sts*, join (44 stitches)
Rnd 5: ch 2, *2 dc, dc in next 10 sts*, join (48 stitches)
Rnd 6: ch 2, *2 dc, dc in next 11 sts*, join (52 stitches)
Rnd 7: ch 2, *2 dc, dc in next 12 sts*, join (56 stitches)
Rnd 8: ch 2, *2 dc, dc in next 13 sts*, join (60 stitches)
Rnd 9: ch 2, *2 dc, dc in next 14 sts*, join (64 stitches)
Rnd 10: ch 2, *2 dc, dc in next 15 sts*, join (68 stitches)
Rnds 11– 21: ch 2, dc in each st, join (68 stitches)
If you want ear-flaps, stop here and scroll down for ear-flap pattern.
Rnd 22: ch 2, *skip a st, 4 dc in next st, skip a st, slip st in next st*, join
Earflap Instructions
Begin the first earflap where you ended the last round of your hat. Then, refer to the chart below for placement of the second earflap.
Repeat the instructions for the second earflap. Then single crochet around the entire hat and both earflaps.
| Size | Front of Hat | Back of Hat |
| 0-3 Months | leave 16 stitches in front | leave 12 stitches in back |
| 3-6 Months | leave 16 stitches in front | leave 12 stitches in back |
| 6-12 Months | leave 18 stitches in front | leave 14 stitches in back |
| Toddler | leave 18 stitches in front | leave 14 stitches in back |
| Child | leave 20 stitches in front | leave 16 stitches in back |
| Adult | leave 22 stitches in front | leave 18 stitches in back |
0-3 Months Earflaps
Row 1: Ch 1, sc in 10 sts, turn (10 stitches)
Row 2: Ch 1, sc2tog, sc in 6 sts, sc2tog, turn (8 stitches)
Row 3: Ch 1, sc in each st, turn (8 stitches)
Row 4: Ch 1, sc2tog, sc in 4 sts, sc2tog, turn (6 stitches)
Row 5: Ch 1, sc in each st, turn (6 stitches)
Row 6: Ch 1, sc2tog, sc in 2 sts, sc2tog, turn (4 stitches)
Row 7: Ch 1, sc in each st, turn (4 stitches)
Row 8: Ch 1, sc2tog, sc2tog, turn (2 stitches)
Row 9: Ch 1, sc2tog (1 stitch)
3-6 and 6-12 Months Earflaps
Row 1: Ch 1, sc in 12 sts, turn (12 stitches)
Row 2: Ch 1, sc2tog, sc in 8 sts, sc2tog, turn (10 stitches)
Row 3: Ch 1, sc in each st, turn (10 stitches)
Row 4: Ch 1, sc2tog, sc in 6 sts, sc2tog, turn (8 stitches)
Row 5: Ch 1, sc in each st, turn (8 stitches)
Row 6: Ch 1, sc2tog, sc in 4 sts, sc2tog, turn (6 stitches)
Row 7: Ch 1, sc in each st, turn (6 stitches)
Row 8: Ch 1, sc2tog, sc in 2 sts, sc2tog, turn (4 stitches)
Row 9: Ch 1, sc in each st, turn (4 stitches)
Row 10: Ch 1, sc2tog, sc2tog, turn (2 stitches)
Row 11: Ch 1, sc2tog (1 stitch)
Toddler, Child, & Adult Earflaps
Row 1: Ch 1, sc in 14, turn (14 stitches)
Row 2: Ch 1,sc2tog, sc in 10 sts, sc2tog, turn (12 stitches)
Row 3: Ch 1, sc in each st, turn (12 stitches)
Row 4: Ch 1, sc2tog, sc in 8 sts, sc2tog, turn (10 stitches)
Row 5: Ch 1, sc in each st, turn (10 stitches)
Row 6: Ch 1, sc2tog, sc in 6 sts, sc2tog, turn (8 stitches)
Row 7: Ch 1, sc in each st, turn (8 stitches)
Row 8: Ch 1, sc2tog, sc in 4 sts, sc2tog, turn (6 stitches)
Row 9: Ch 1, sc in each st, turn (6 stitches)
Row 10: Ch 1, sc2tog, sc in 2 sts, sc2tog, turn (4 stitches)
Row 11: Ch 1, sc in each st, turn (4 stitches)
Row 12: Ch 1, sc2tog, sc2tog, turn (2 stitches)
Row 13: Ch 1, sc2tog (1 stitch)
Braids for the Crochet Unicorn Hat Pattern
Cut fifteen 30” strands of yarn for each braid.
- Fold the strands in half and pass the folded loop through the bottom of the ear flap.
- Pass the strand ends through the loop and pull tight to form a knot.
- Divide into three sections and braid.
Horn Pattern
Rnd 1: Magic circle, 4 sc, join (4 stitches)
Rnd 2: ch 1, sc in each st, join (4 stitches)
Rnd 3: ch 1, *2 sc, sc in next st*, join (6 stitches)
Rnd 4: ch 1, sc in each st, join (6 stitches)
Rnd 5: ch 1, *2 sc, sc in 2 sts*, join (8 stitches)
Rnd 6: ch 1, sc in each st, join (8 stitches)
Rnd 7: ch 1, *2 sc, sc in 3 sts*, join (10 stitches)
Rnd 8: ch 1, sc in each st, join (10 stitches)
Rnd 9: ch 1, *2 sc, sc in 4 sts*, join (12 stitches)
Rnd 10: ch 1, sc in each st, join (12 stitches)
Rnd 11: ch 1, *2 sc, sc in 5 sts*, join (14 stitches)
Rnd 12: ch 1, sc in each st, join (14 stitches)
Rnd 13: ch 1, *2 sc, sc in 6 sts*, join (16 stitches)
Rnd 14: ch 1, sc in each st, join (16 stitches)
Rnd 15: ch 1, *2 sc, sc in 7 sts*, join (18 stitches)
Rnd 16: ch 1, sc in each st, join (18 stitches)
Rnd 17: ch 1, *2 sc, sc in 8 sts*, join (20 stitches)
Rnd 18: ch 1, sc in each st, join (20 stitches)
Stop here for 0-3 months – 6-12 Months sizes.
Rnd 19: ch 1, *2 sc, sc in 9 sts*, join (22 stitches)
Rnd 20: ch 1, sc in each st, join (22 stitches)
Stop here for Toddler & Child sizes.
Rnd 21: ch 1, *2 sc, sc in 10 sts*, join (24 stitches)
Rnd 22: ch 1, sc in each st, join and fasten off (24 stitches)
Stuff with fiber fill and sew to the front of the hat.
Ears Pattern
Row 1: ch 6, sc in 2nd ch from hook and in next 4 chs, turn (5 stitches)
Row 2: ch 1, sc in each st, turn (5 stitches)
Row 3: ch 1, 2 sc sc in 3 sts, 2 sc in last st, turn (7 stitches)
Row 4: ch 1, sc in each st, turn (7 stitches)
Row 5: ch 1, 2 sc, sc in 5 sts, 2 sc in last st, turn (9 stitches)
Row 6: ch 1, sc in each st, turn (9 stitches)
Row 7: ch 1, sc in each st, turn (5 stitches)
Row 8: ch 1, sc2tog, sc in 5 sts, sc2tog, turn (7 stitches)
Row 9: ch 1, sc in each st, turn (7 stitches)
Row 10: ch 1, sc2tog, sc in 3 sts, sc2tog, turn (5 stitches)
Row 11: ch 1, sc in each st, turn (5 stitches)
Row 12: ch 1, sc2tog, sc in 1 st, sc2tog, turn (3 stitches)
Row 13: ch 1, sc3tog and continue to sc around ear, join and fasten off
Sew the ears to the hat.
Mane Instructions
Cut 16” pieces of yarn for the mane. Attach two strands at a time around the stitches between the ears and down the back. Do one row of each color.
Use a crochet hook to pull two strands under a stitch, then pull the four loose ends through the loop and tie a knot.
Finishing the Crochet Unicorn Hat Pattern
Fasten off and then weave in the ends.

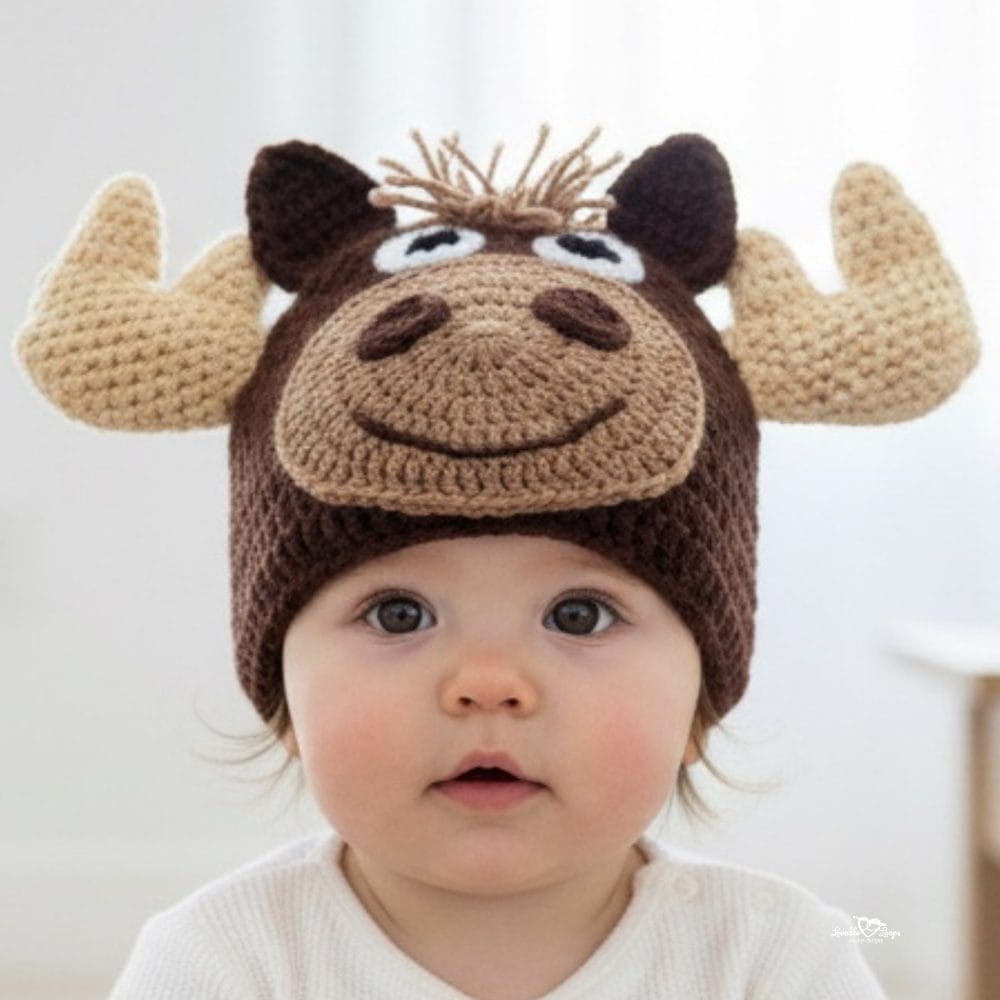
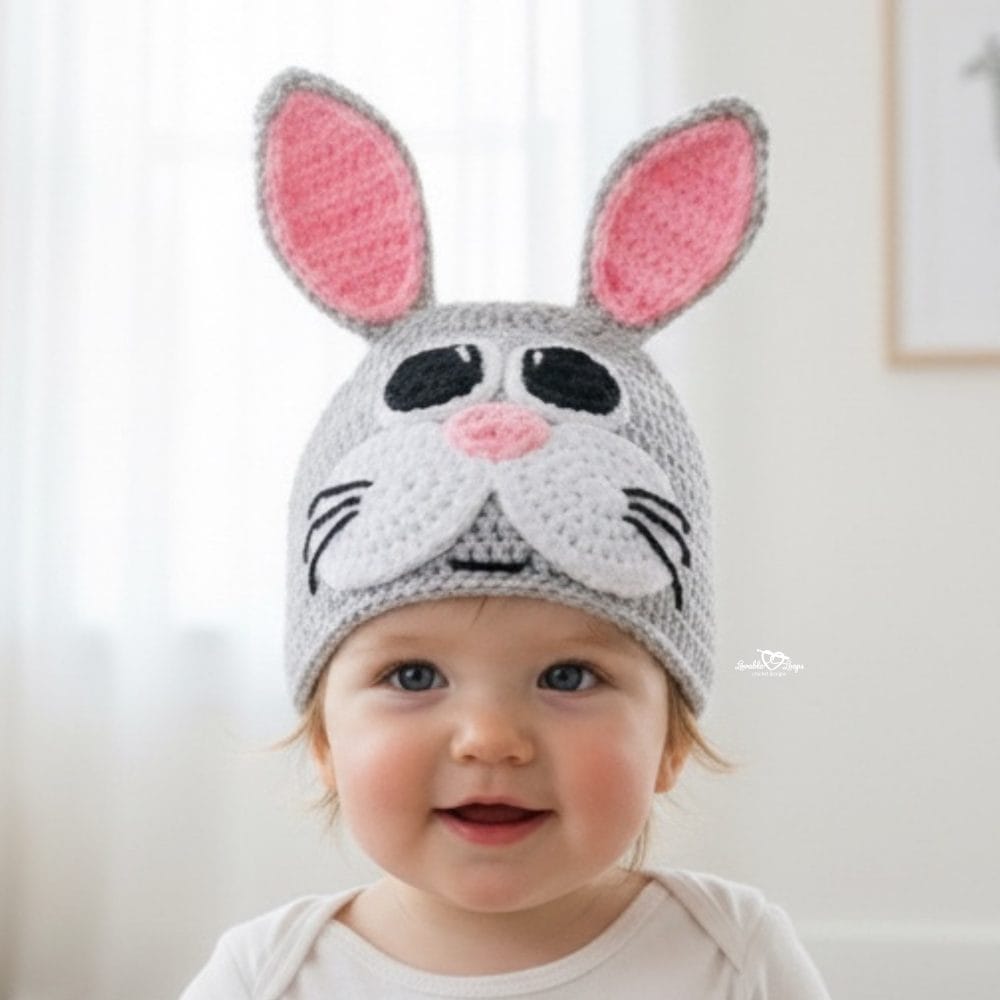
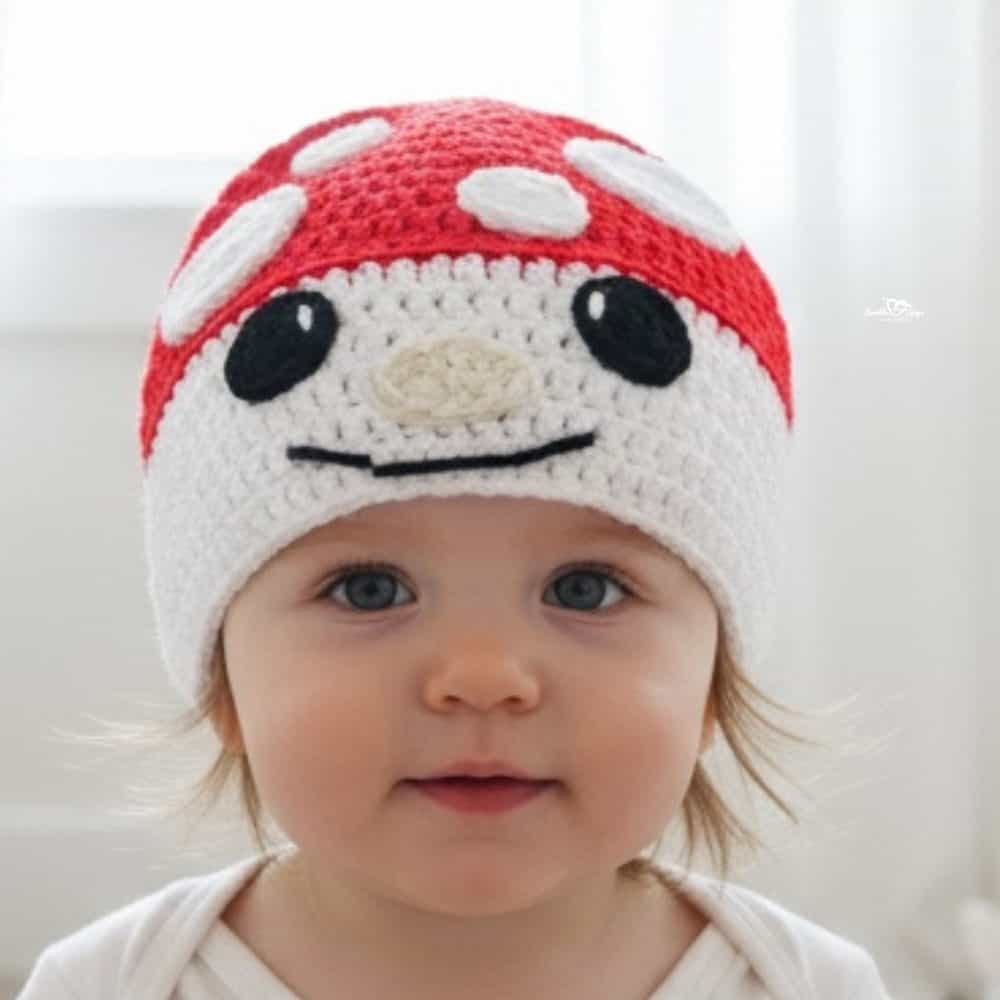
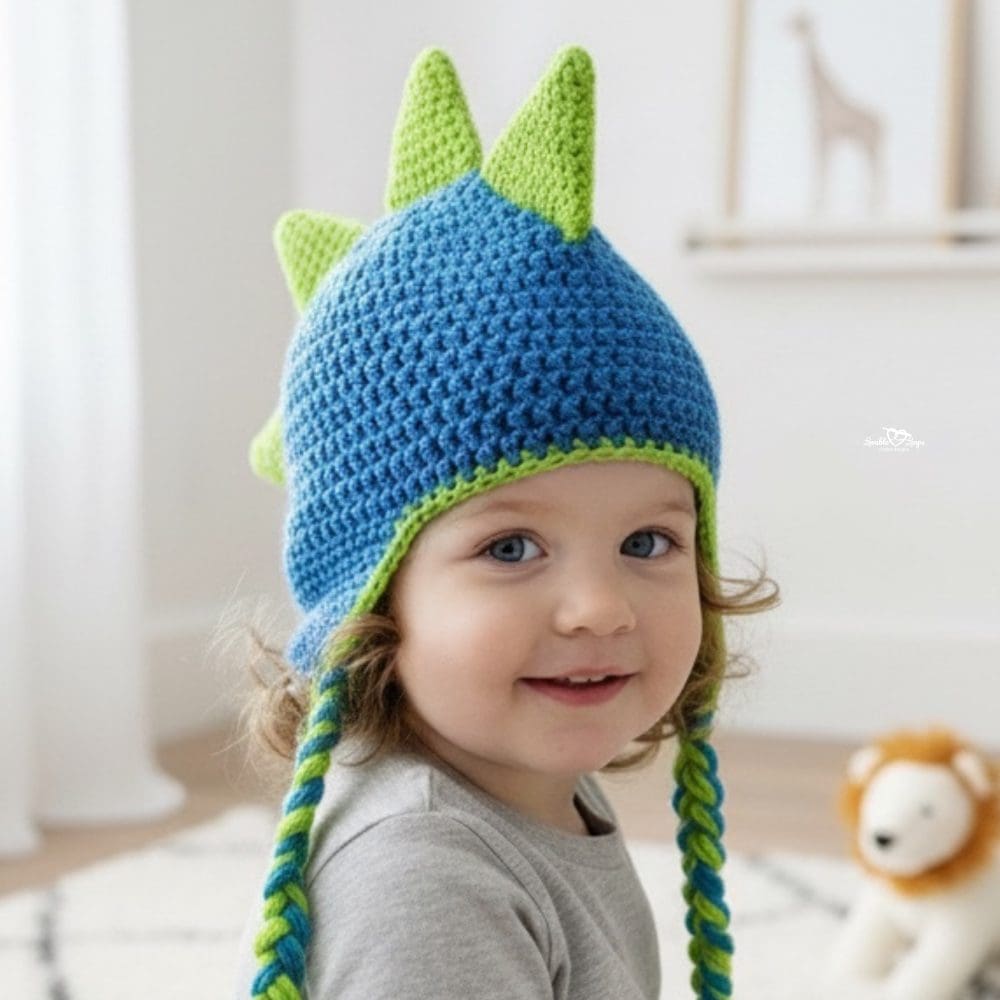
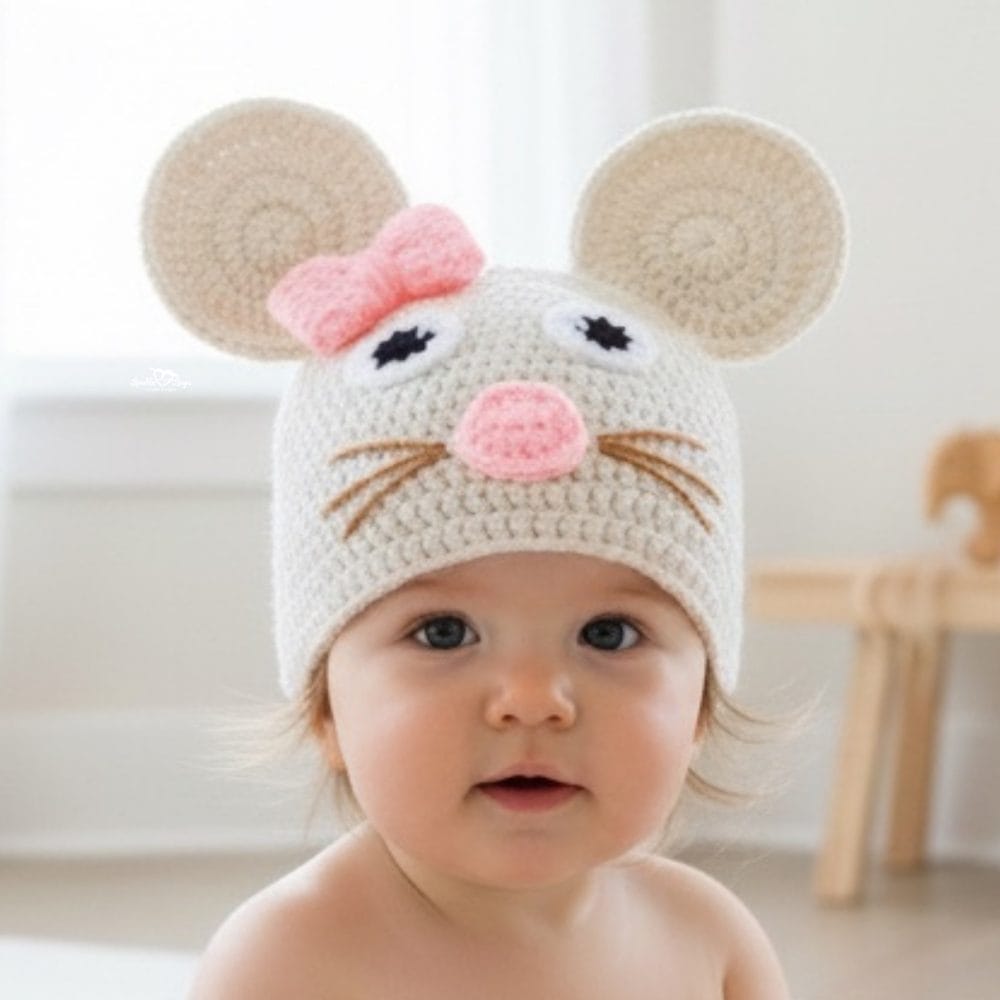
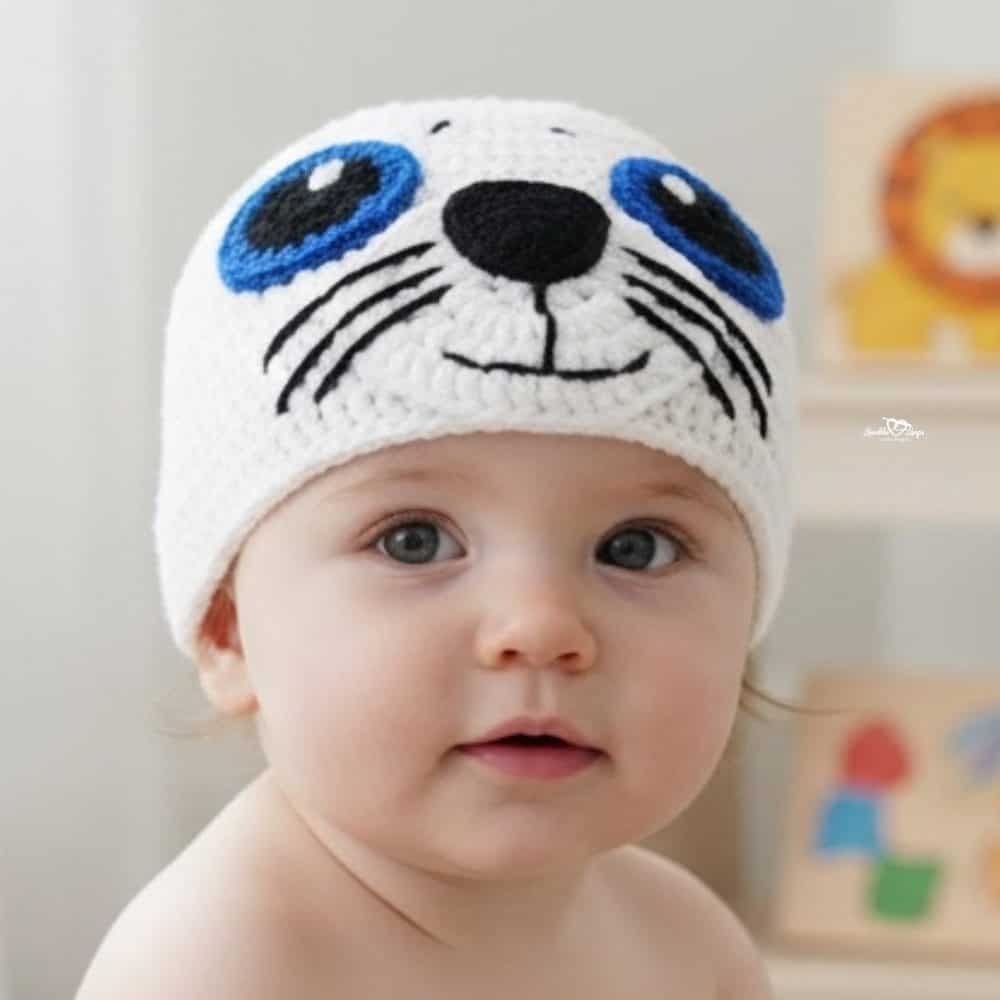
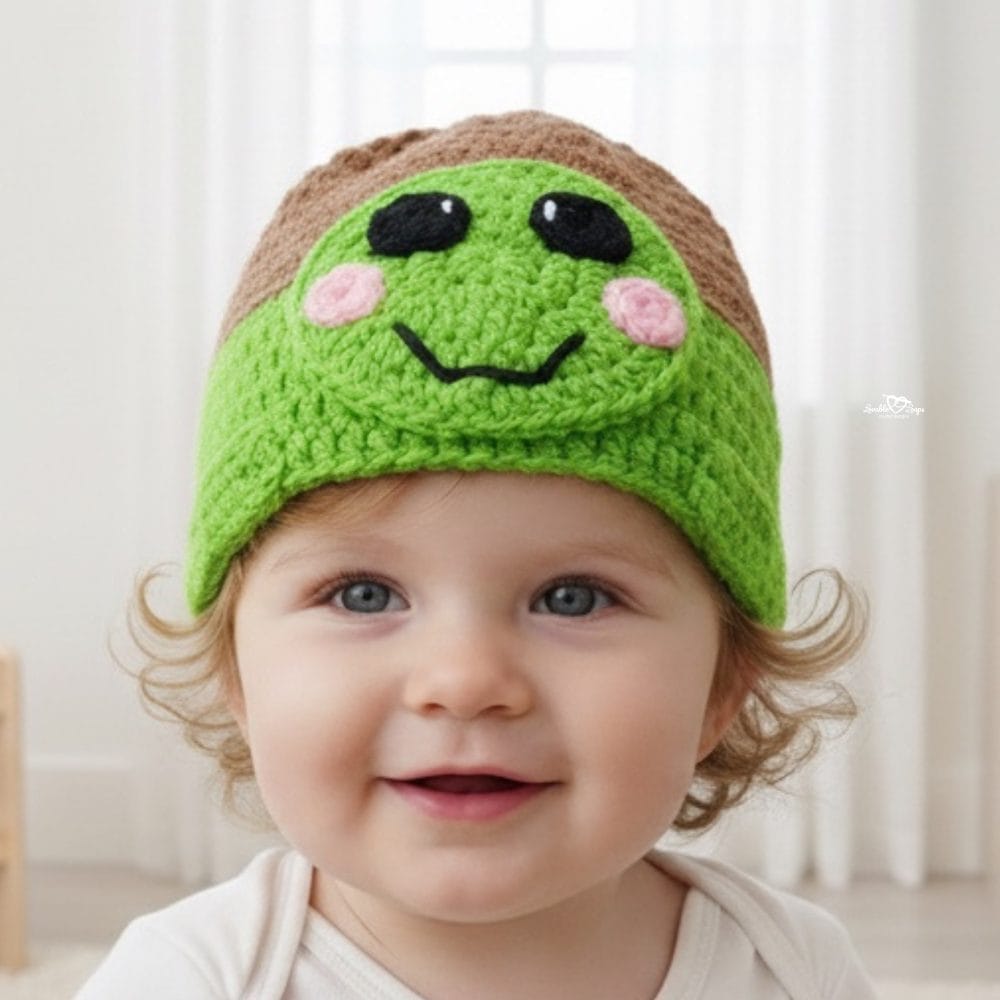
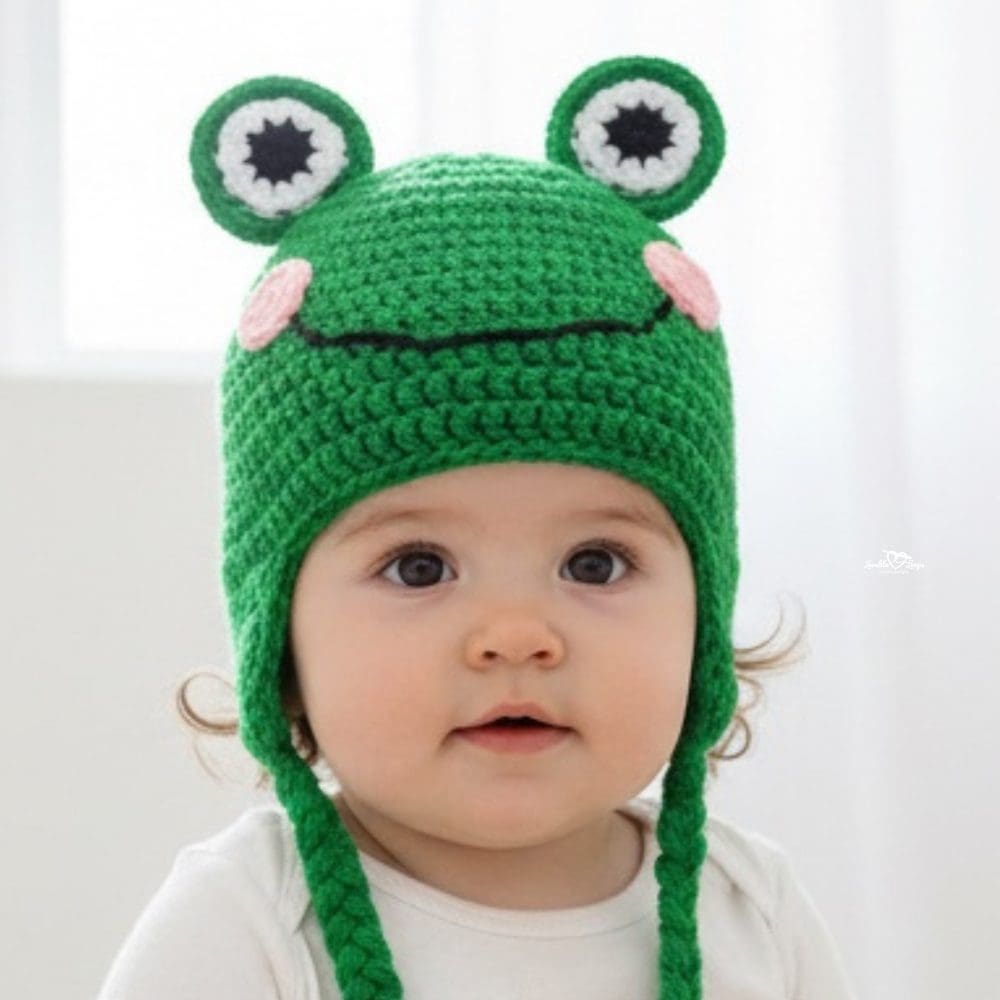
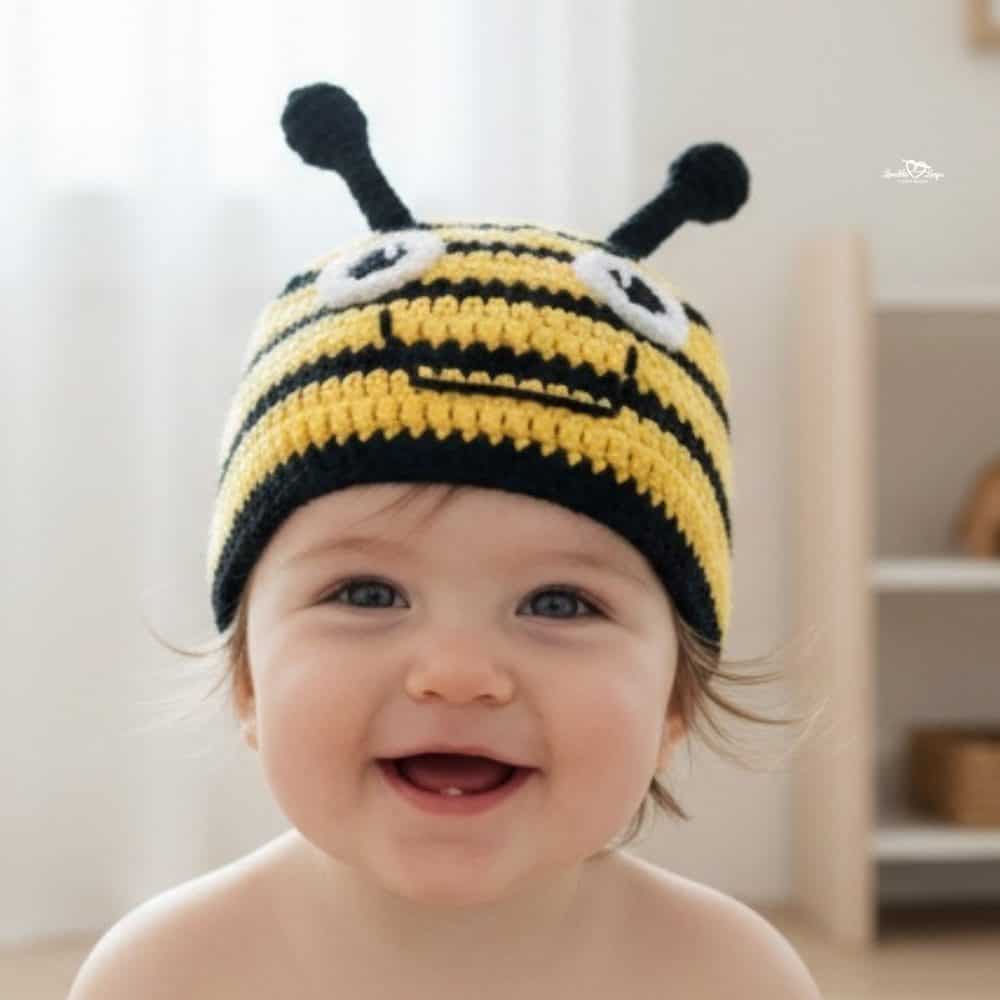
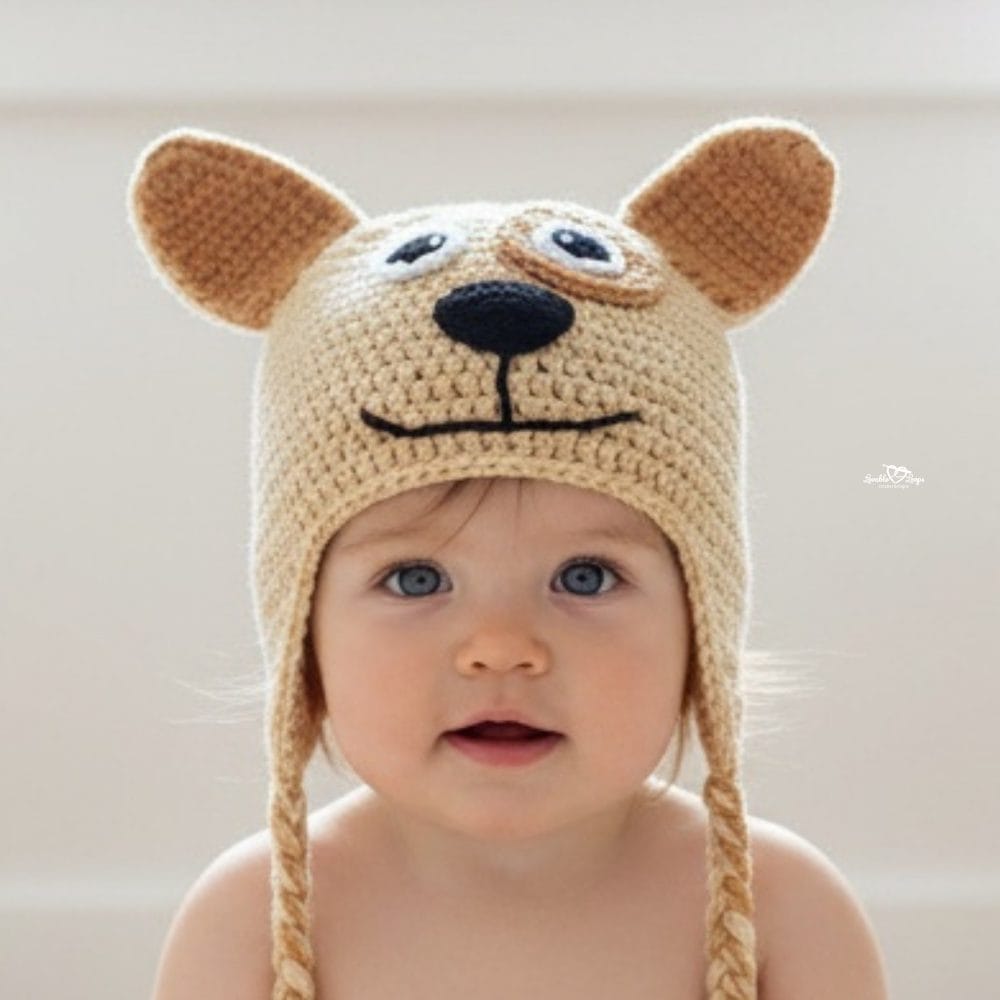
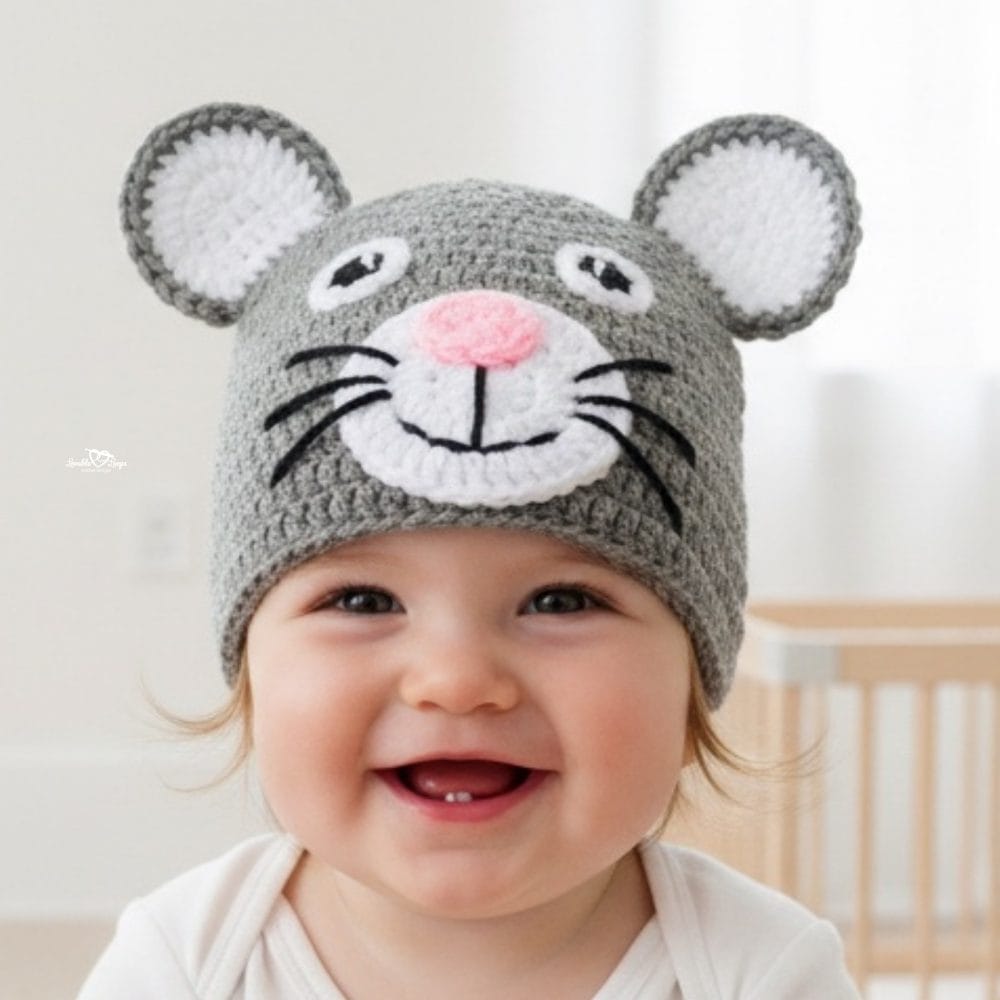
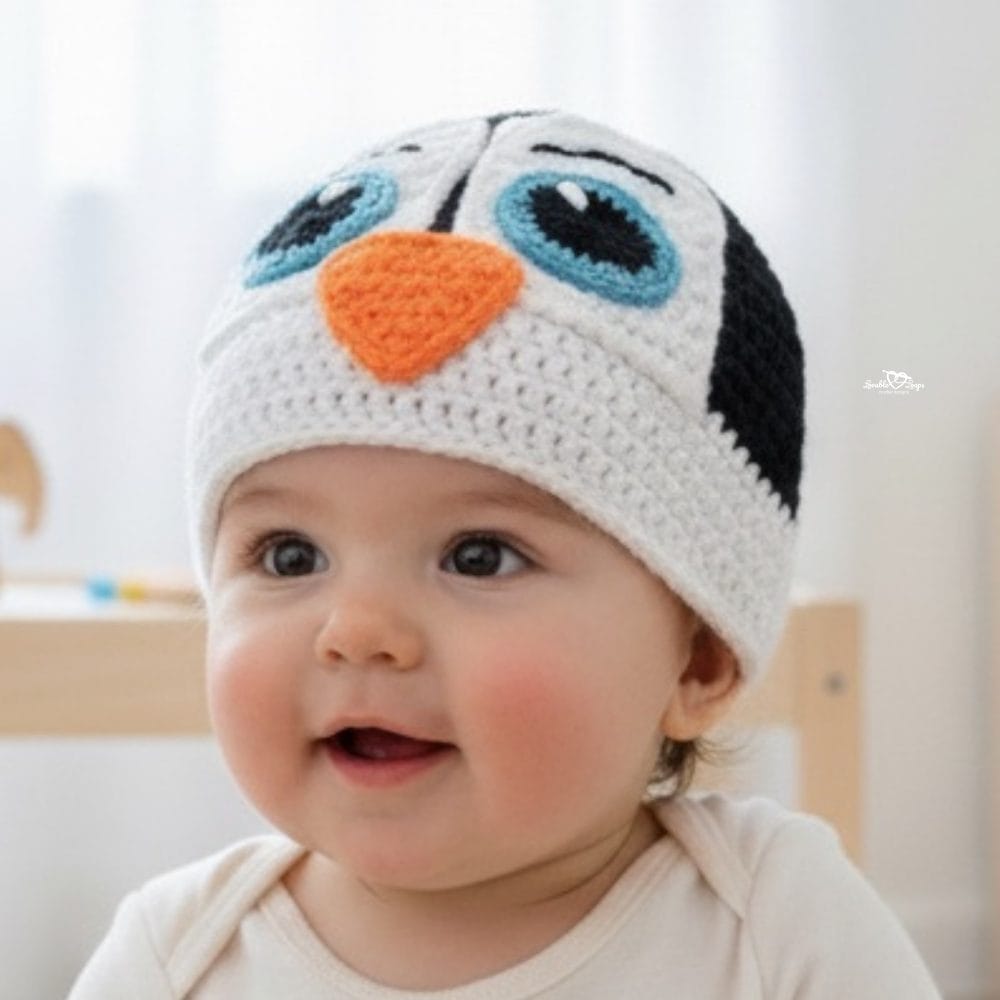
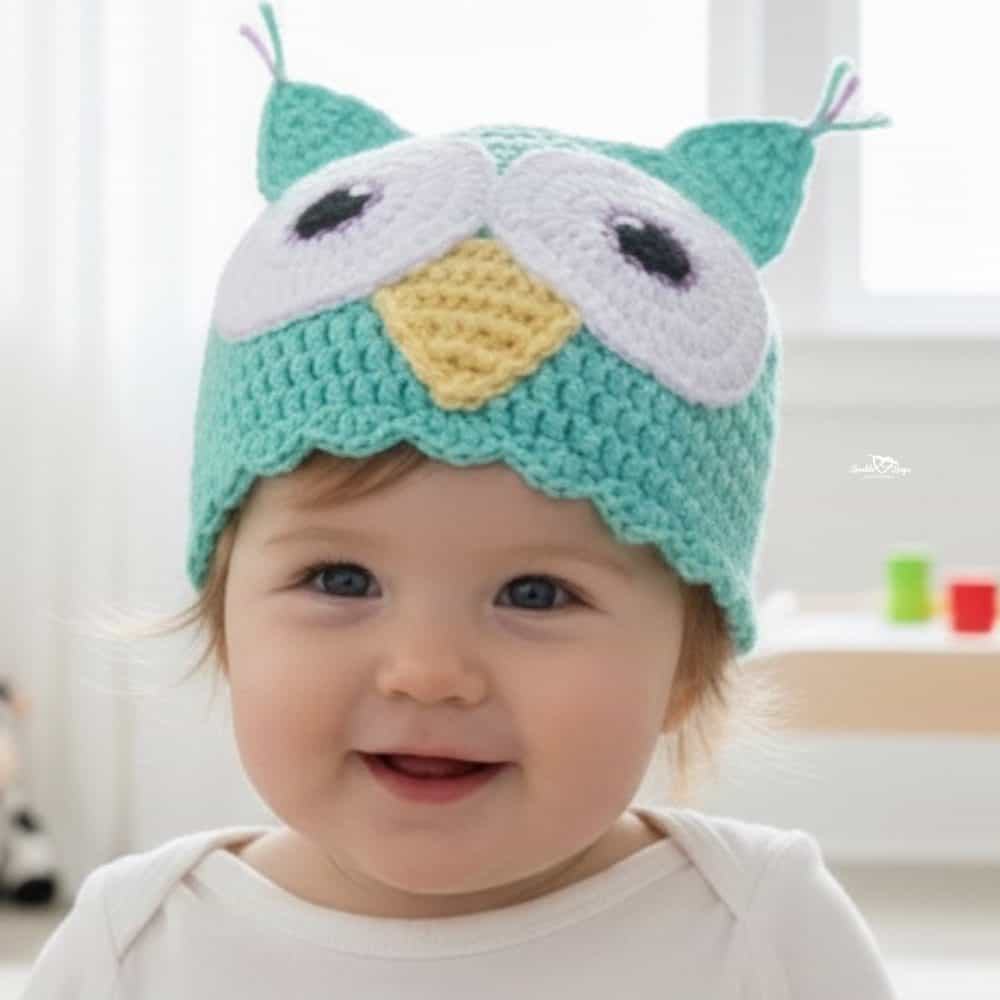
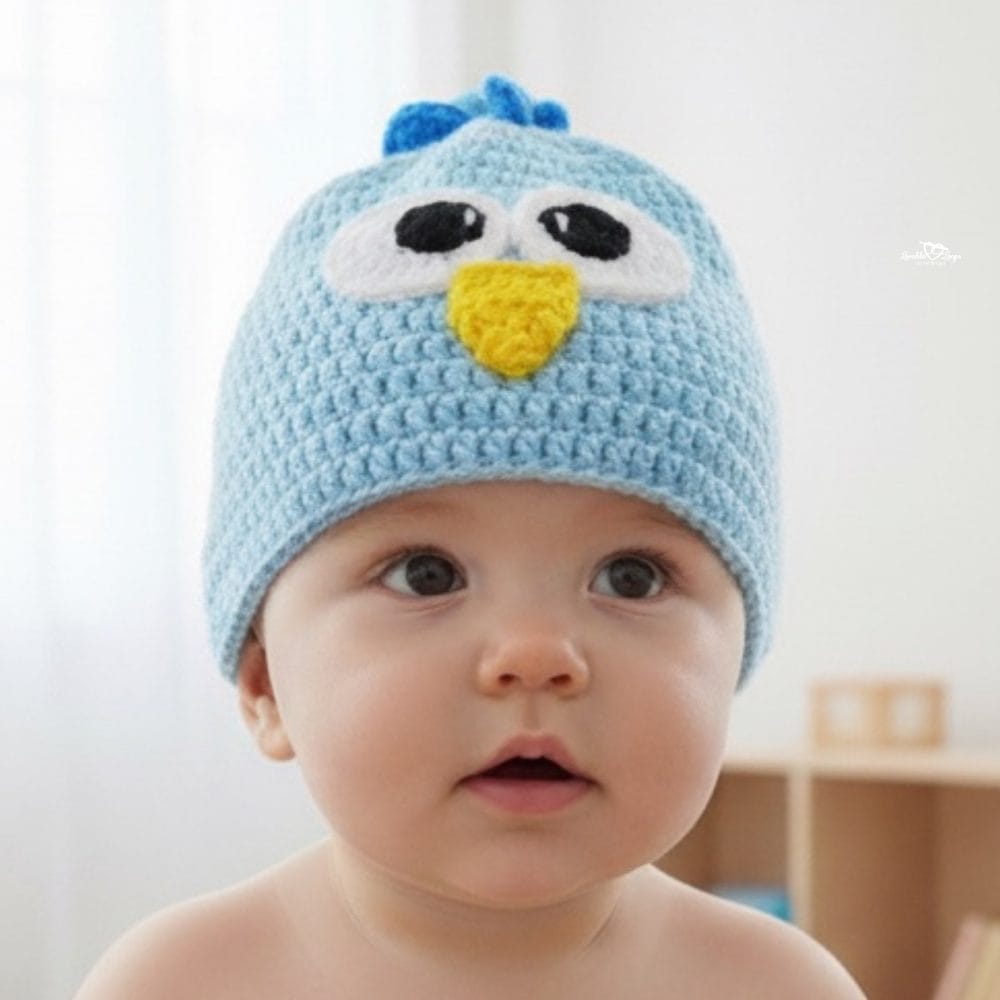
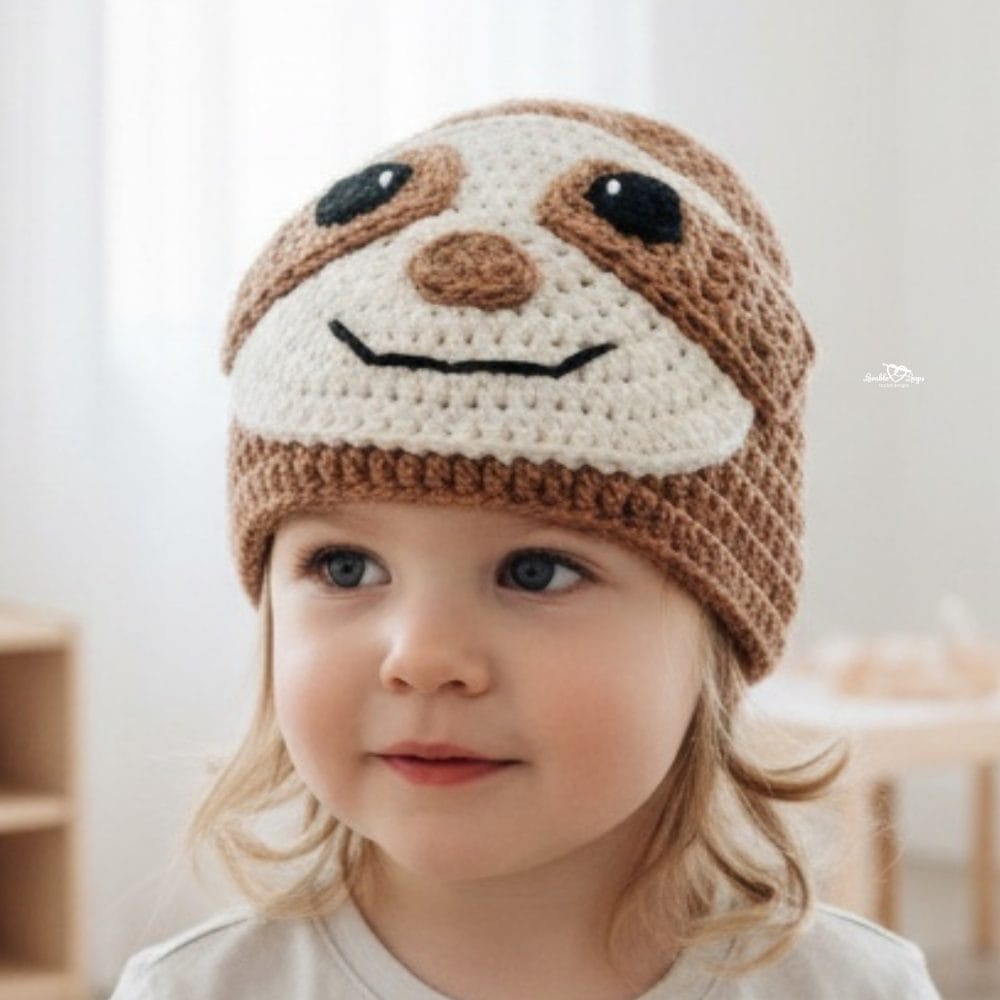
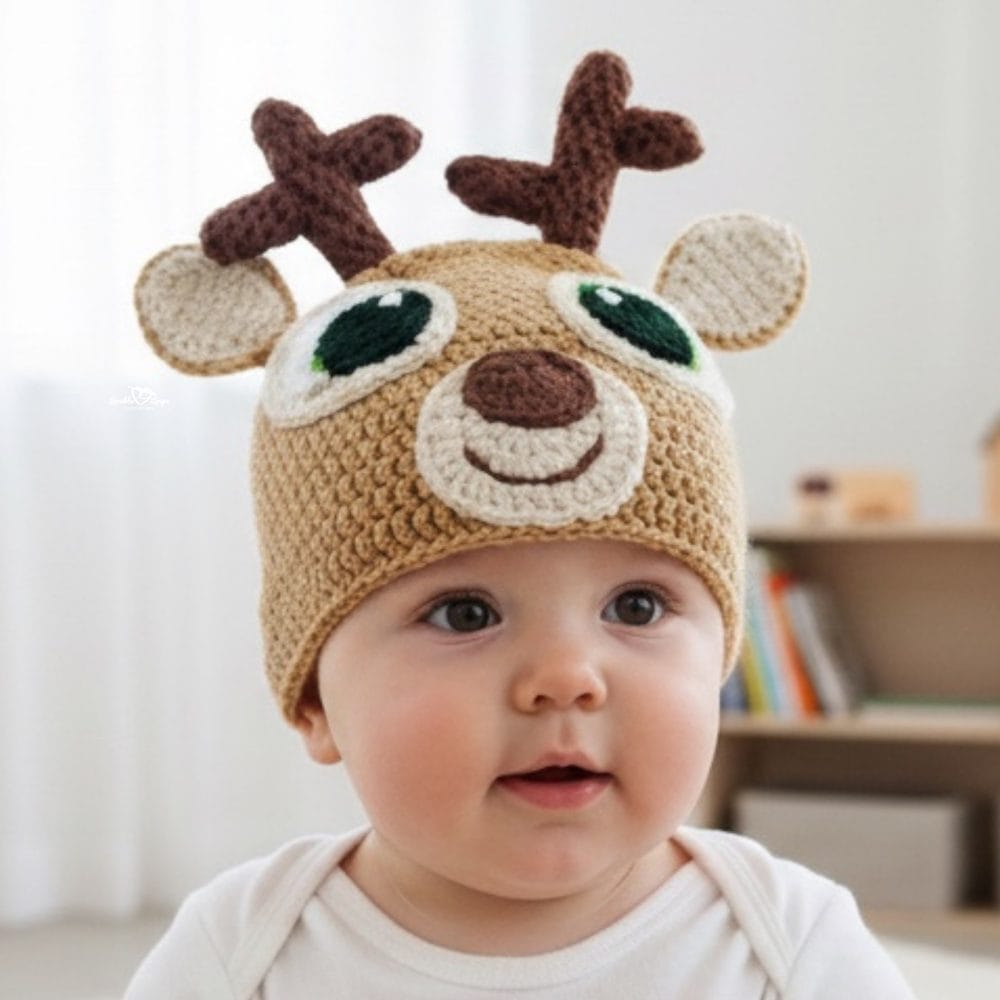
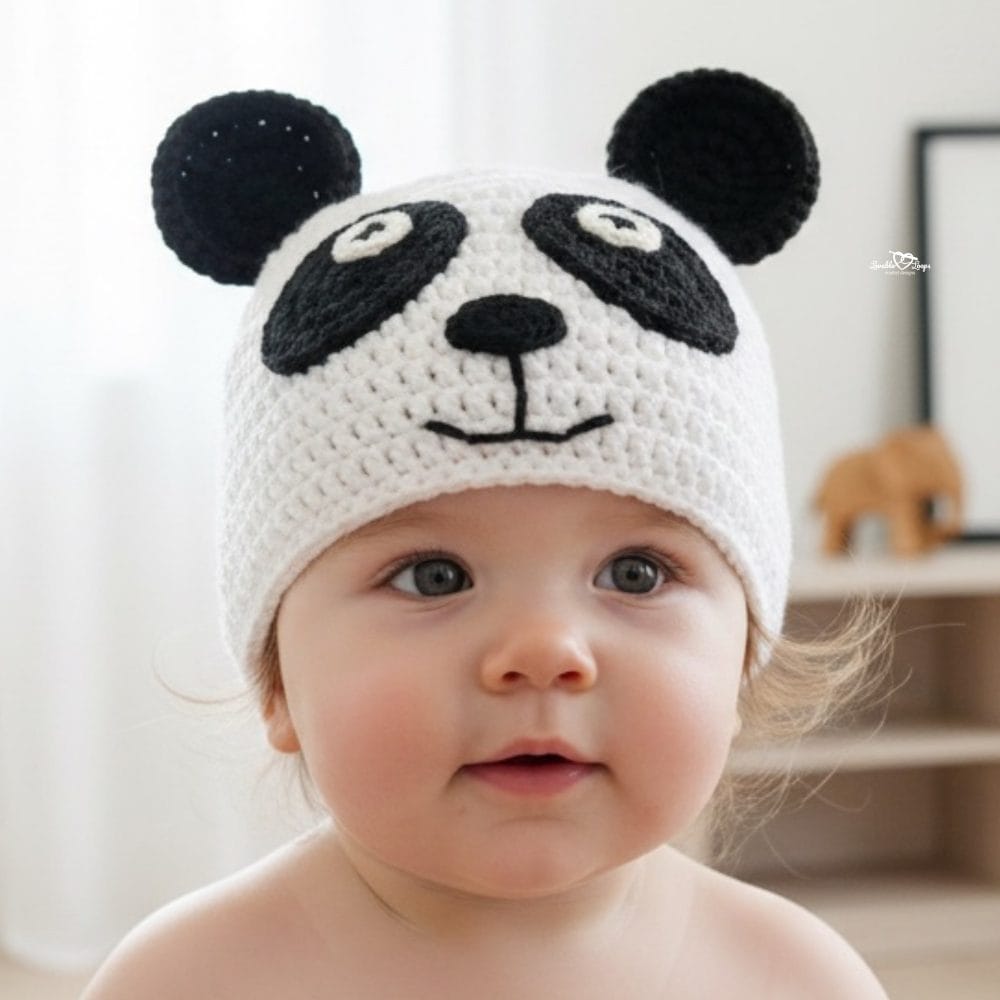
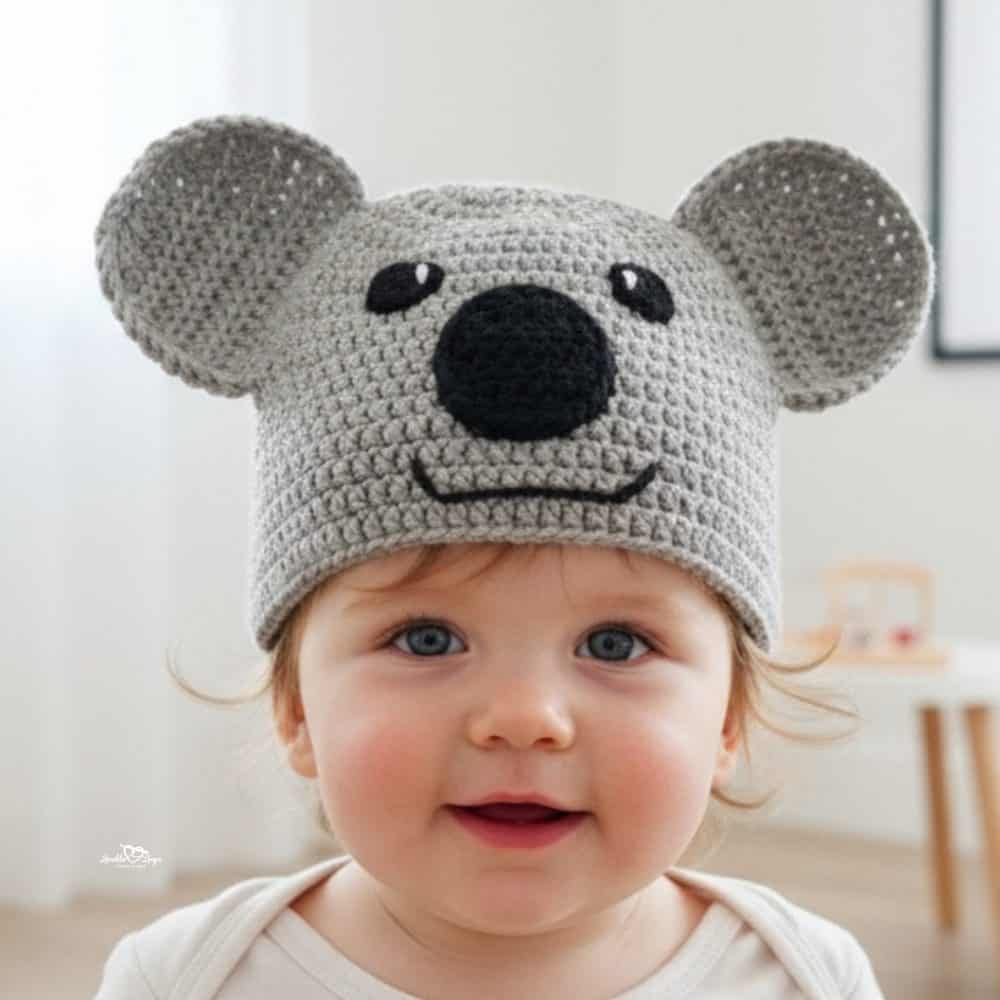
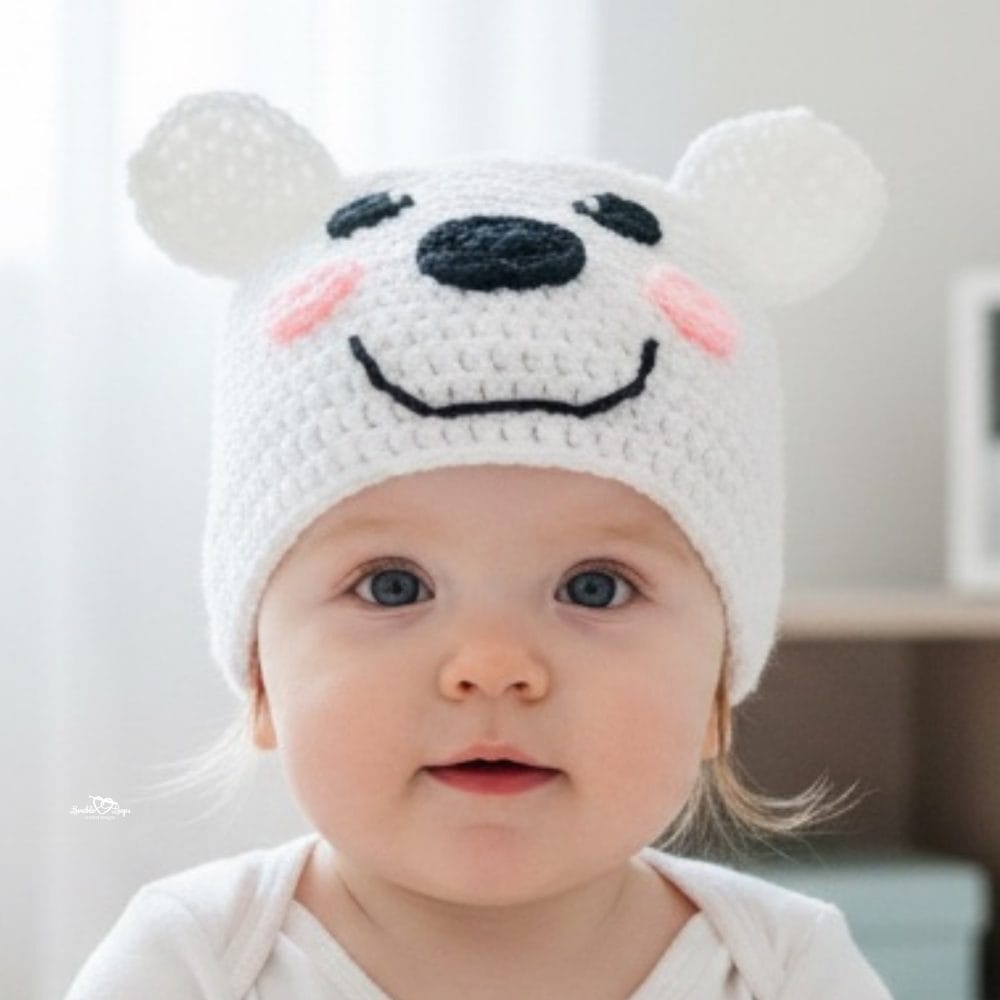
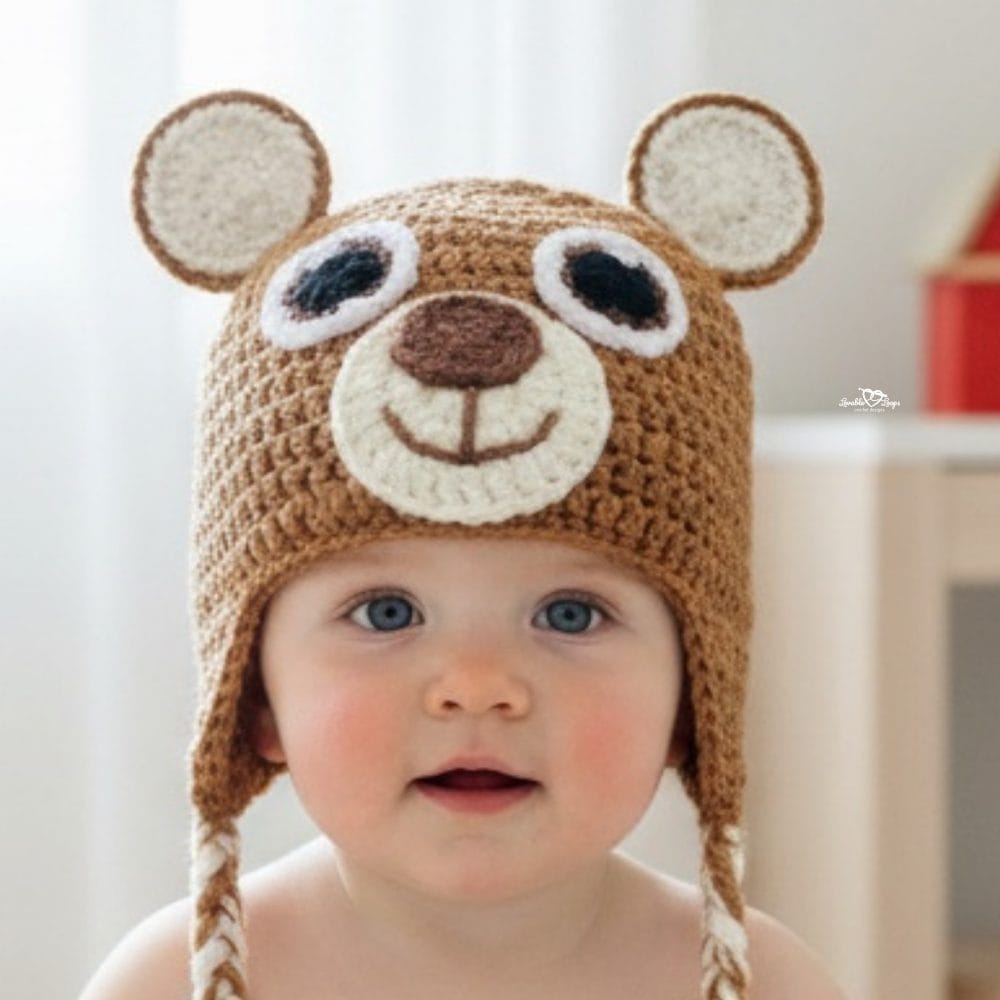
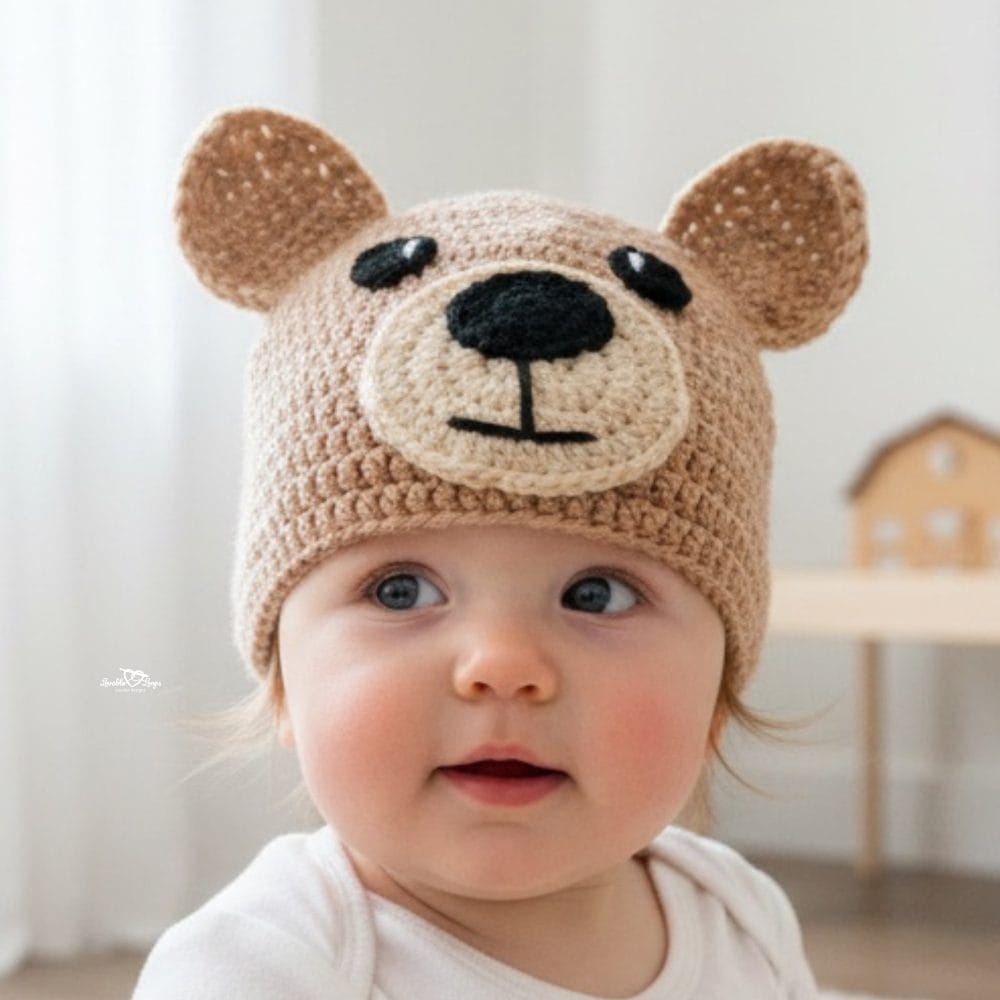
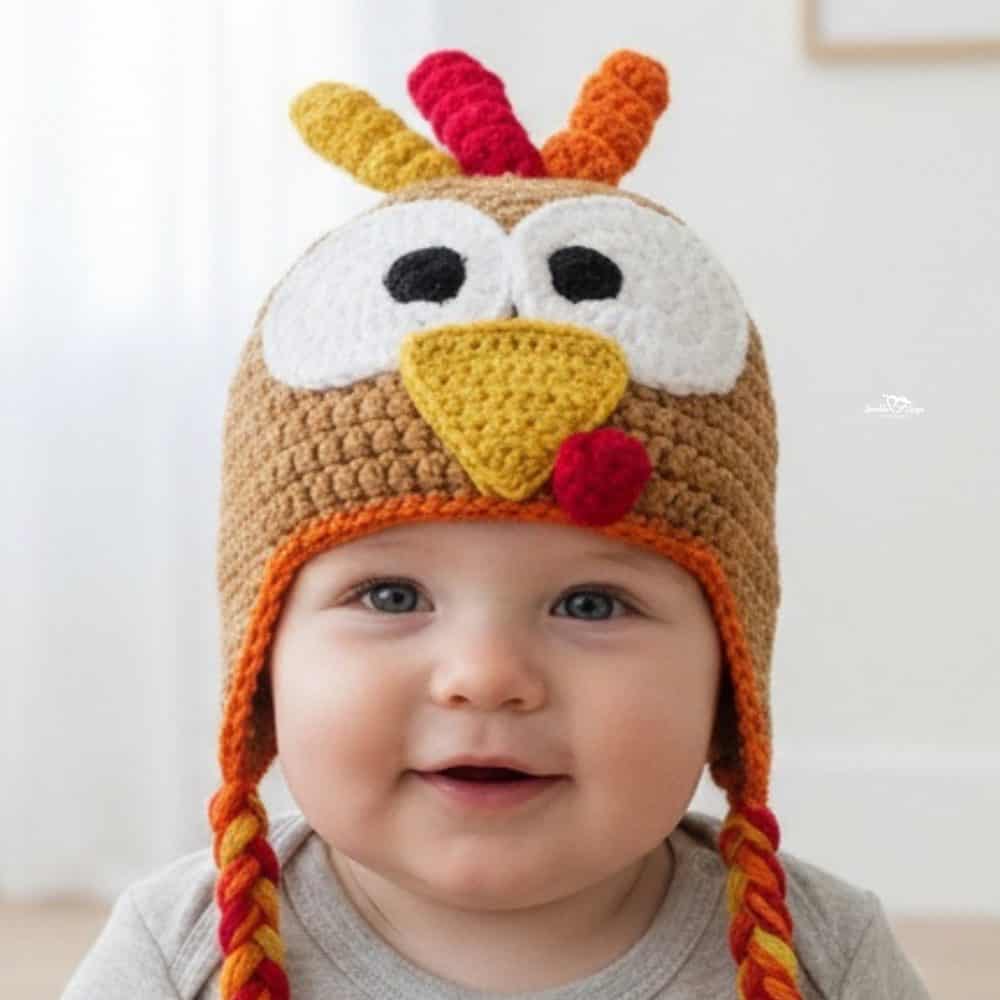
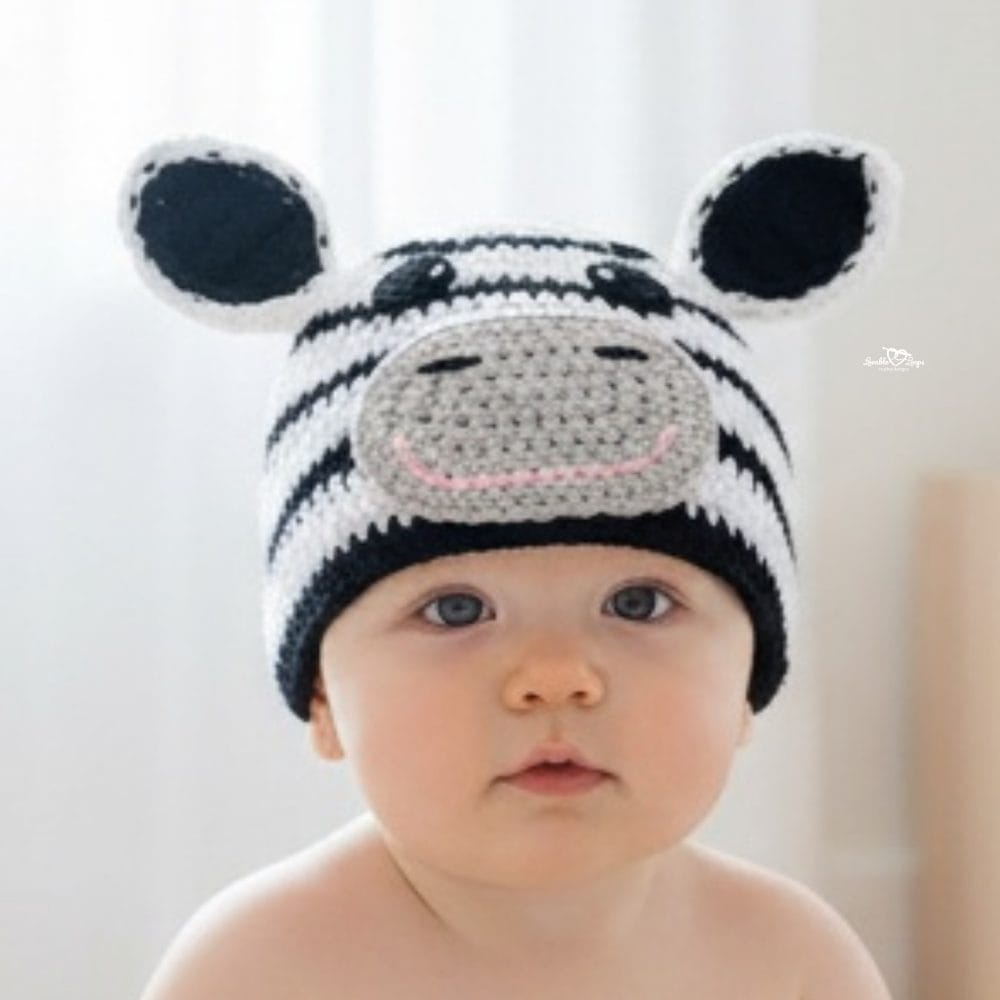
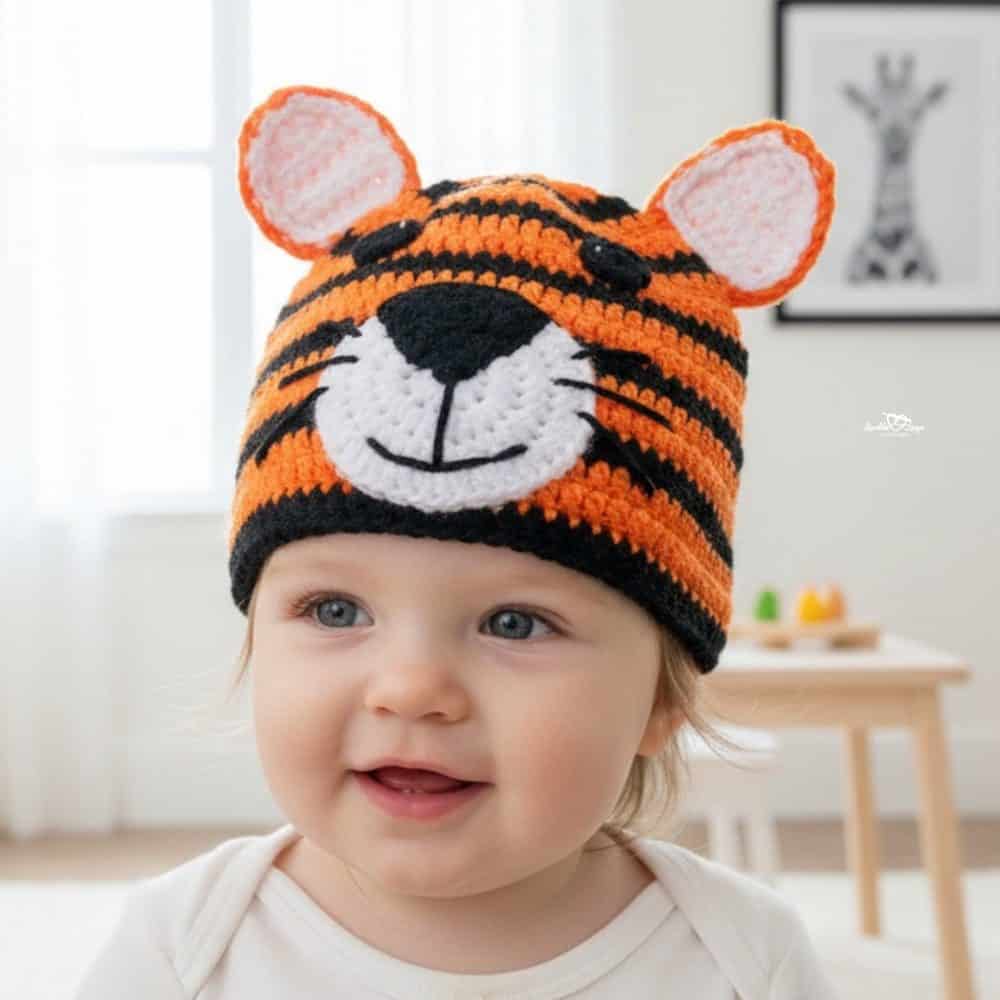
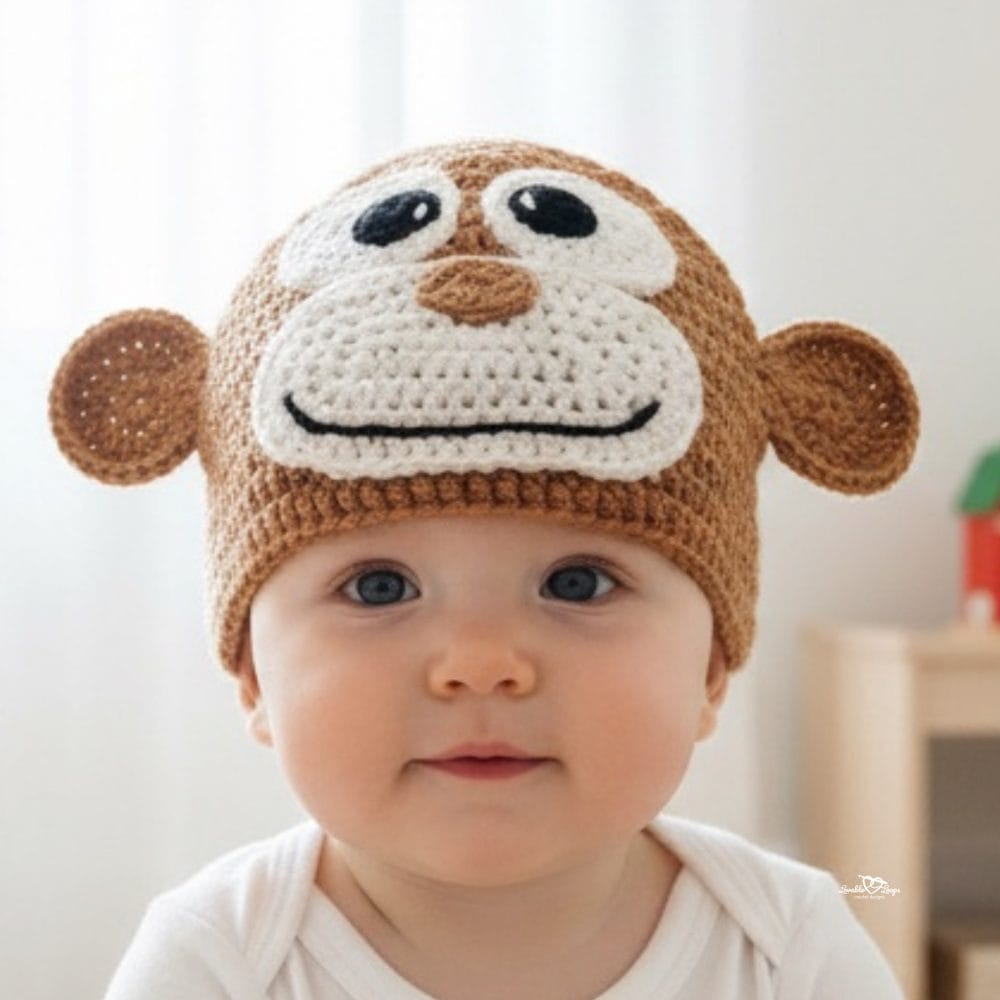
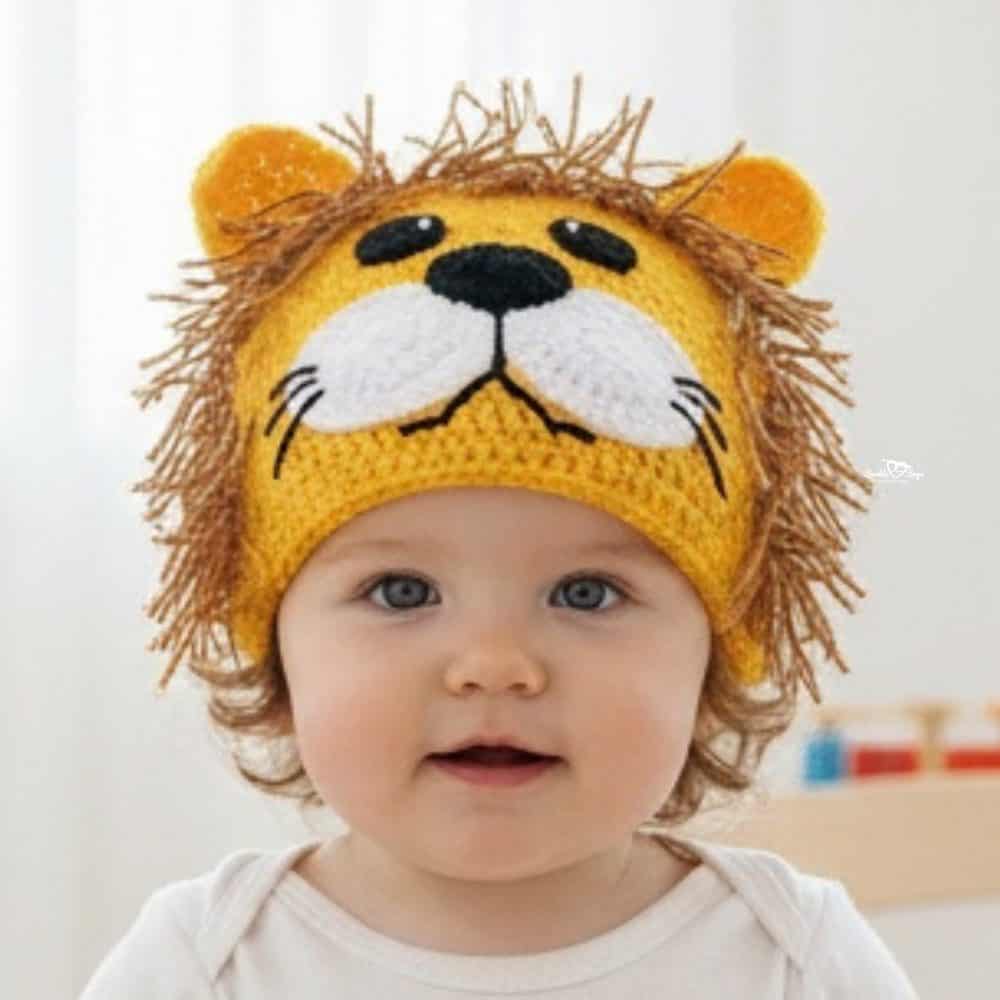
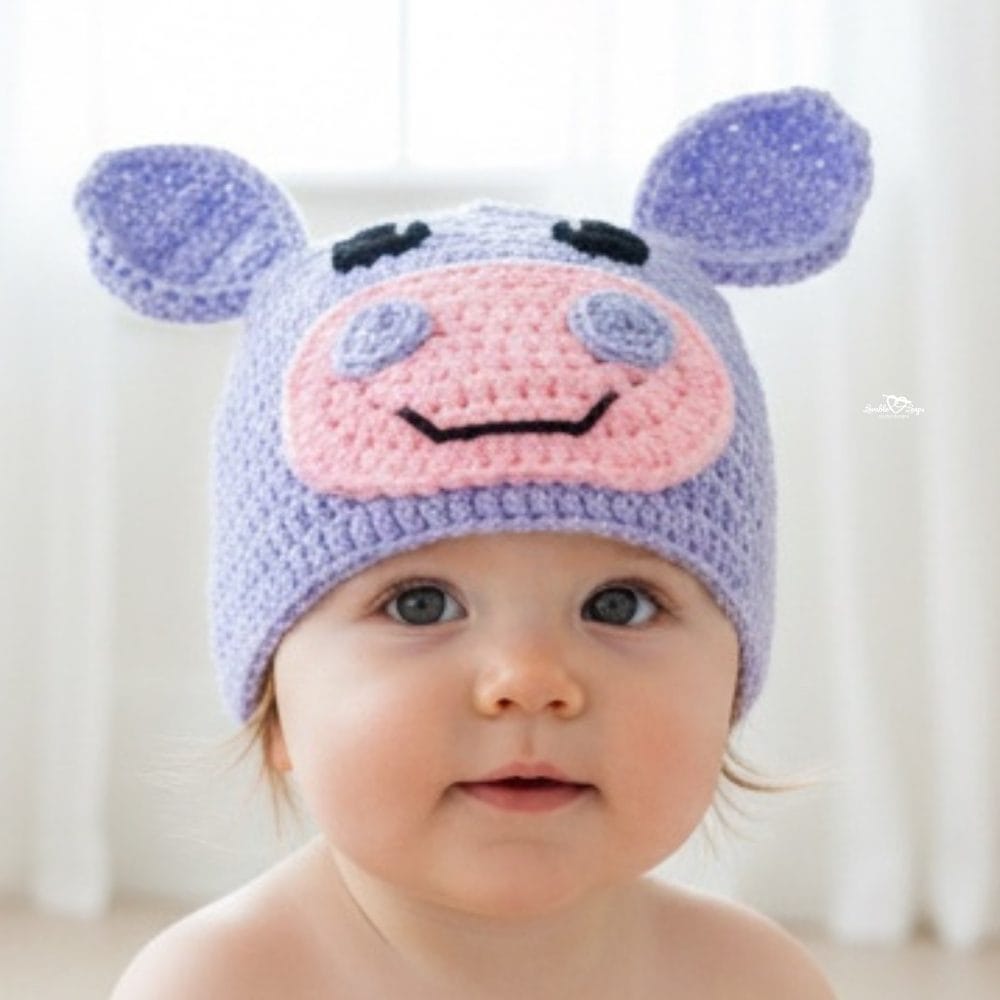
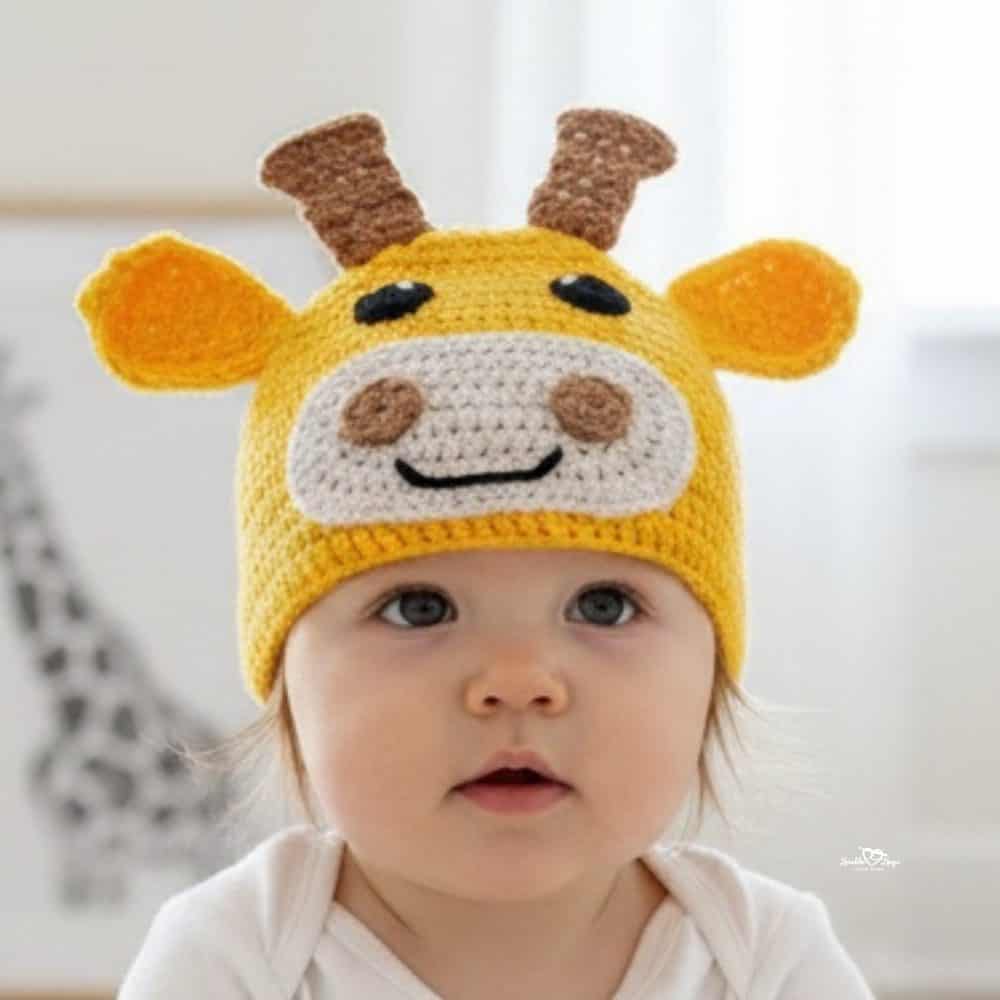
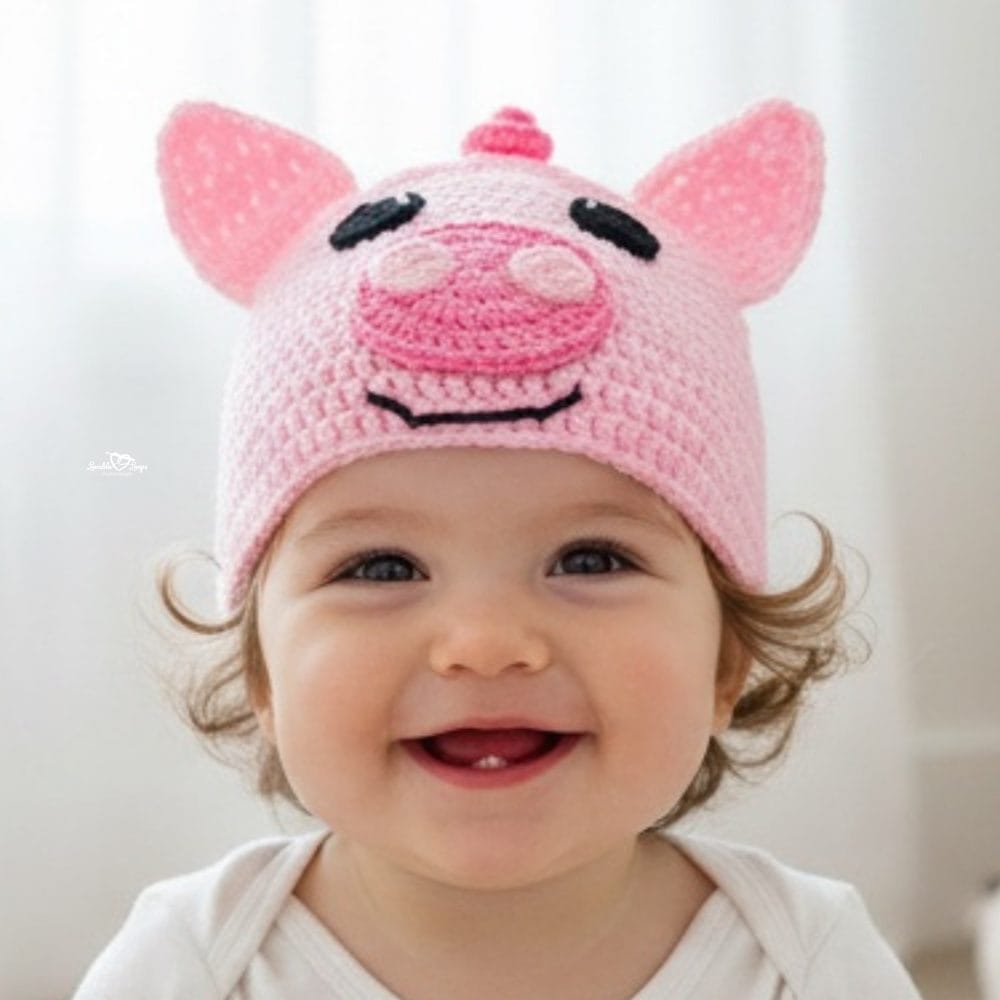
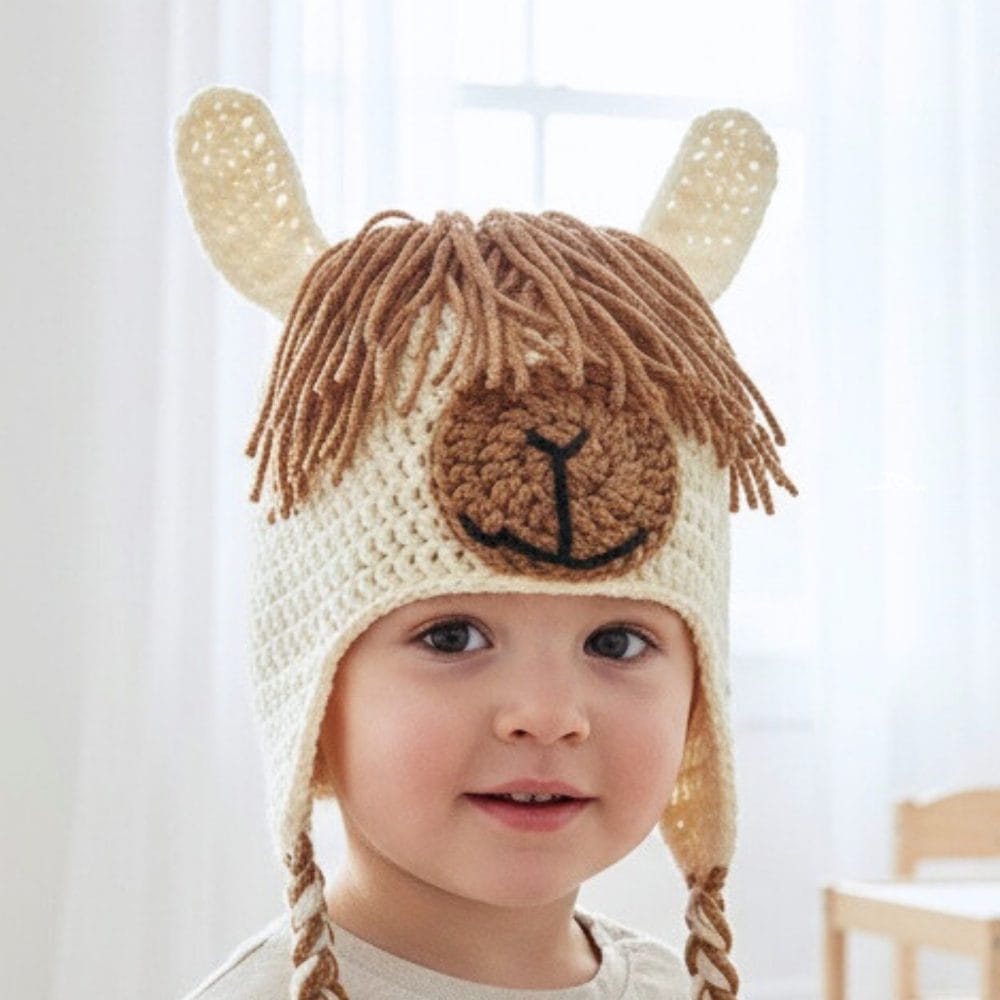
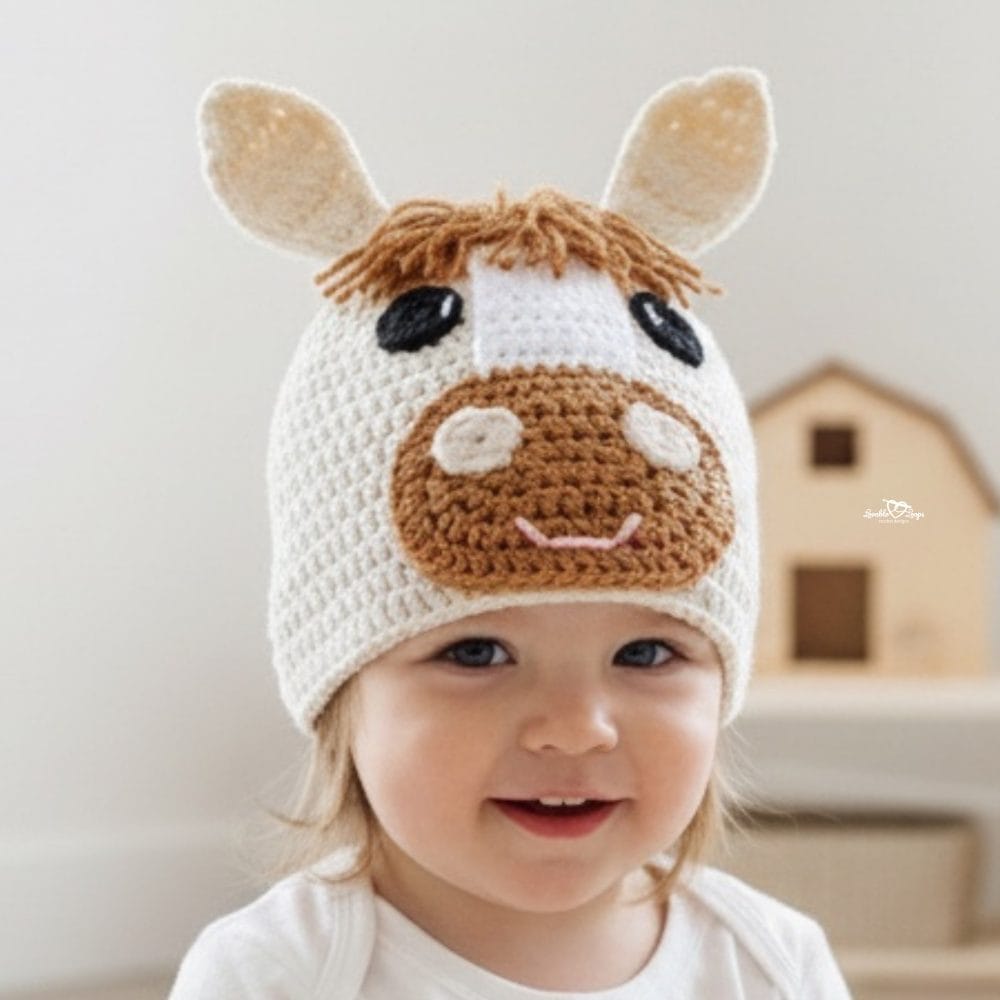
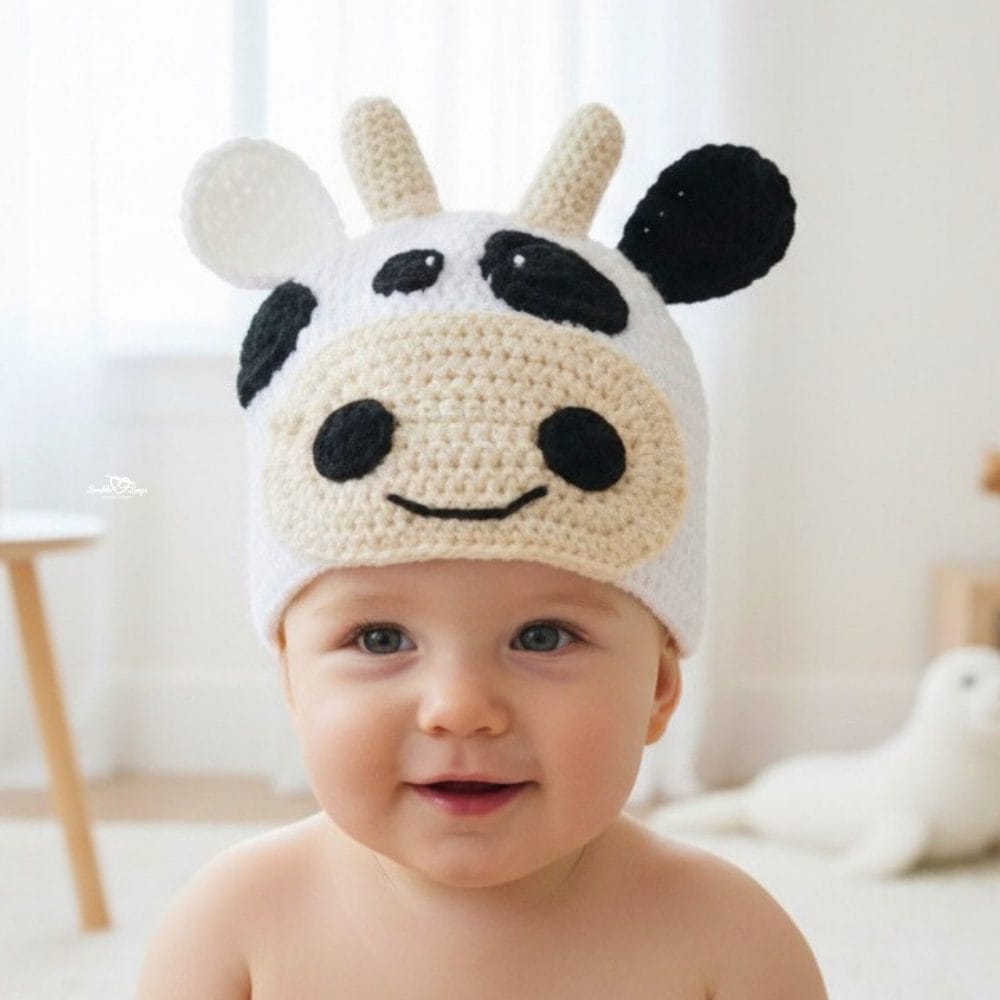
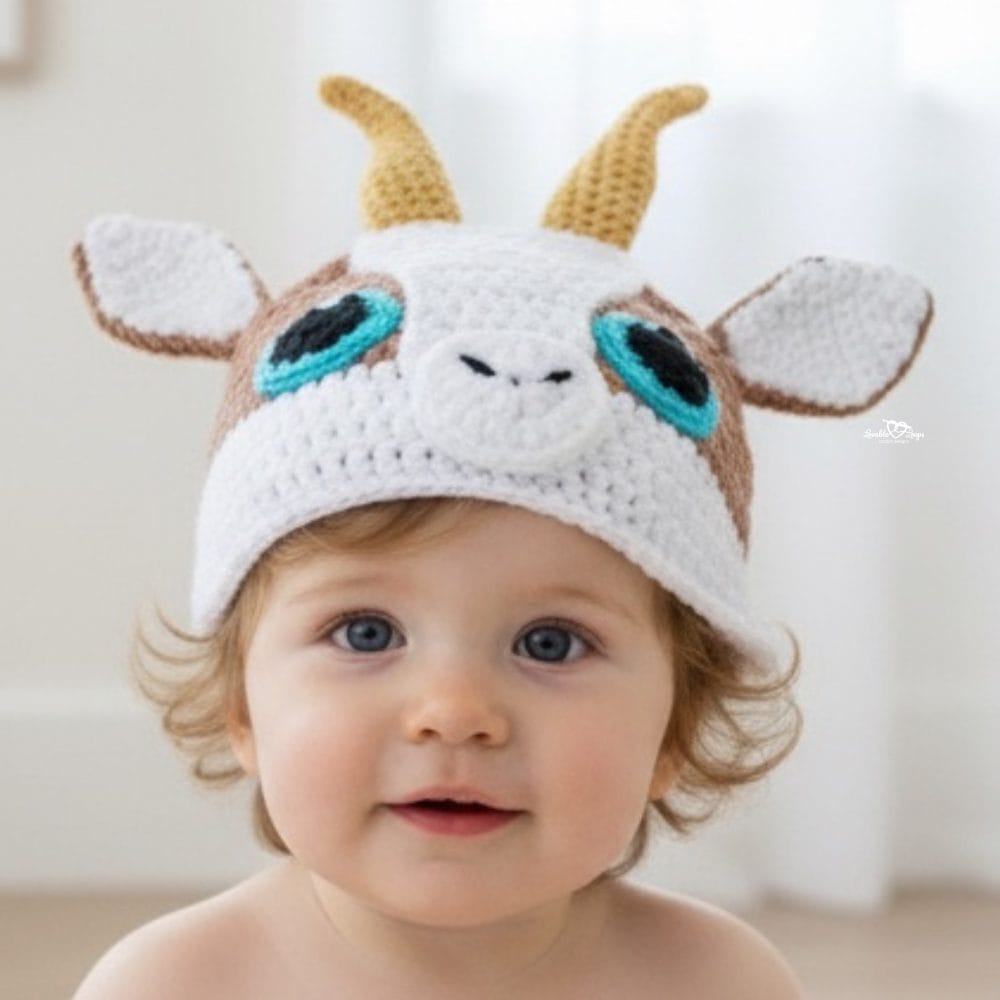
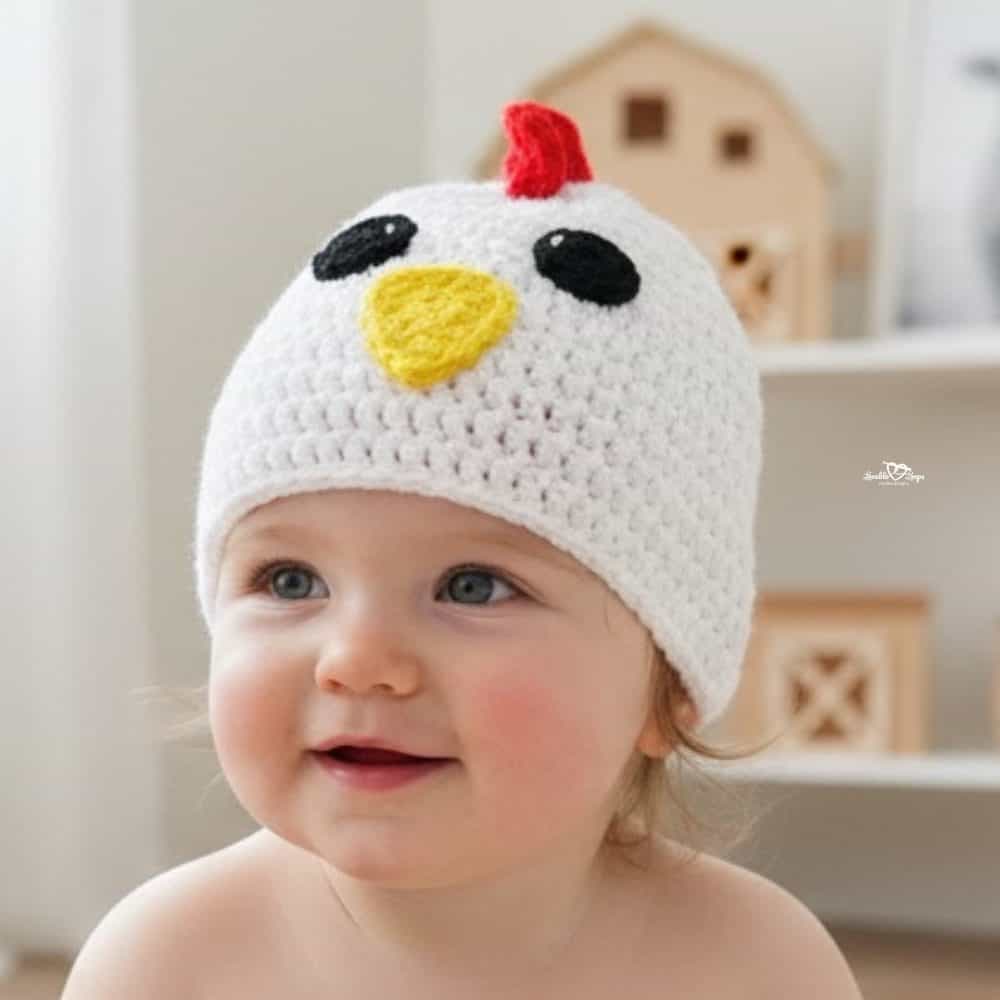
More free crochet animal hat patterns
Love cute animal hats? You’re in the right place! This collection of free crochet animal hat patterns includes fun designs for every season and personality, from sweet farm animals to wild zoo favorites.
Each pattern is beginner-friendly and written in baby to adult sizes, so you can make matching hats for the whole family. They’re great for gifts, dress-up, photo props, school spirit days, and everyday cold-weather fun.

Let’s connect!
I’d love to see what you’re making! Share your finished project and follow along for more free crochet patterns and tutorials.
📌 Don’t forget to pin this pattern for later!
Happy crocheting! 🧶
— Melissa