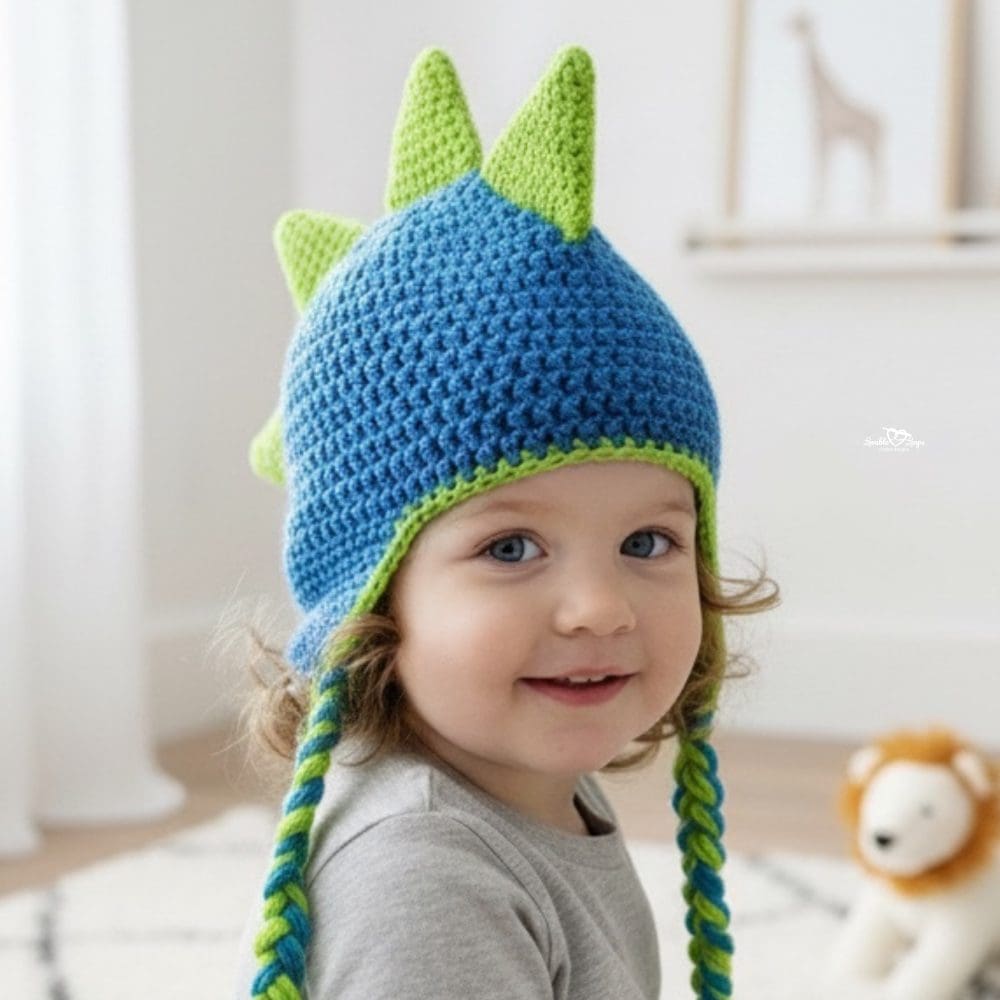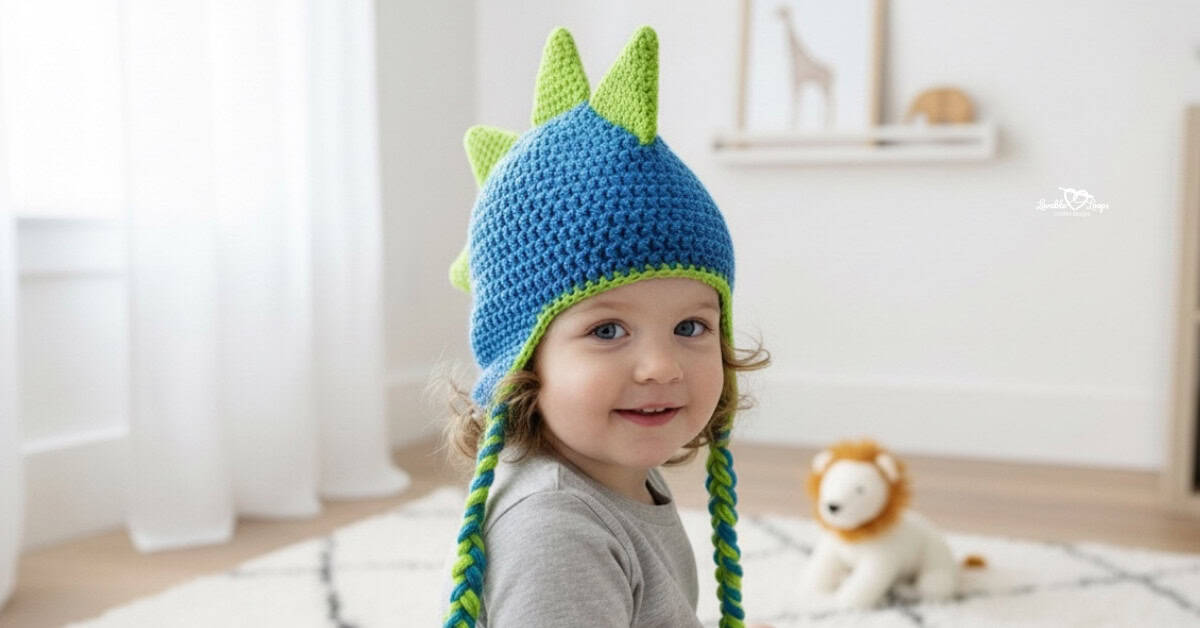
Crochet dinosaur hat pattern
Looking for a fun hat with big kid appeal? This crochet dinosaur hat pattern is a playful, beginner-friendly project with bold dino spikes, cozy earflaps, and braided ties. It’s a great choice for dress-up, gifts, photos, or everyday wear.
Quick answer:
This crochet dinosaur hat pattern is an advanced beginner-friendly hat worked from the top down in the round using worsted weight yarn (#4) and an I-9 (5.5 mm) crochet hook for the hat. It includes toddler, child, and adult sizes and is finished with earflaps, braided ties, and separate dinosaur spikes added at the end.
Best for: Advanced beginners
Style: Top-down dinosaur hat with earflaps, braided ties, and dino spikes
Includes: 3 sizes, written instructions, gauge, and finishing notes
Why you’ll love this pattern
- Fun and playful — the dinosaur design is bold, cute, and full of personality
- Great for kids and adults — toddler, child, and adult sizes are included
- Cozy to wear — earflaps and braided ties add warmth and comfort
- Beginner-friendly — simple stitches and easy shaping keep it approachable
- Perfect for gifts and dress-up — a fun choice for costumes, photos, and handmade presents
How this hat is constructed
This hat is worked from the top down in the round, starting at the crown and continuing into the body of the hat. Once the main hat is finished, the earflaps are added, followed by braided ties for extra warmth and style. The dinosaur spikes are crocheted separately and attached at the end, giving the hat its fun dino look.
Crochet dinosaur hat pattern details
Here’s a quick overview of the materials, sizing, gauge, and pattern notes before you begin.
Skill level
Advanced beginner. This crochet dinosaur hat pattern uses basic stitches, repetitive rounds, minimal color changes, and simple shaping and finishing.
Materials needed
- Crochet hook sizes
I-9 (5.5 mm): For the hat.
G-6 (4 mm): For the dinosaur spikes. - Worsted weight yarn (#4): In blue and green.
- Yarn needle: For weaving in ends neatly.
- Scissors: To cut your yarn.
- Stitch markers: Optional. To keep track of your stitches.
Finished size
This dinosaur hat pattern includes three sizes.
- Toddler — 18–19 inches (46–48 cm) head circumference, 7 inches (18 cm) tall
- Child — 19–20 inches (48–51 cm) head circumference, 7.75 inches (20 cm) tall
- Adult — 20–23 inches (51–58 cm) head circumference, 8 inches (20 cm) tall
Need help with sizing? Check out my crochet hat sizing guide to measure head circumference, use negative ease, and adjust crown diameter and hat height for the best fit.
Gauge
14 stitches and 9 rows = 4 inches (10 cm)
Too many stitches in 4 inches? Try a larger hook.
Too few stitches in 4 inches? Try a smaller hook.
Crochet abbreviations
- dc = double crochet stitch
- sc = single crochet stitch
- hdc = half double crochet stitch
- sc2tog = single crochet decrease
- ch/chs = chain/chains
- st/sts = stitch/stitches
- sl st = slip stitch
Pattern notes
- Use an I-9 (5.5 mm) crochet hook for the hat.
- Use a G-6 (4 mm) crochet hook for the spikes.
- This hat is worked in the round from the top down.
- The chain 2 at the start of each round does not count as a stitch.
- Join each round with a slip stitch to the first stitch of the round.
- Repeat instructions between asterisks (*) for the rest of the round.
- The pattern is written in US crochet terms.

Free crochet dinosaur hat pattern instructions
Follow the free crochet dinosaur hat pattern instructions below to make your hat in toddler, child, or adult size, then add earflaps, braids, and spikes to finish.
Toddler size
Rnd 1: Magic circle, ch 2, 11 dc, join with sl st (11 stitches)
Rnd 2: Ch 2, 2 dc in each st, join (22 stitches)
Rnd 3: Ch 2, *2 dc, dc in next stitch*, join (33 sts)
Rnd 4: Ch 2, *2 dc, dc in next 2 sts*, join (44 sts)
Rnd 5: Ch 2, *2 dc, dc in next 10 sts*, join (48 stitches)
Rnd 6: Ch 2, *2 dc, dc in next 11 sts*, join (52 stitches)
Rnd 7: Ch 2, *2 dc, dc in next 12 sts*, join (56 stitches)
Rnd 8: Ch 2, dc in each st, join (56 stitches)
Rnds 9–16: Repeat round 8 (56 stitches)
Do not fasten off.
Child size
Rnd 1: Magic circle, ch 2, 11 dc, join with sl st (11 stitches)
Rnd 2: Ch 2, 2 dc in each st, join (22 stitches)
Rnd 3: Ch 2, *2 dc, dc in next stitch*, join (33 sts)
Rnd 4: Ch 2, *2 dc, dc in next 2 sts*, join (44 sts)
Rnd 5: Ch 2, *2 dc, dc in next 10 sts*, join (48 stitches)
Rnd 6: Ch 2, *2 dc, dc in next 11 sts*, join (52 stitches)
Rnd 7: Ch 2, *2 dc, dc in next 12 sts*, join (56 stitches)
Rnd 8: Ch 2, *2 dc, dc in next 13 sts*, join (60 stitches)
Rnd 9: Ch 2, dc in each st, join (60 stitches)
Rnds 10–17: Repeat round 9 (60 stitches)
Do not fasten off.
Adult size
Rnd 1: Magic circle, ch 2, 11 dc, join with sl st (11 stitches)
Rnd 2: Ch 2, 2 dc in each st, join (22 stitches)
Rnd 3: Ch 2, *2 dc, dc in next stitch*, join (33 sts)
Rnd 4: Ch 2, *2 dc, dc in next 2 sts*, join (44 sts)
Rnd 5: Ch 2, *2 dc, dc in next 10 sts*, join (48 stitches)
Rnd 6: Ch 2, *2 dc, dc in next 11 sts*, join (52 stitches)
Rnd 7: Ch 2, *2 dc, dc in next 12 sts*, join (56 stitches)
Rnd 8: Ch 2, *2 dc, dc in next 13 sts*, join (60 stitches)
Rnd 9: Ch 2, *2 dc, dc in next 14 sts*, join (64 stitches)
Rnd 10: Ch 2, dc in each st, join (64 stitches)
Rnds 11–19: Repeat round 10 (64 stitches)
Do not fasten off.
How to add earflaps to the crochet dinosaur hat
Start the first earflap where you ended the last round of the hat. Use the stitch counts below to leave space between the earflaps:
Toddler: Leave 18 stitches in the front and 14 stitches in the back.
Child: Leave 20 stitches in the front and 16 stitches in the back.
Adult: Leave 22 stitches in the front and 18 stitches in the back.
Row 1: Ch 1, sc in 12 sts, turn (12 stitches)
Row 2: Ch 1, sc2tog, sc in 8 sts, sc2tog, turn (10 stitches)
Row 3: Ch 1, sc in each st, turn (10 stitches)
Row 4: Ch 1, sc2tog, sc in 6 sts, sc2tog, turn (8 stitches)
Row 5: Ch 1, sc in each st, turn (8 stitches)
Row 6: Ch 1, sc2tog, sc in 4 sts, sc2tog, turn (6 stitches)
Row 7: Ch 1, sc in each st, turn (6 stitches)
Row 8: Ch 1, sc2tog, sc in 2 sts, sc2tog, turn (4 stitches)
Row 9: Ch 1, sc in each st, turn (4 stitches)
Row 10: Ch 1, sc2tog, sc2tog, turn (2 stitches)
Row 11: Ch 1, sc2tog (1 stitch)
Repeat for second earflap and then single crochet around the entire hat and ear-flaps with green yarn.
Adding the braids
Cut seven 30” strands of each of the blue & green yarns for a total of 14 strands per braid.
- Fold the strands in half and pass the folded loop through the bottom of the ear flap.
- Pass the strand ends through the loop and pull tight to form a knot.
- Divide into three sections and braid.
Dinosaur spikes pattern
Make 4 spikes using a G-6 4 mm crochet hook.
Rnd 1: Magic circle, ch 2, 6 hdc, join with sl st (6 stitches)
Rnd 2: Ch 2, *2 hdc, hdc in next 2 sts*, join (8 stitches)
Rnd 3: Ch 2, *2 hdc, hdc in next 3 sts*, join (10 stitches)
Rnd 4: Ch 2, *2 hdc, hdc in next 4 sts*, join (12 stitches)
Rnd 5: Ch 2, *2 hdc, hdc in next 5 sts*, join (14 stitches)
Rnd 6: Ch 2, *2 hdc, hdc in next 6 sts*, join (16 stitches)
Rnd 7: Ch 2, *2 hdc, hdc in next 7 sts*, join (18 stitches)
Rnd 8: Ch 2, *2 hdc, hdc in next 8 sts*, join (20 stitches)
Rnd 9: Ch 2, *2 hdc, hdc in next 9 sts*, join (22 stitches)
Rnd 10: Ch 2, *2 hdc, hdc in next 10 sts*, join (24 stitches)
Attach the spikes to the hat
Flatten each spike into a triangle shape. Using a yarn needle, sew the yarn tail through both sides of the spike and into the stitches of the hat to attach it securely. Repeat for each spike, spacing them evenly down the center of the hat.
Finishing the hat
Weave in all remaining yarn ends with a yarn needle and trim any excess. Your crochet dinosaur hat is now ready to wear, gift, or sell.
Crochet dinosaur hat pattern FAQs
What skill level is this crochet dinosaur hat pattern?
This crochet dinosaur hat pattern is best for advanced beginners. It uses basic stitches like single crochet, half double crochet, and double crochet, along with simple decreases and working in the round.
What sizes does this crochet dinosaur hat pattern include?
The pattern includes three sizes: toddler, child, and adult. Each size is written separately so you can easily make a well-fitting dinosaur crochet hat.
What yarn is best for a crochet dinosaur hat?
Worsted weight yarn works best for this crochet dinosaur hat. It provides warmth and structure while still being comfortable to wear and easy to shape for the spikes and earflaps.
Can I make this crochet dinosaur hat without using a magic circle?
Yes. If you prefer not to use a magic circle, the pattern includes a chain-4 alternative for starting the hat. Both methods create the same finished look.
Is this crochet dinosaur hat good for gifts or craft fairs?
Yes! This dinosaur crochet hat is a popular choice for handmade gifts, costumes, and craft fair items. The playful dinosaur design stands out and appeals to kids and adults alike.
Can I customize this crochet dinosaur hat pattern?
Absolutely. You can change the hat colors, adjust the length, shorten or lengthen the braids, or add more or fewer spikes to create your own custom dinosaur crochet hat.
Ad-free printable PDF
Prefer a print-friendly version? Grab the ad-free, printable PDF of this crochet dinosaur hat pattern and enjoy easy, distraction-free crocheting.

Free crochet hat patterns
Love making cozy hats? Explore even more free crochet hat and beanie patterns that are perfect for every season and style. From classic beanies and warm winter hats to playful designs for kids and trendy accessories for adults, you’ll find inspiration for your next project here.


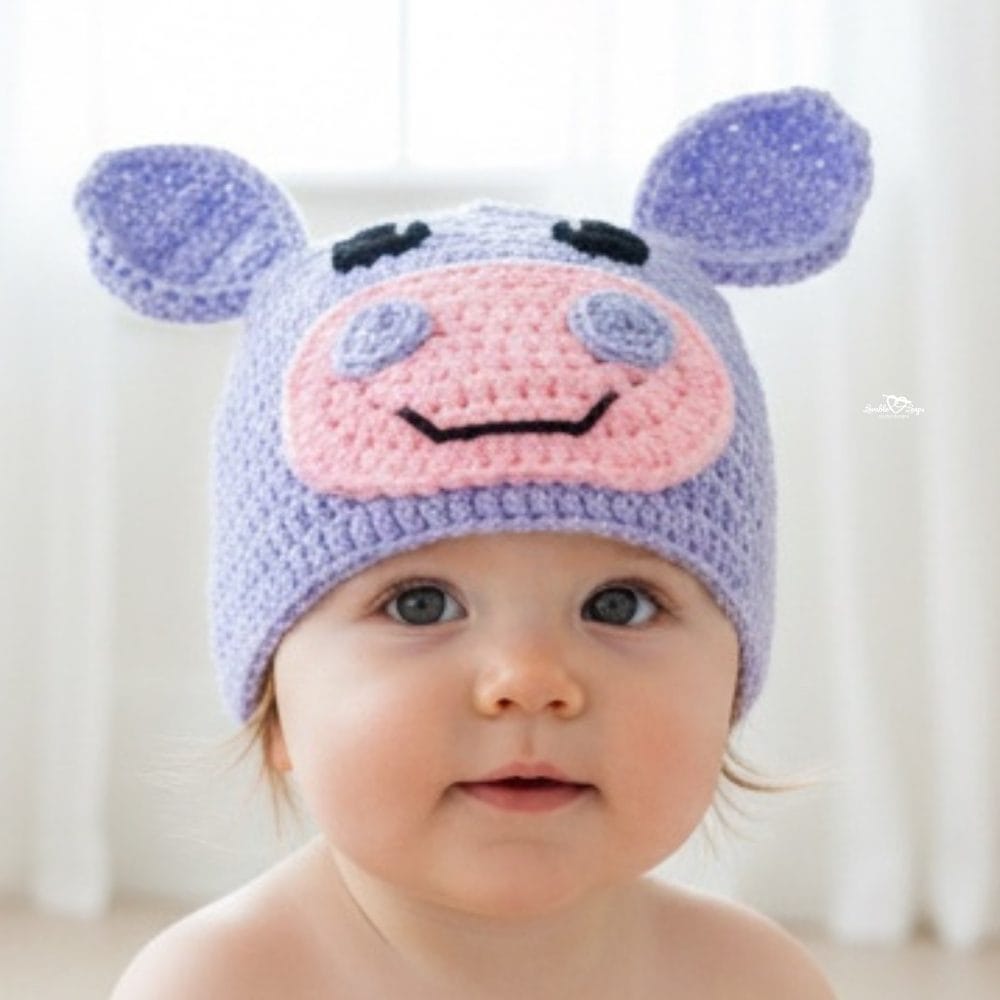
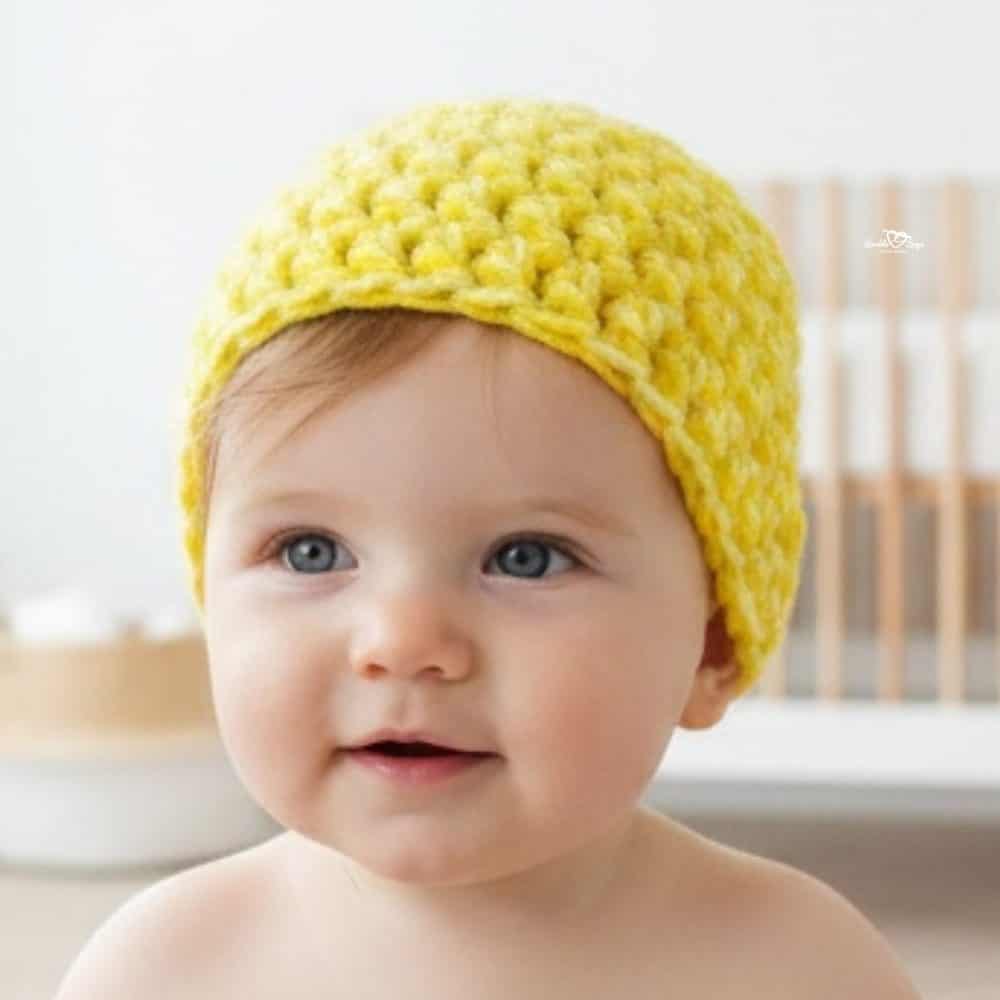
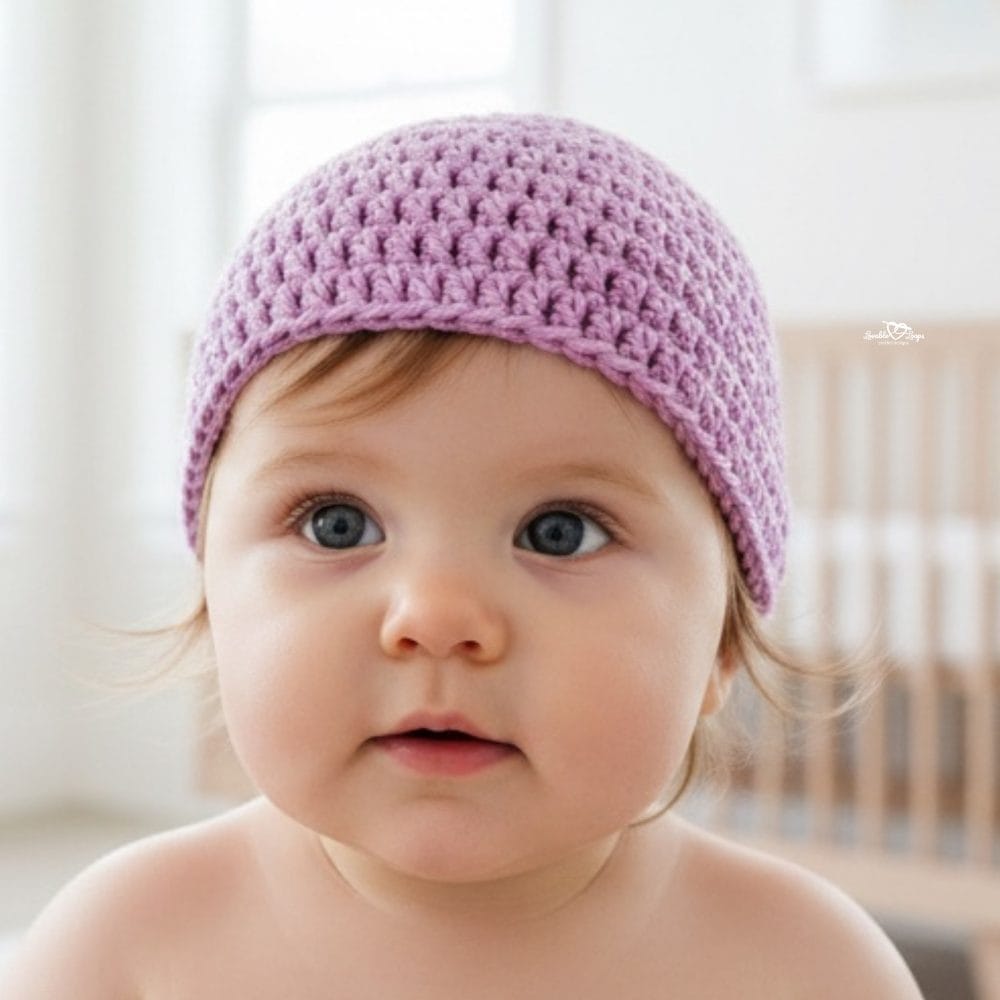
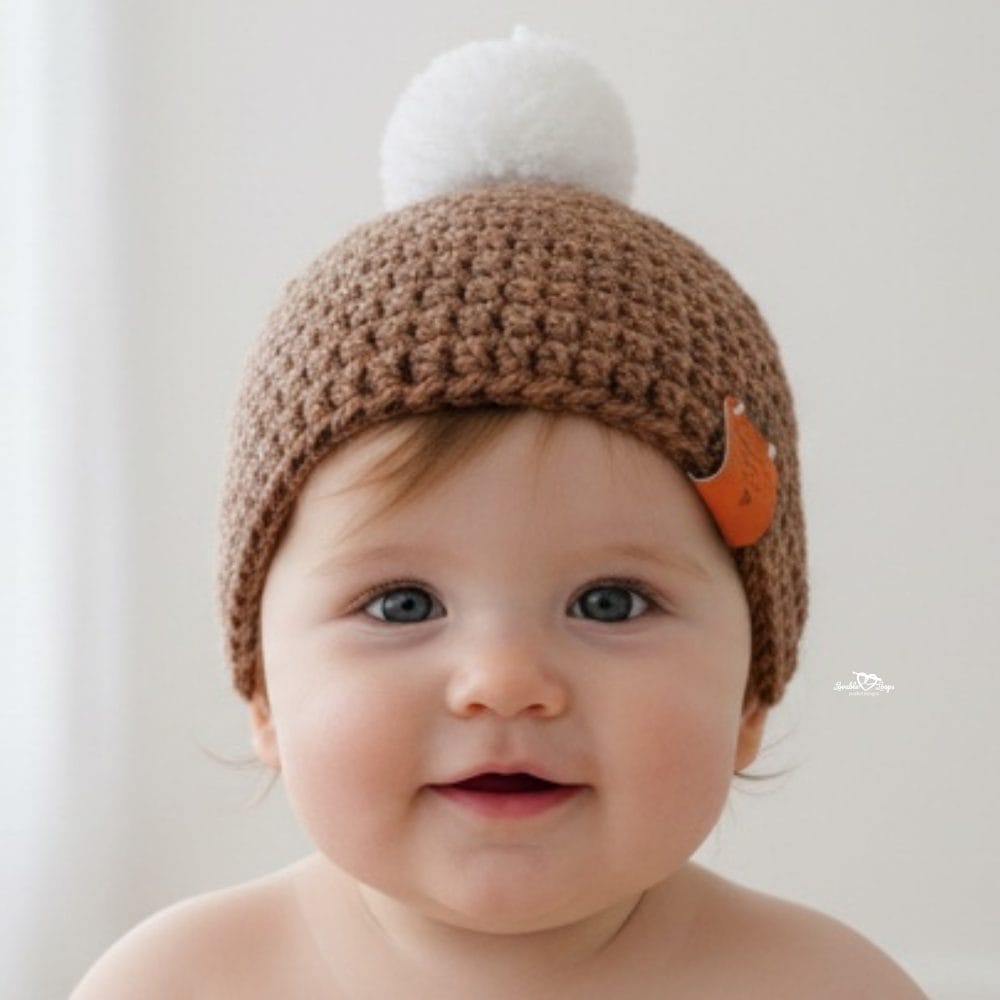
Free crochet baby hat patterns
Looking for free crochet baby hat patterns? These adorable and easy designs are perfect for newborn gifts, baby showers, and charity projects. From classic beanies to cute animal hats, you’ll find beginner-friendly patterns sized for little ones from preemie to toddler. Start your baby hat crochet projects today and create something soft, cozy, and handmade with love!
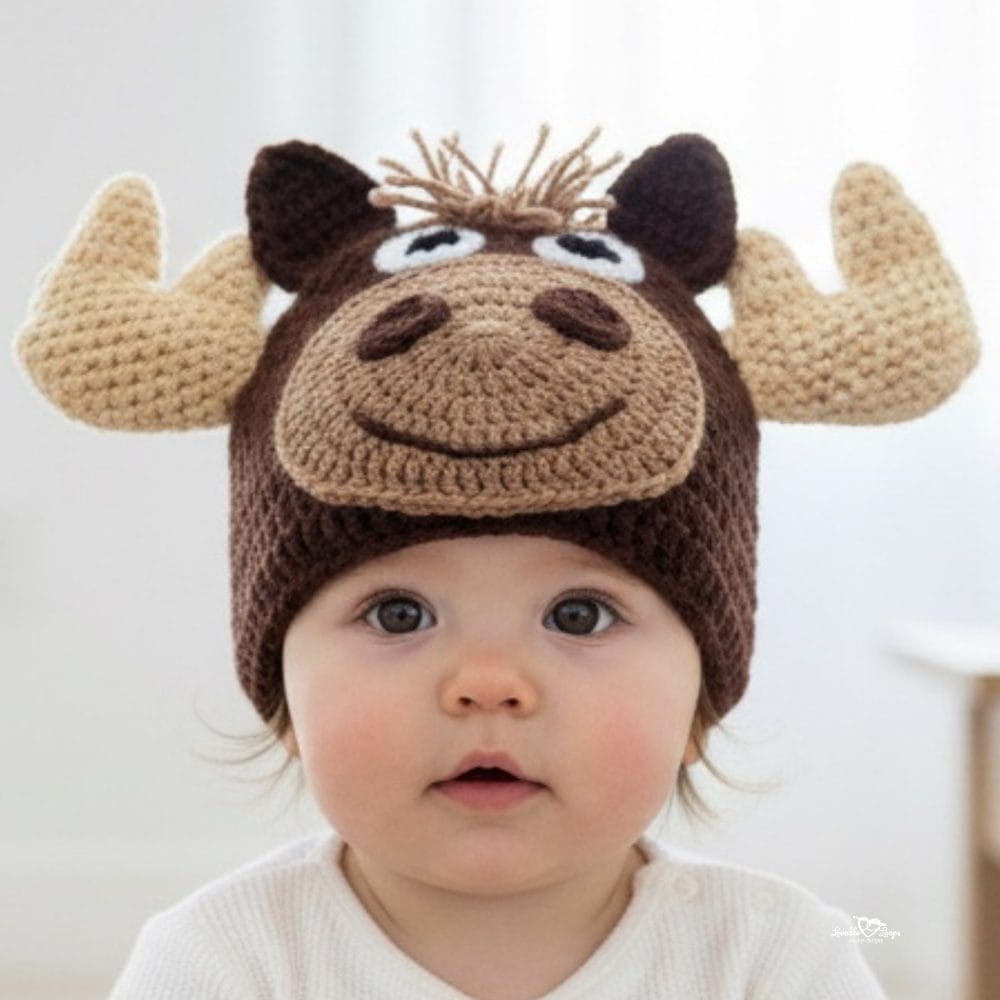
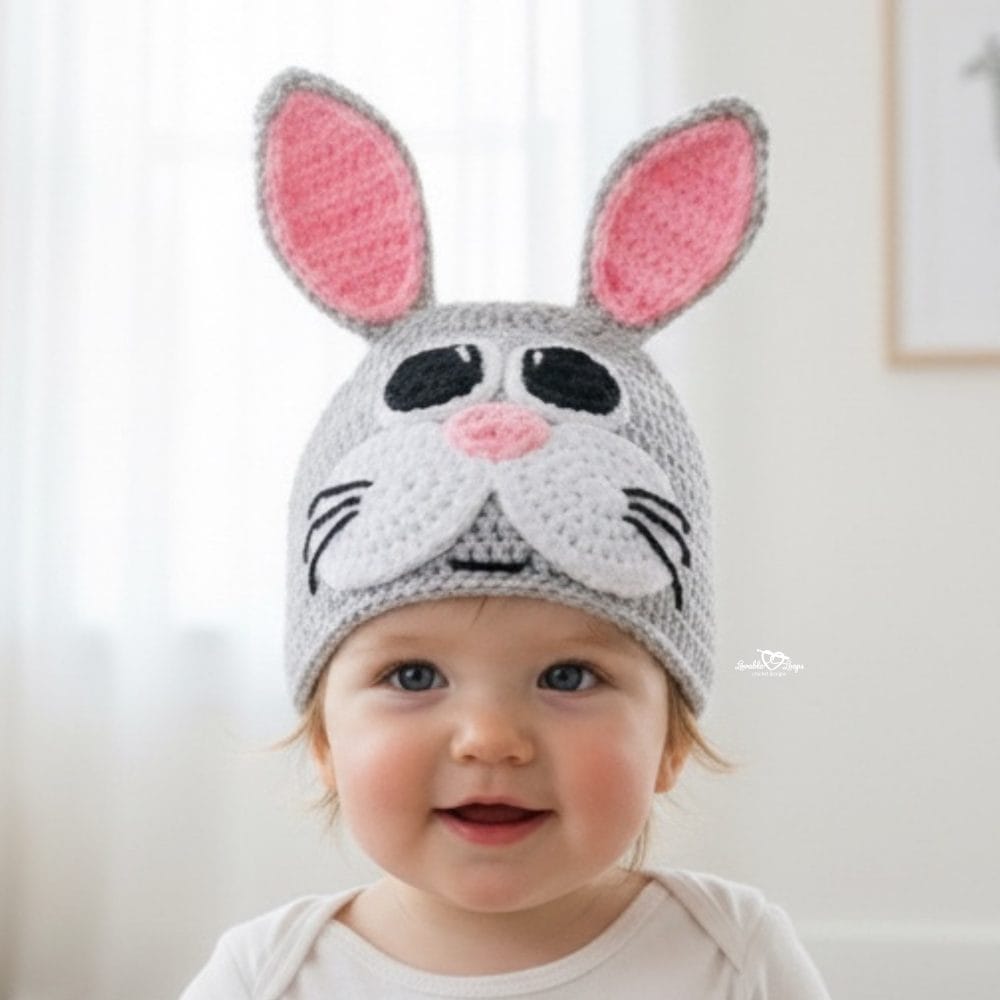
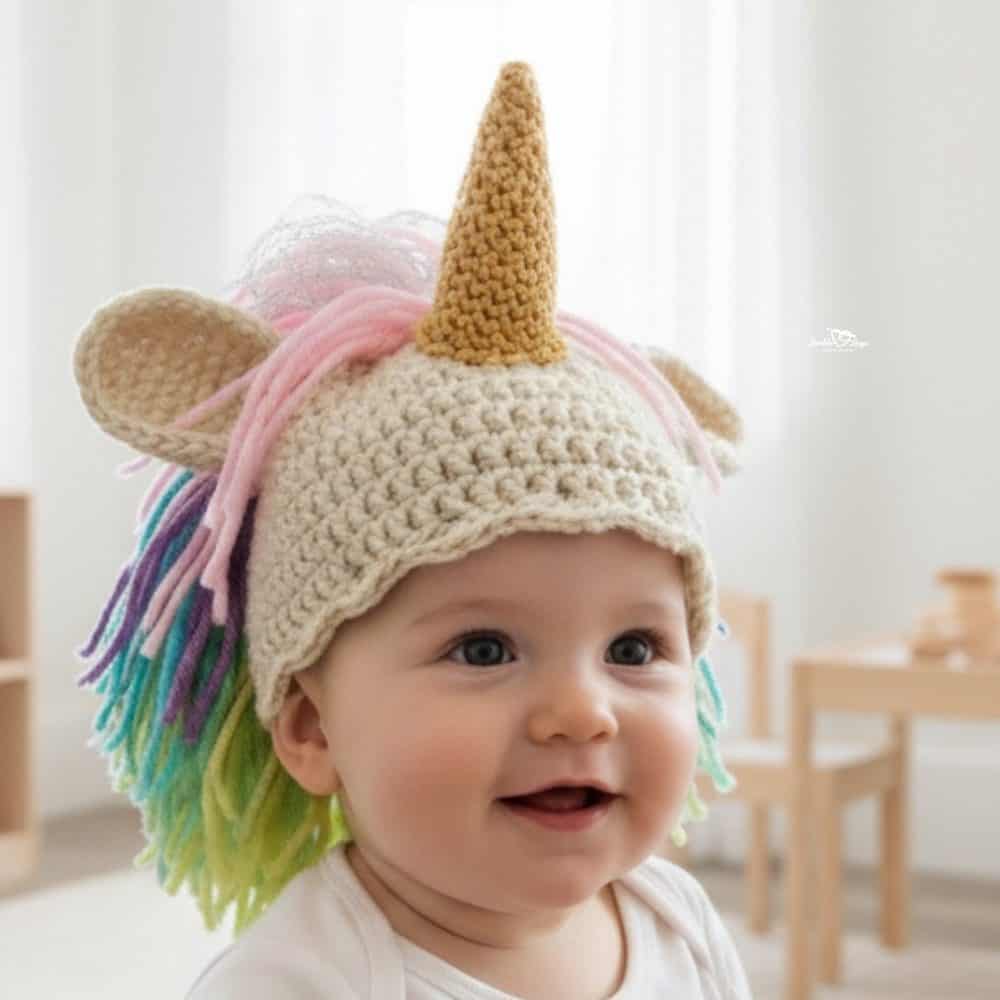
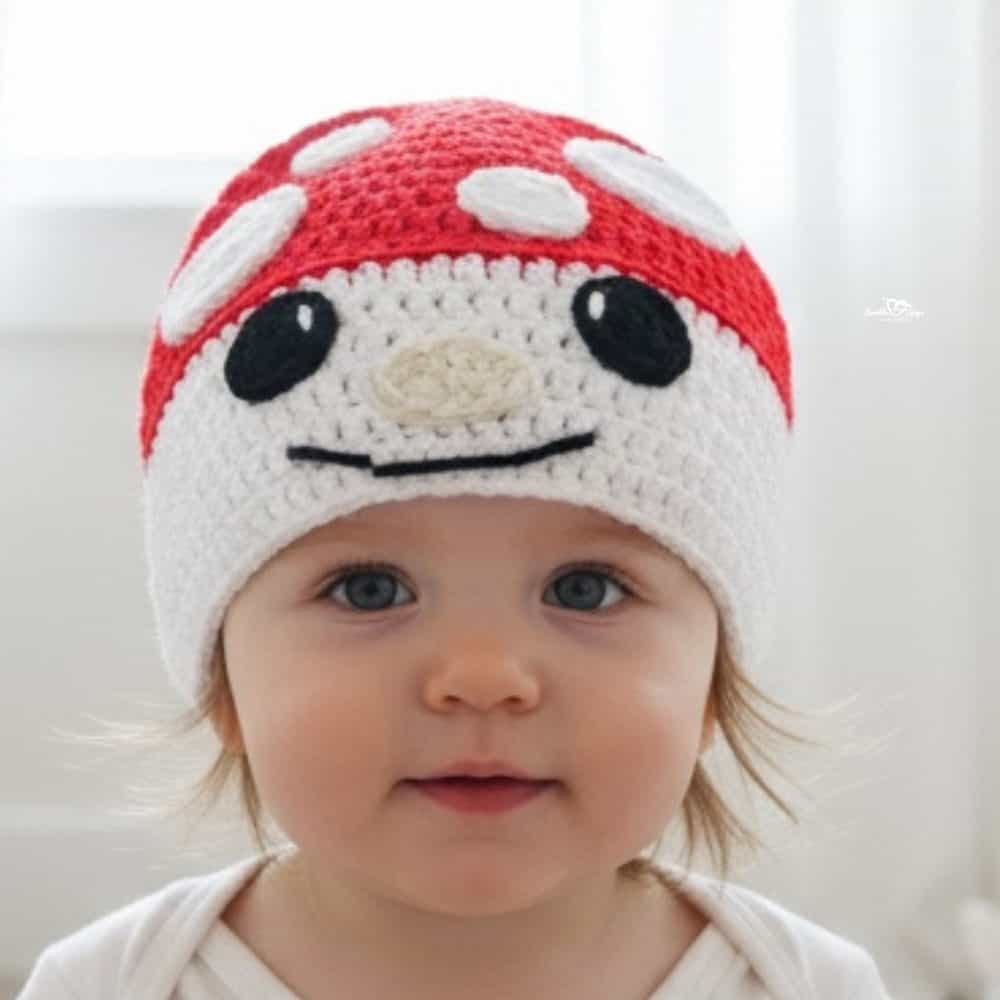
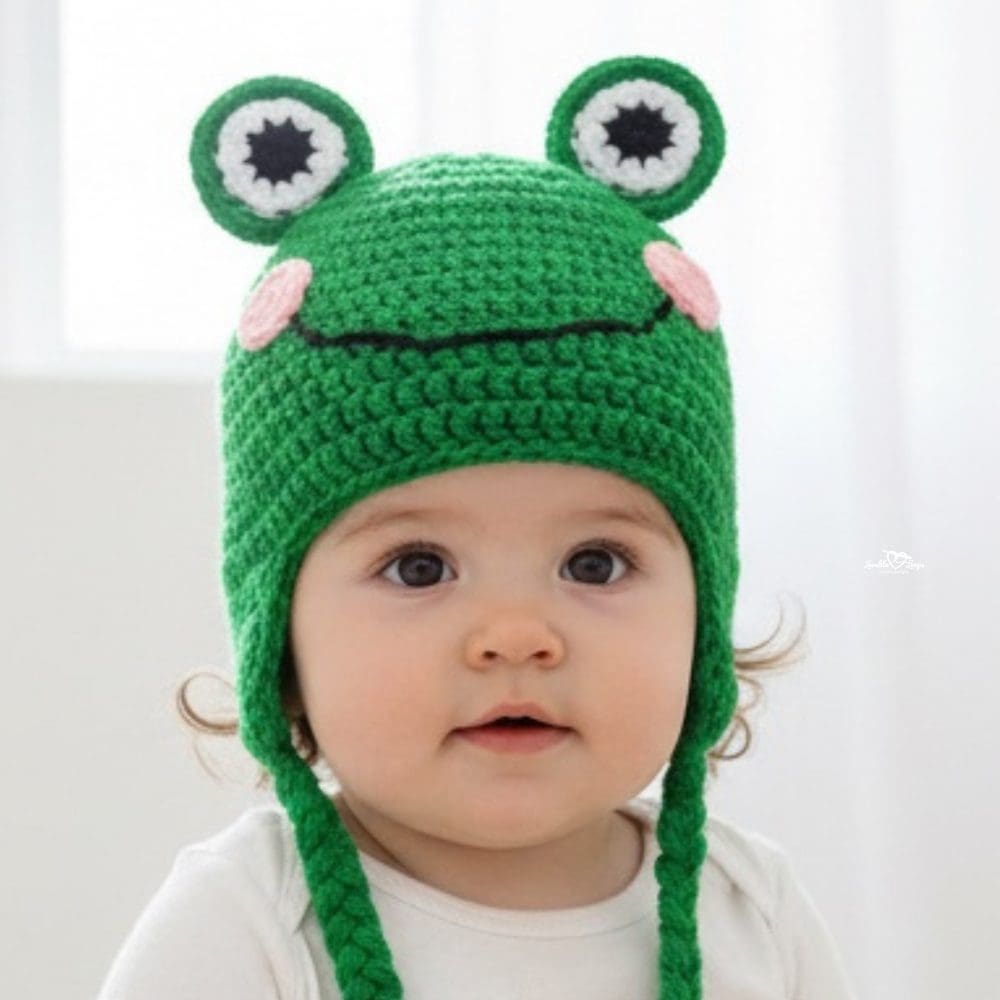
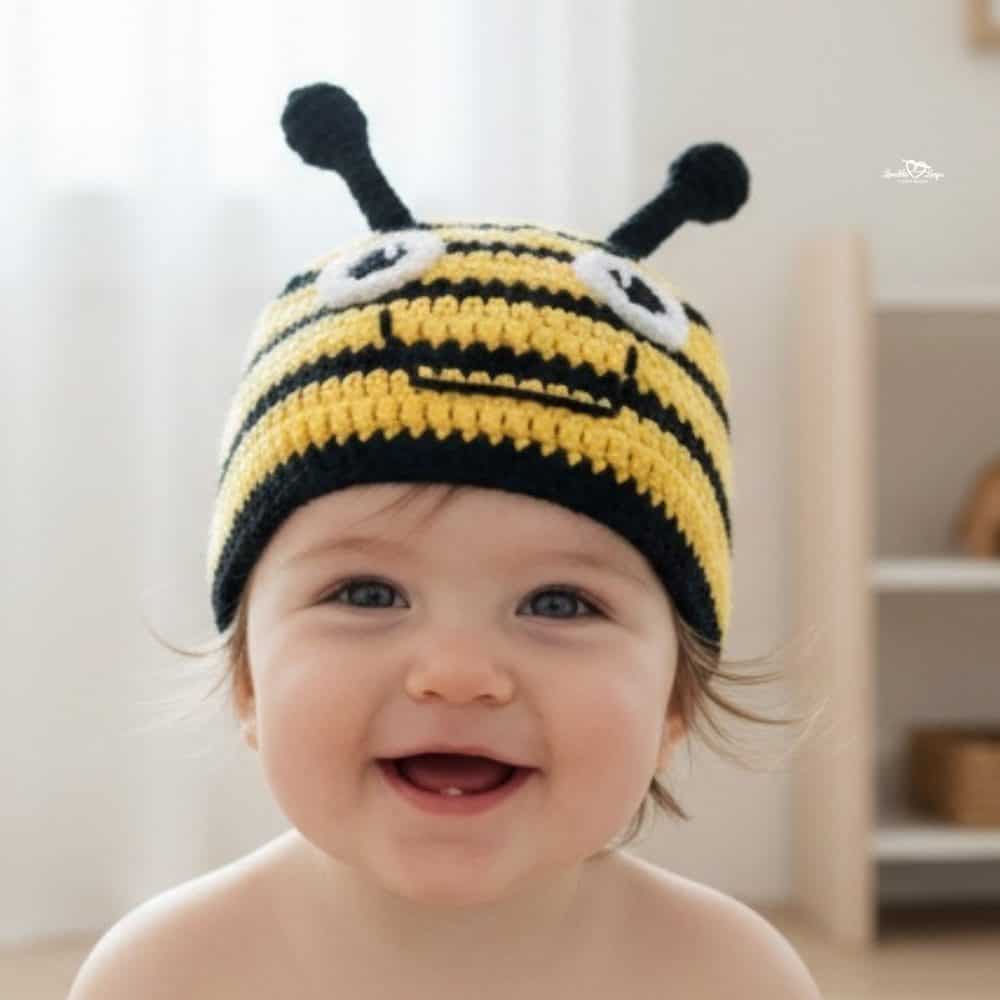
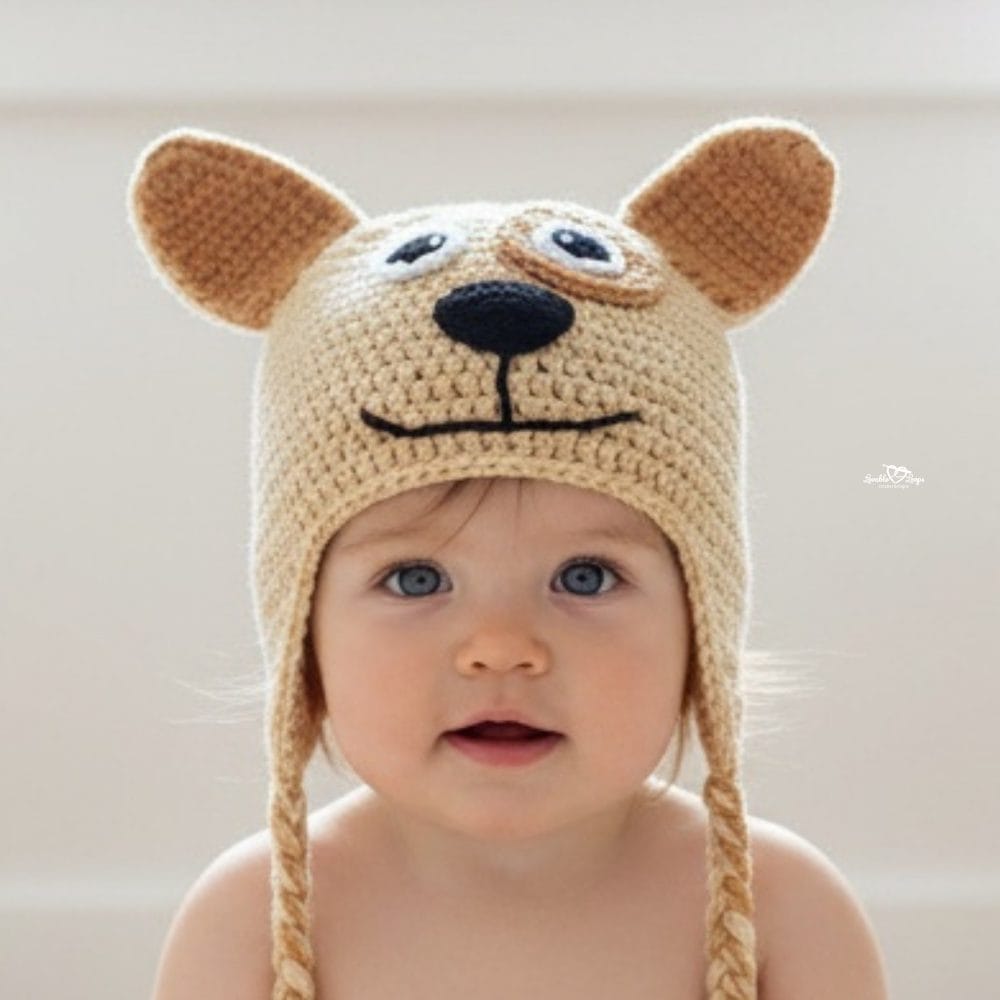
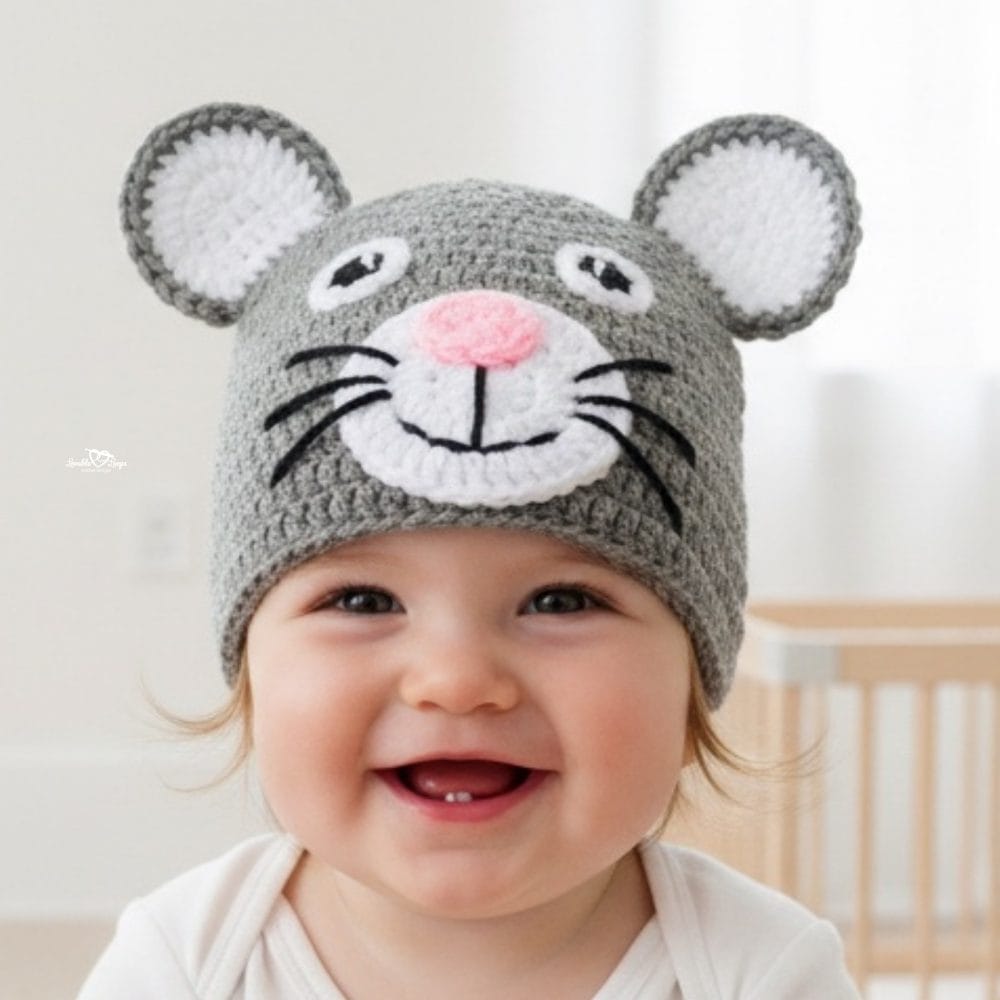
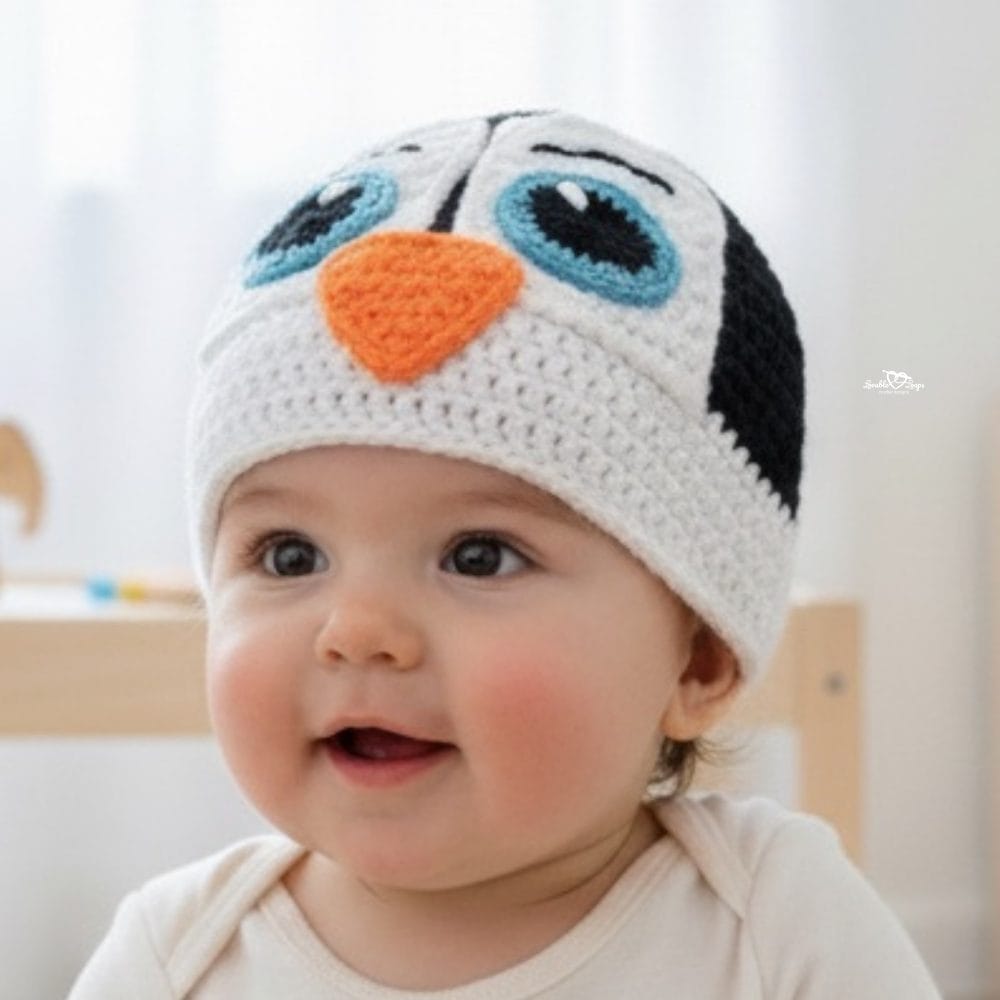
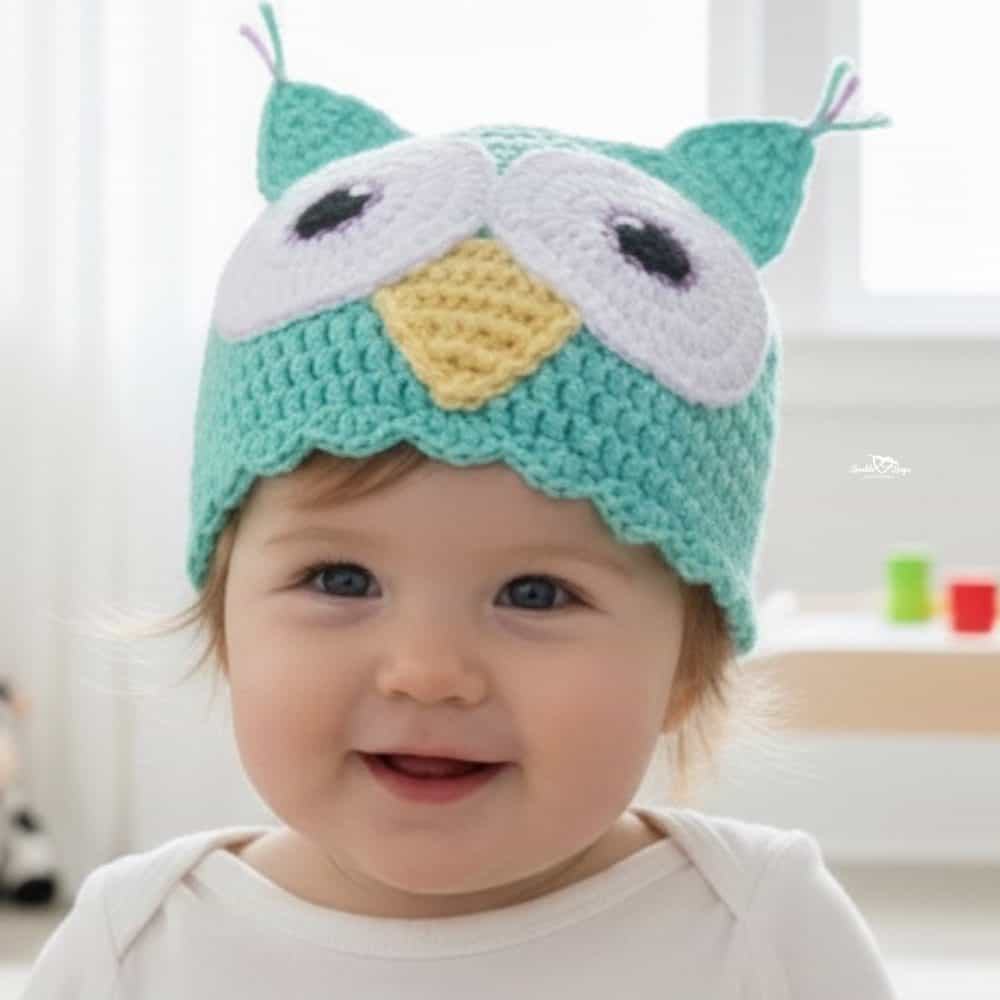
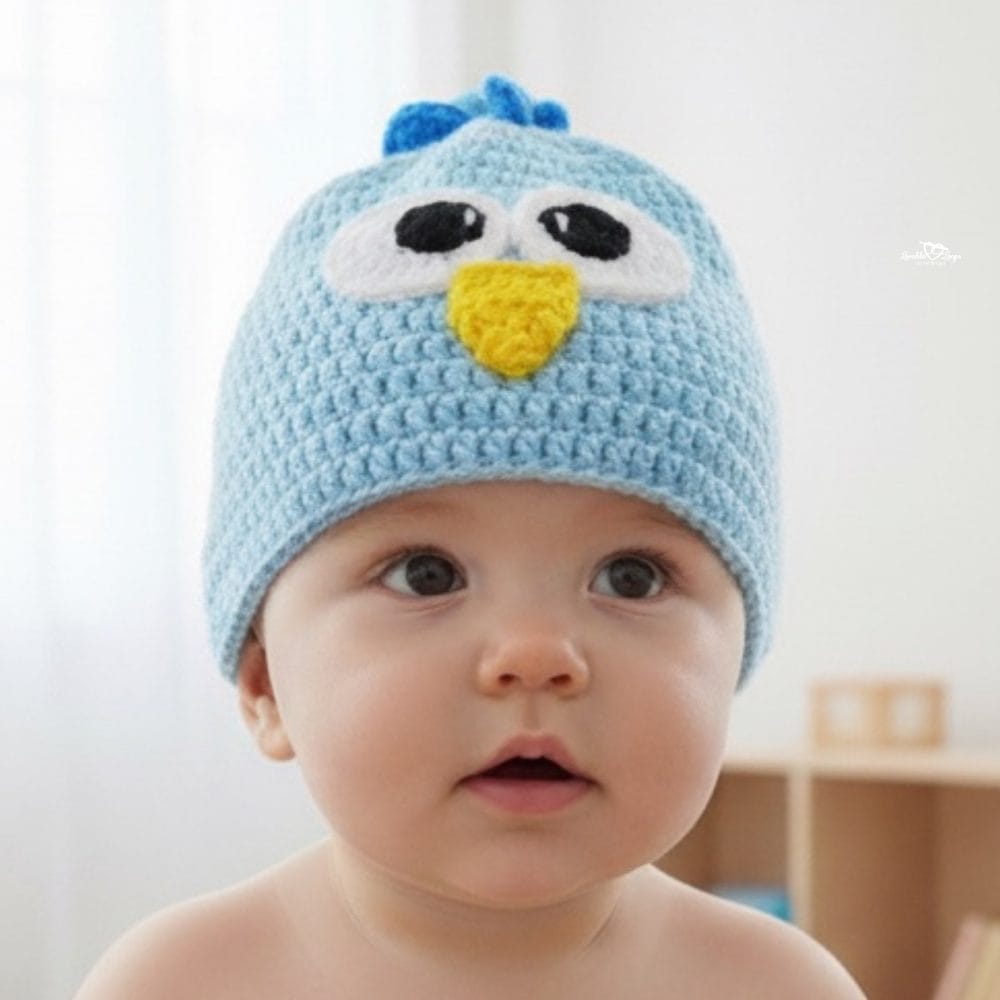
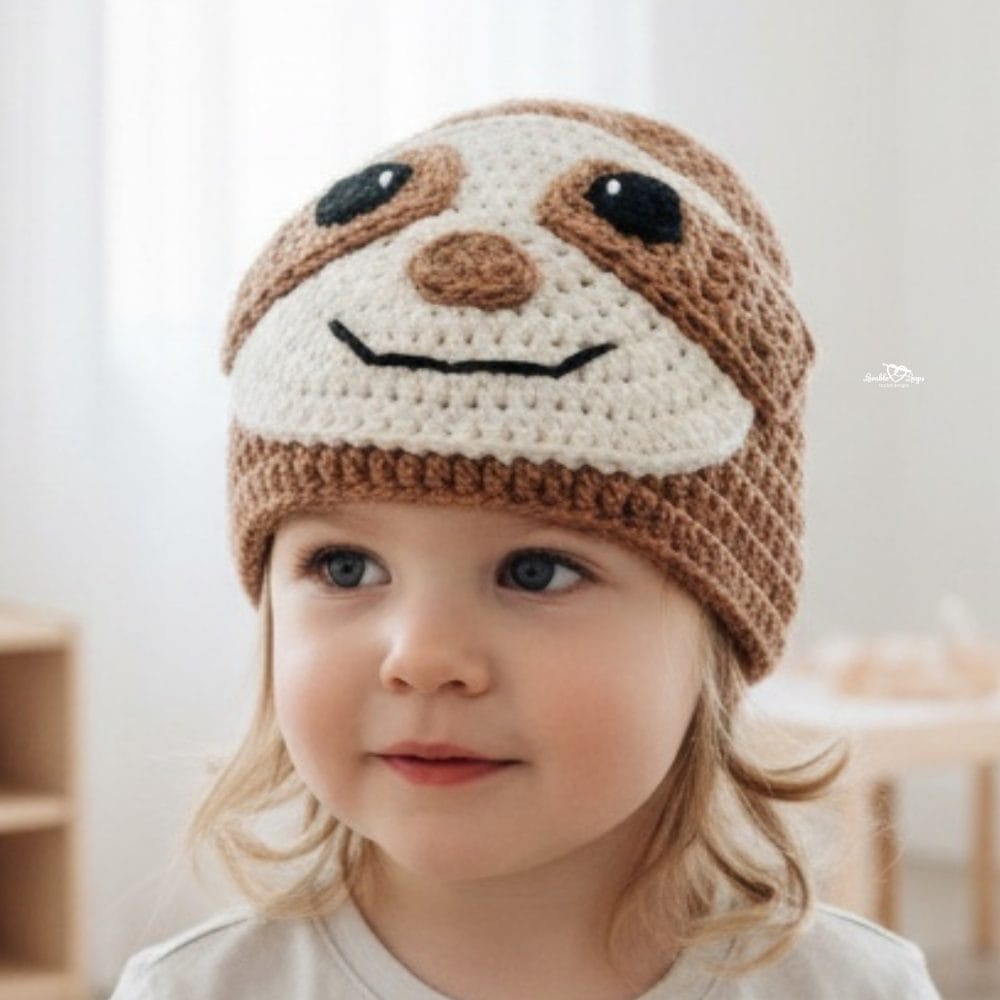
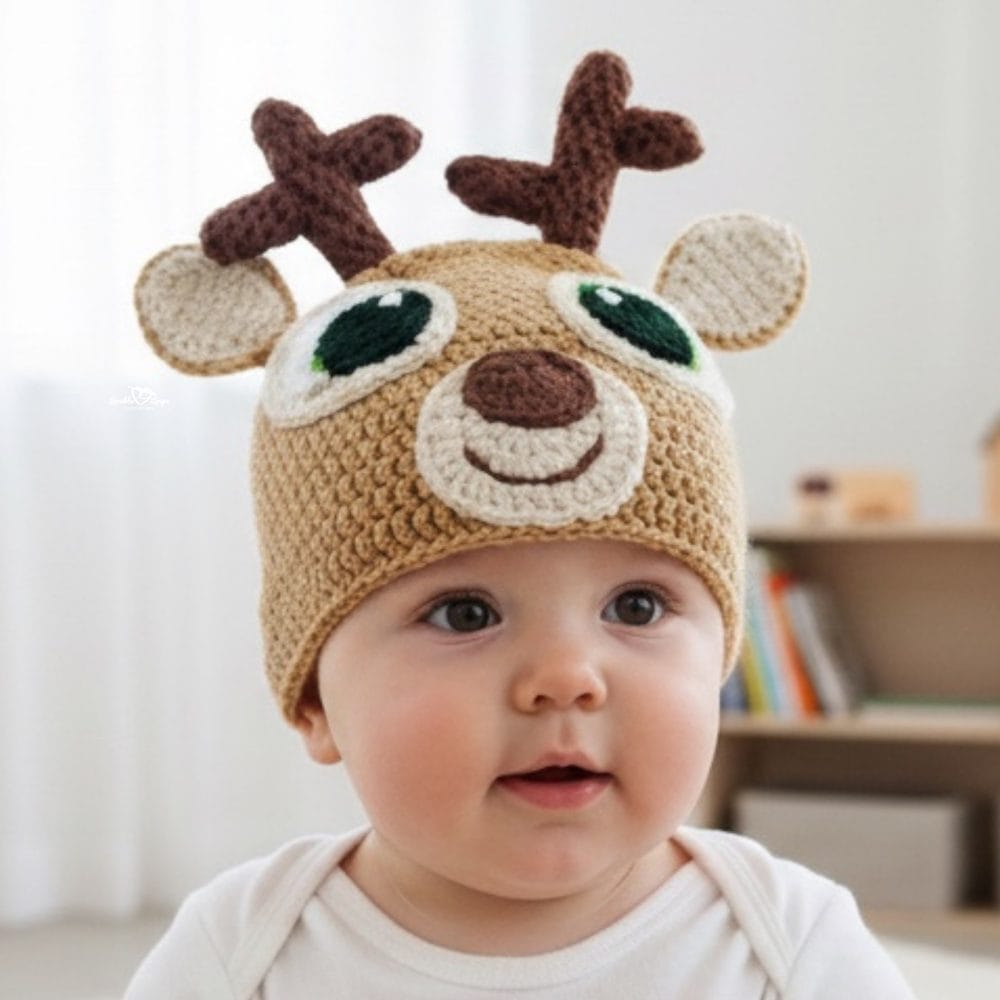
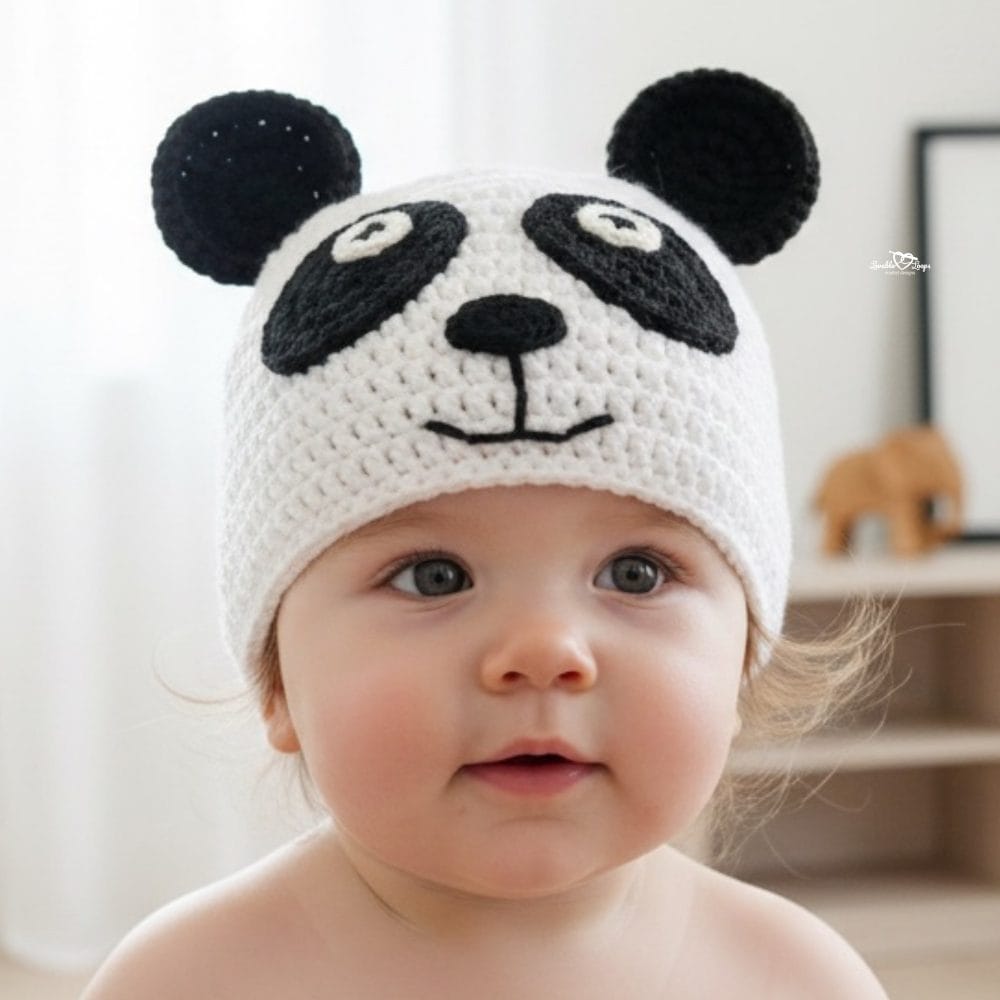
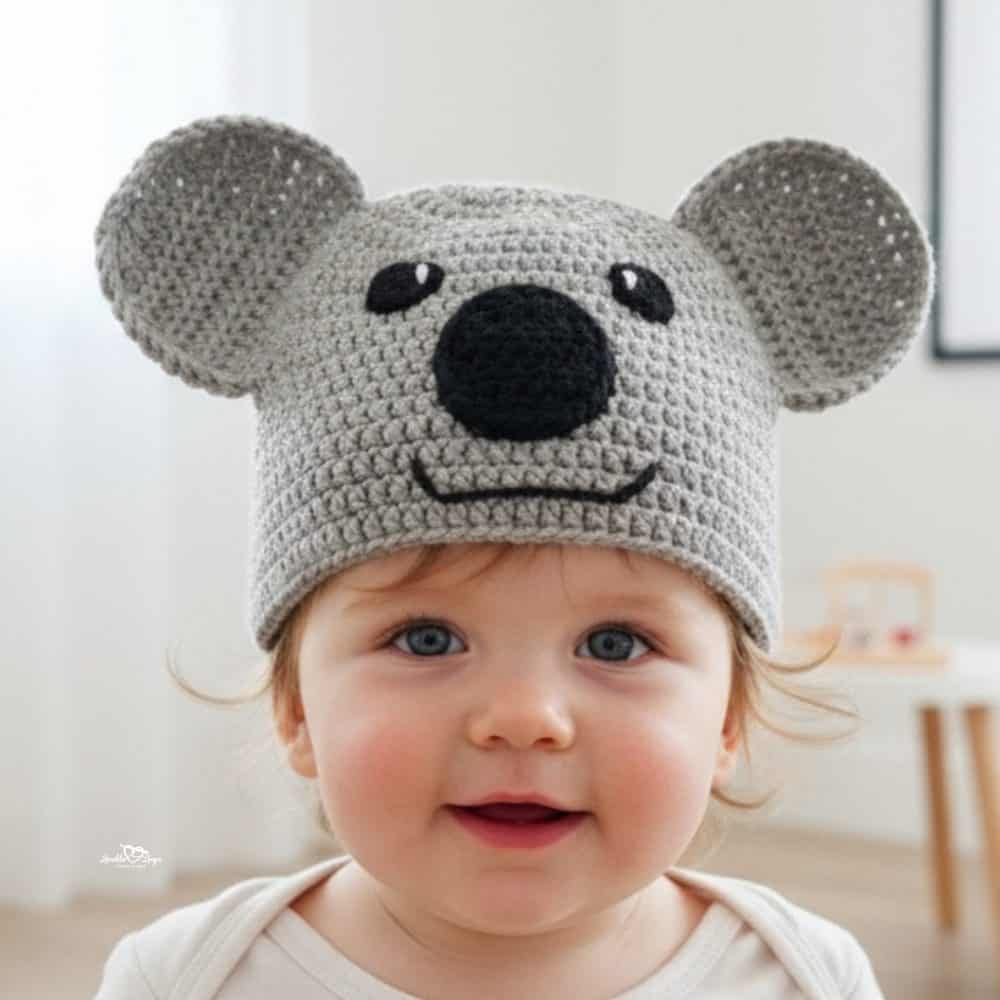
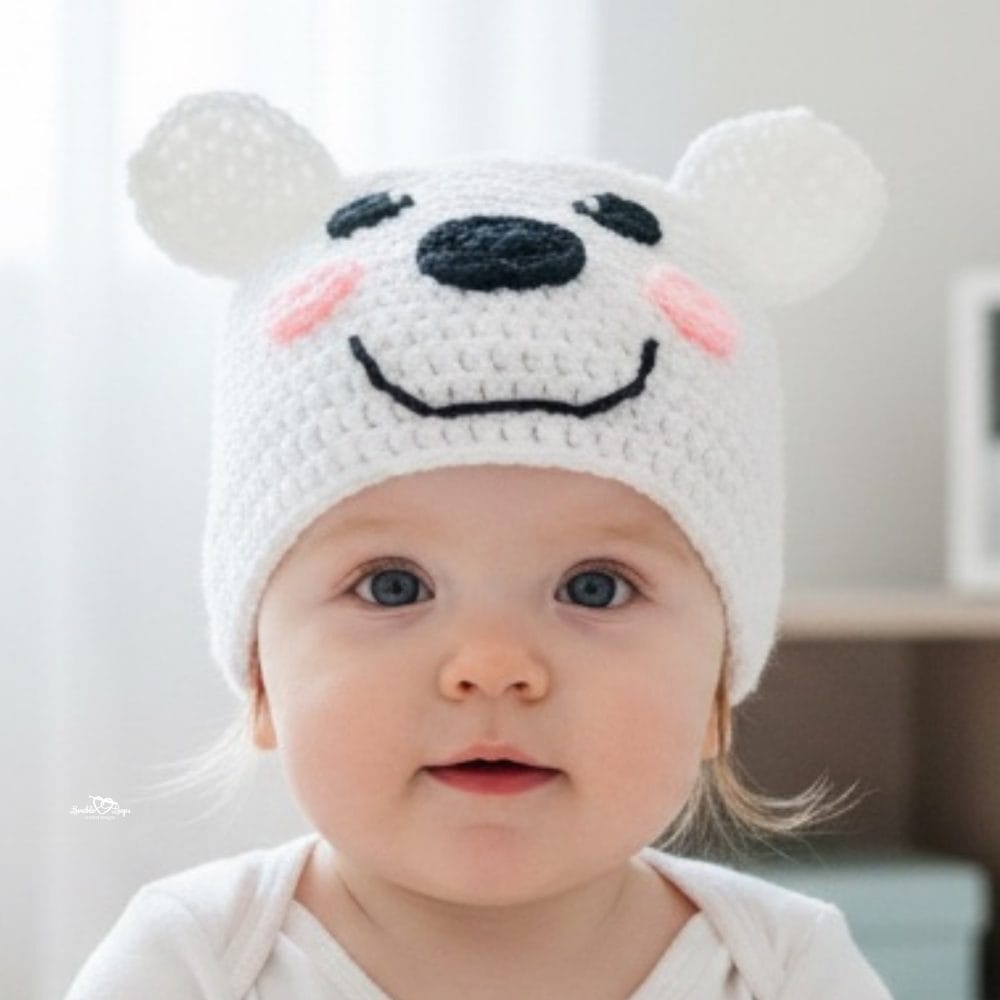
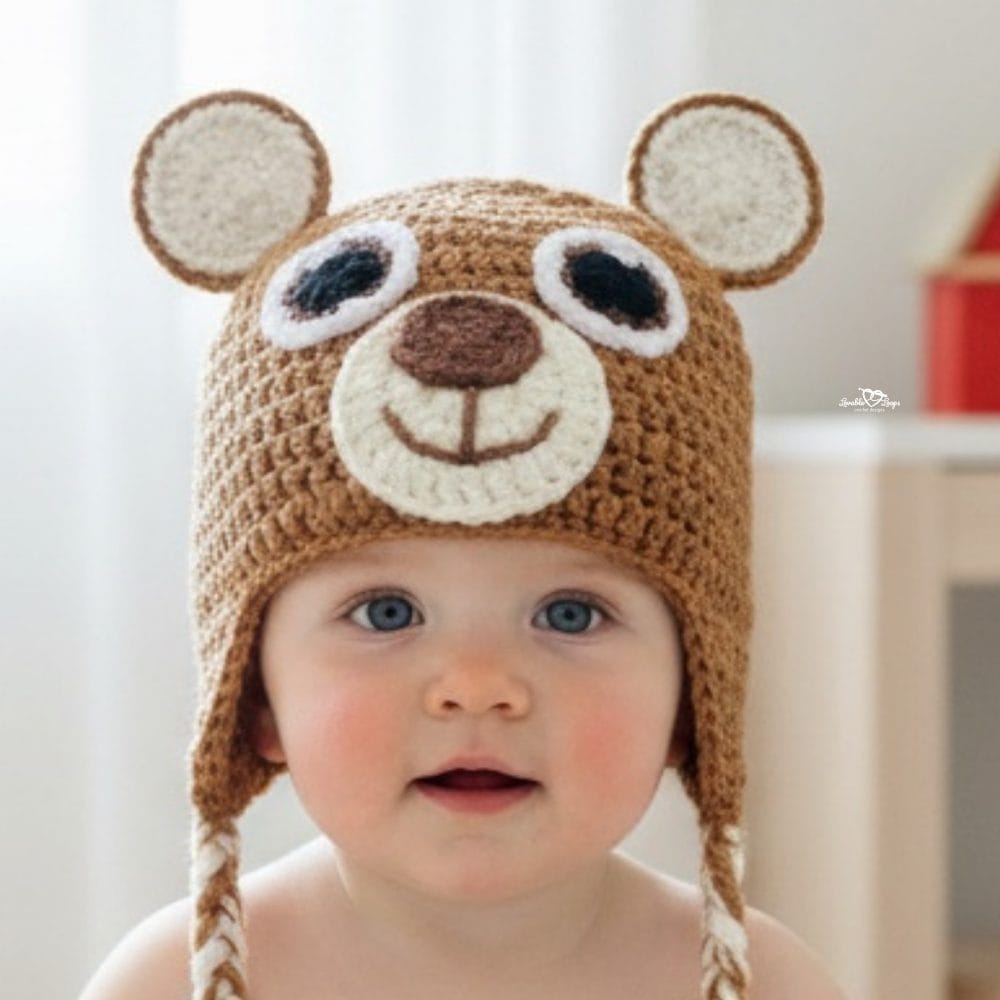
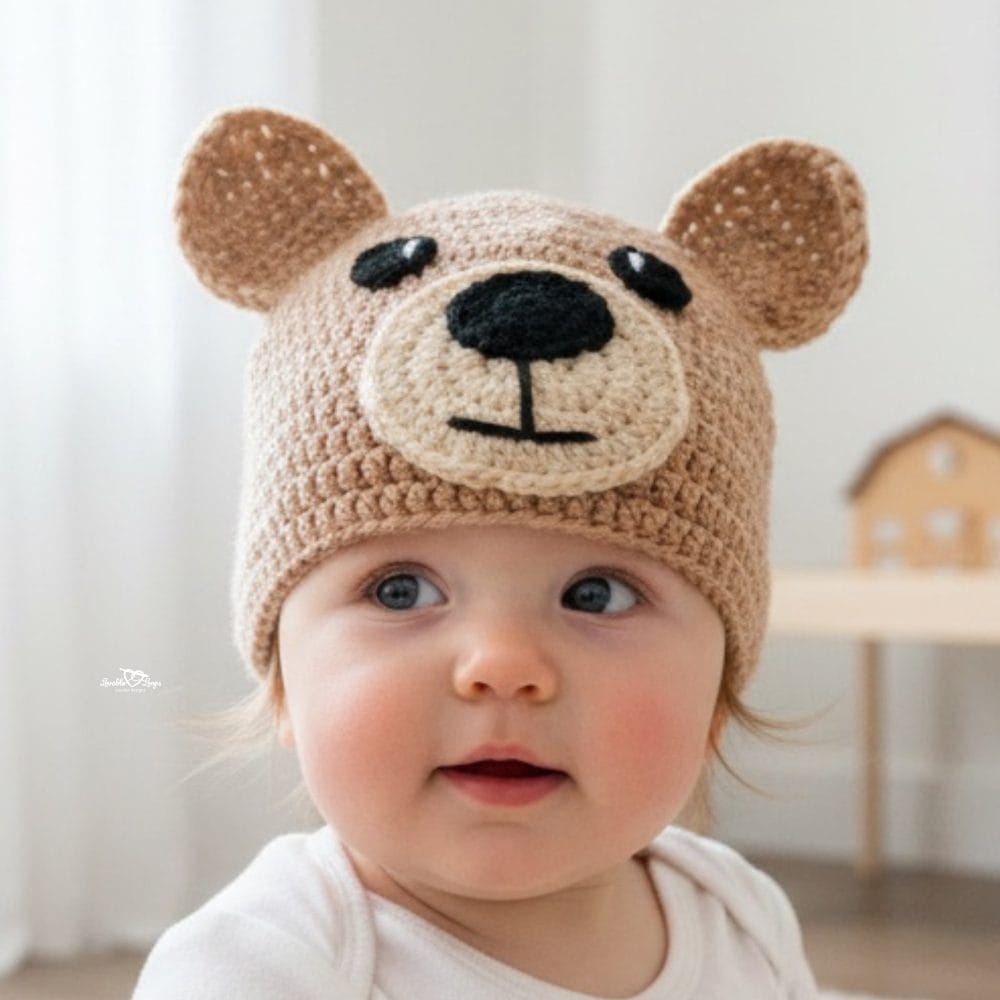
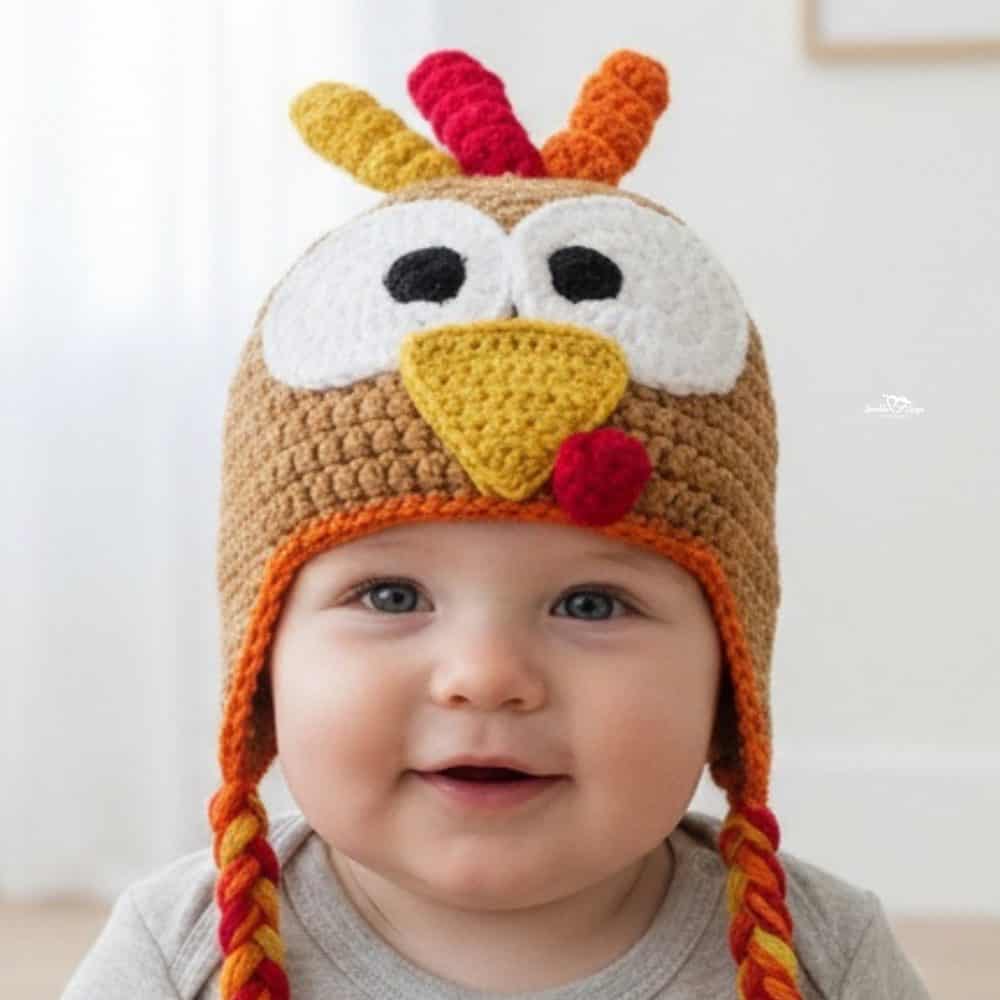
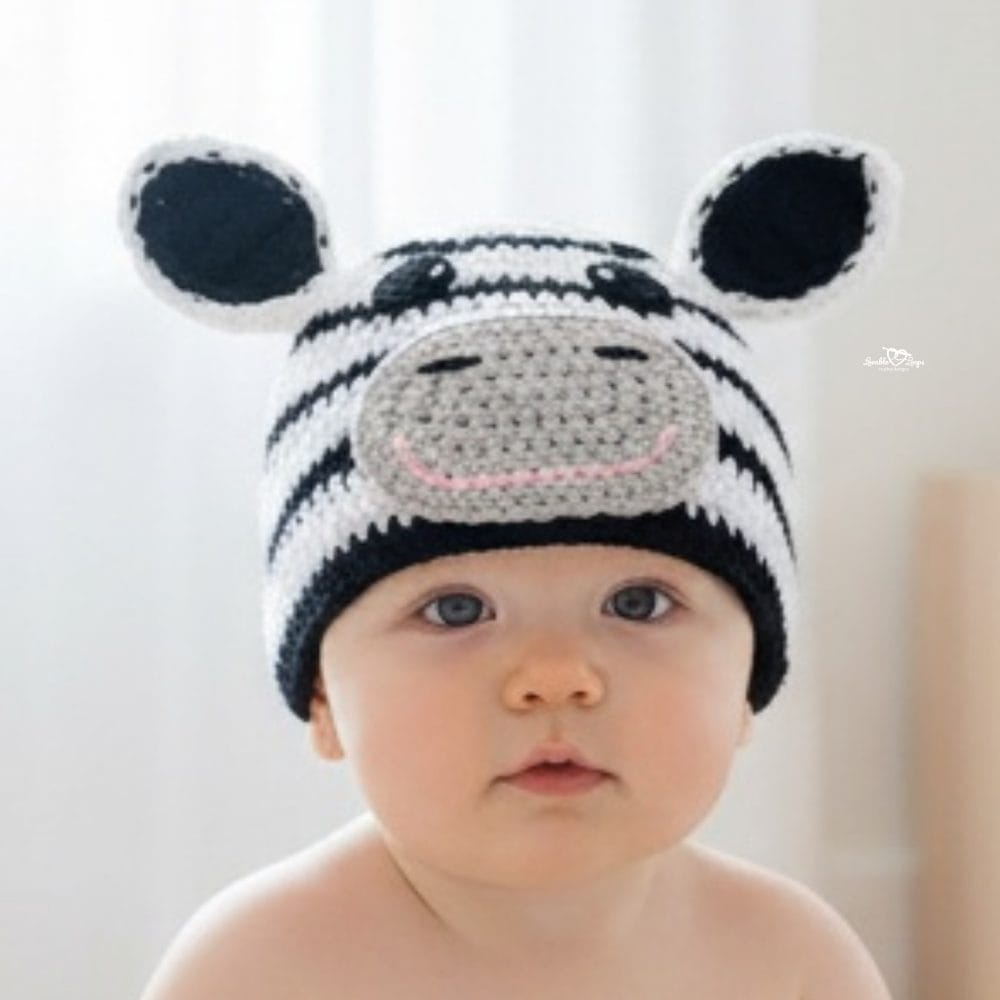
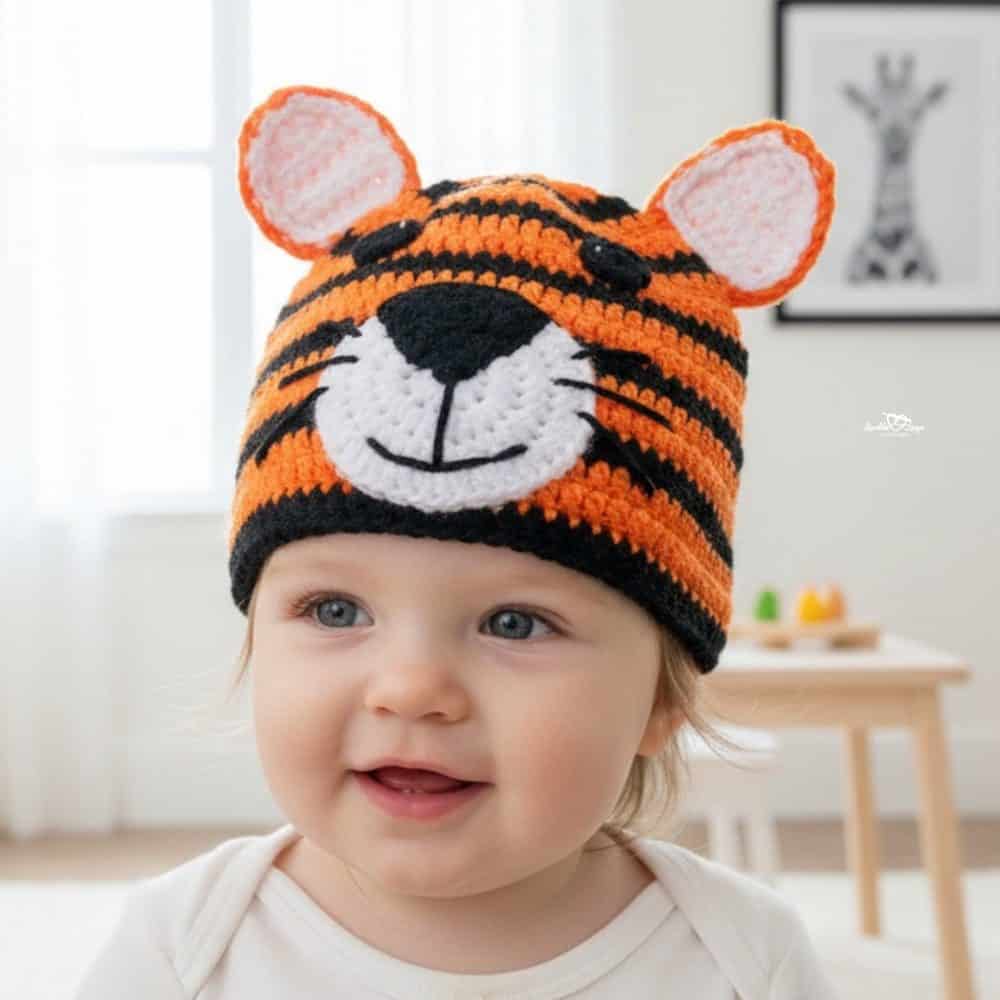
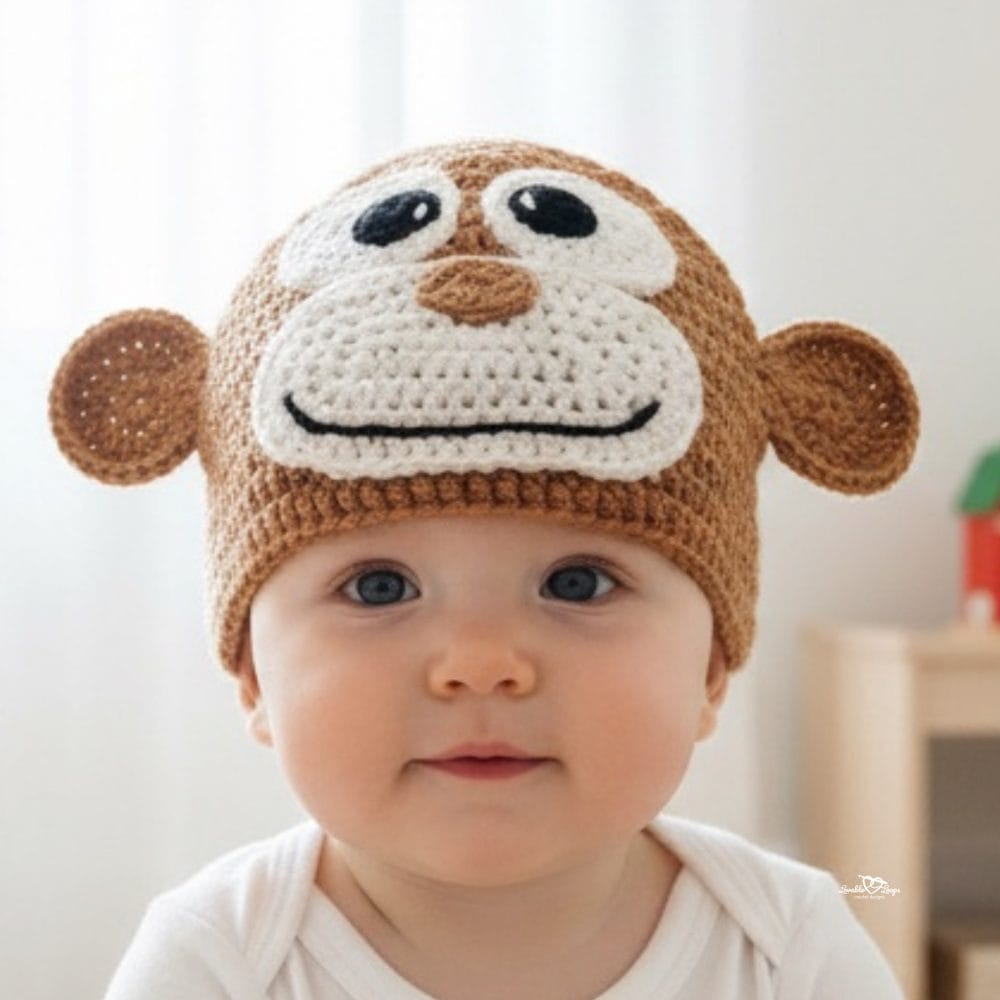
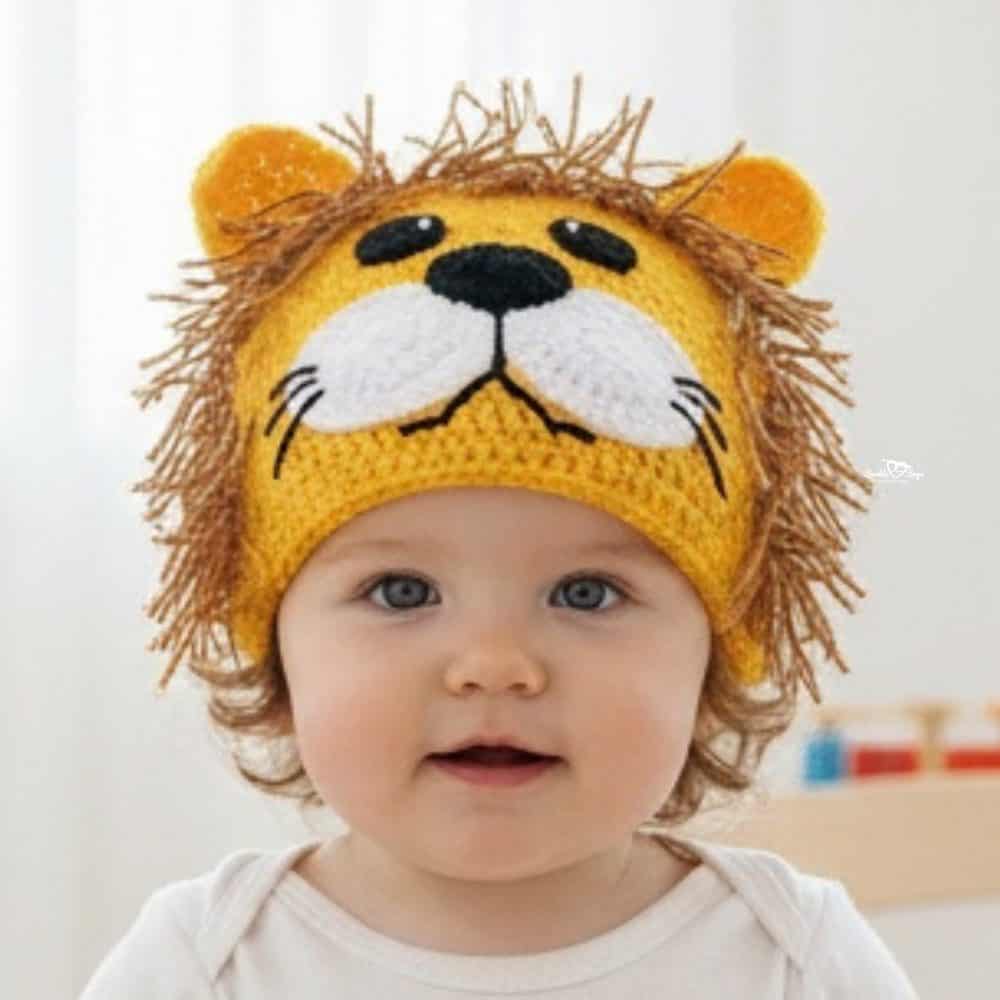
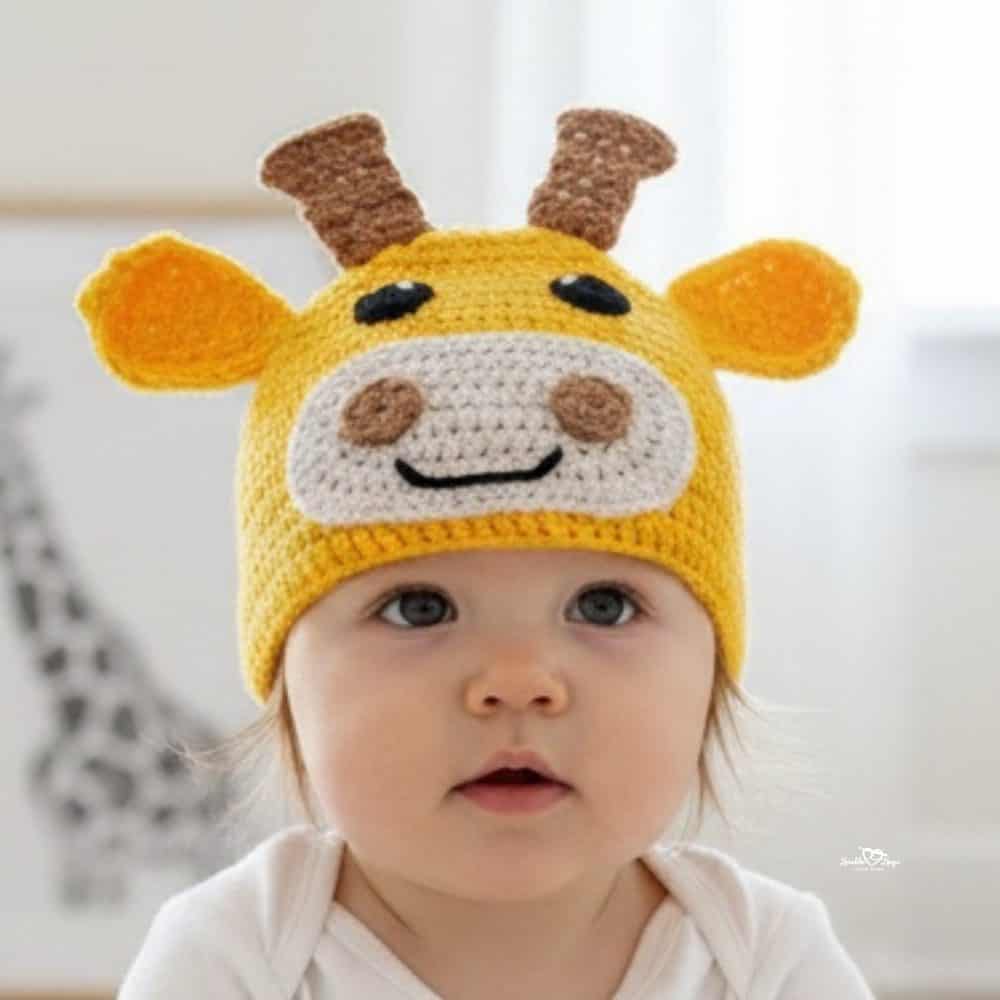
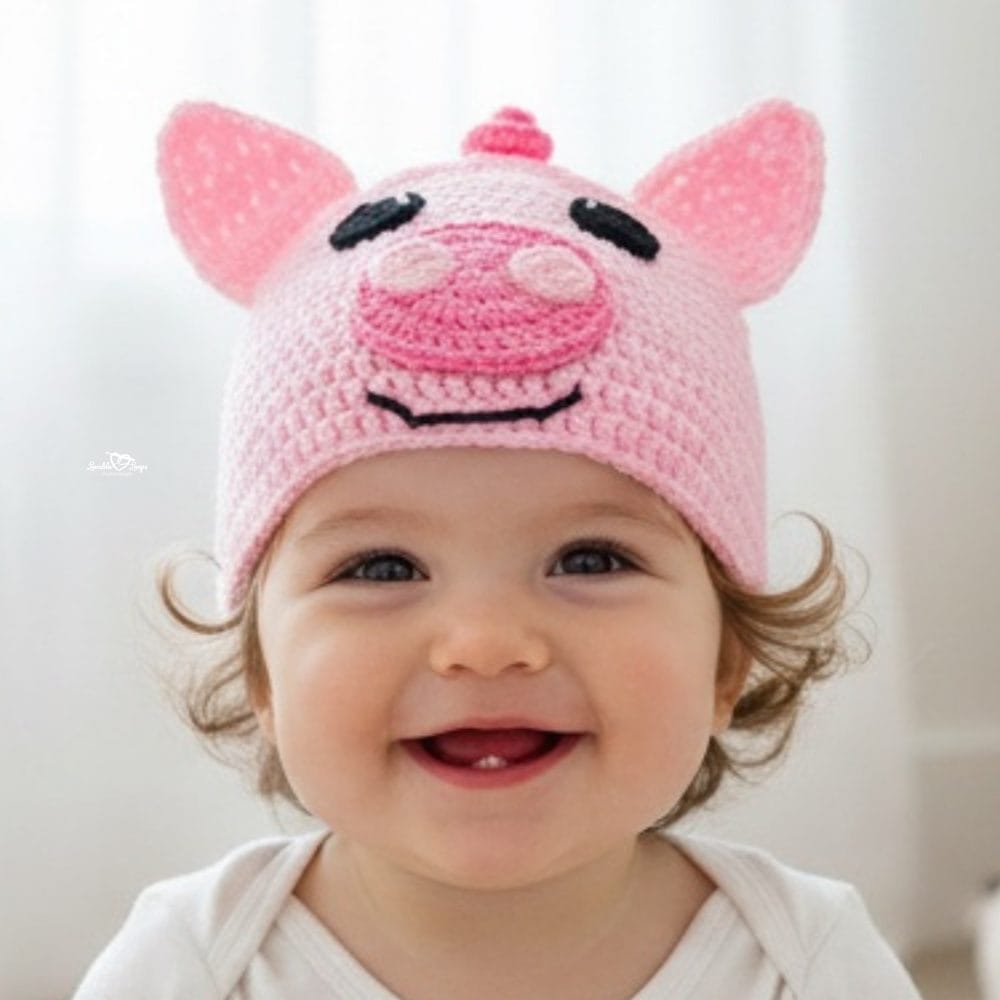
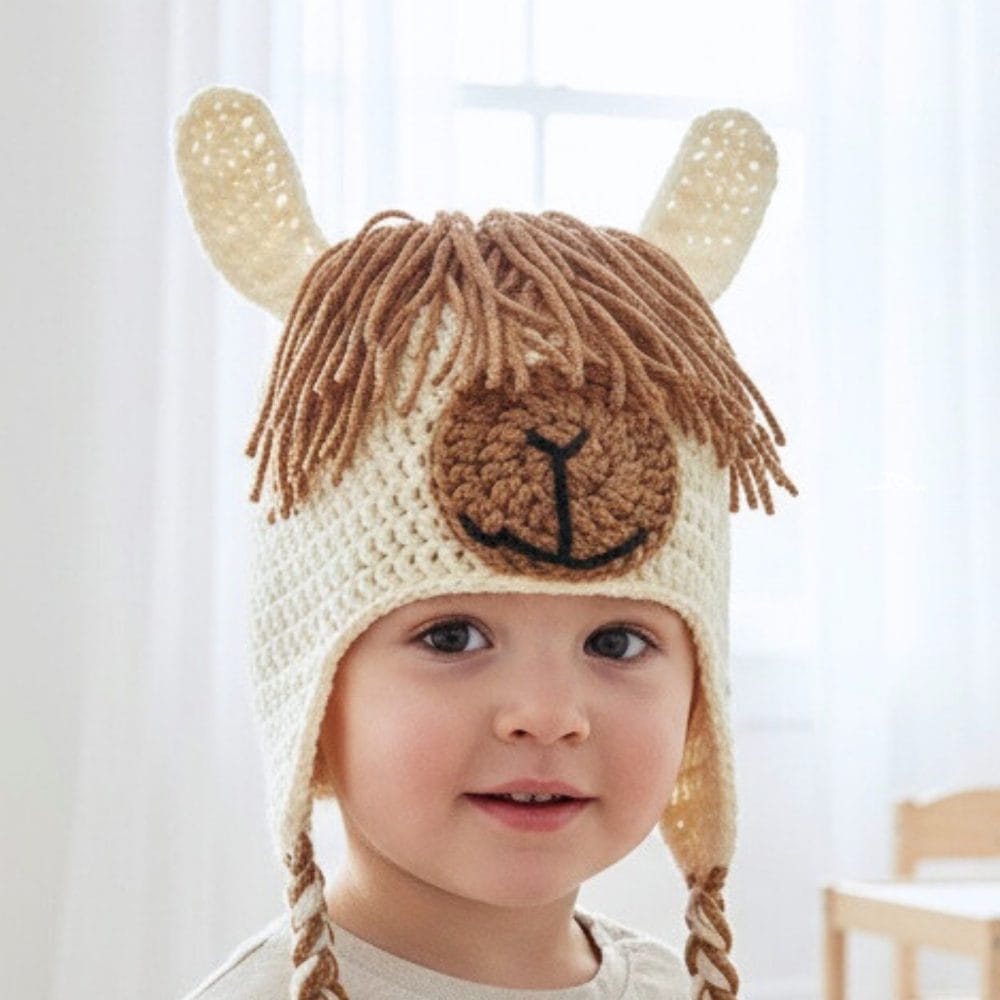
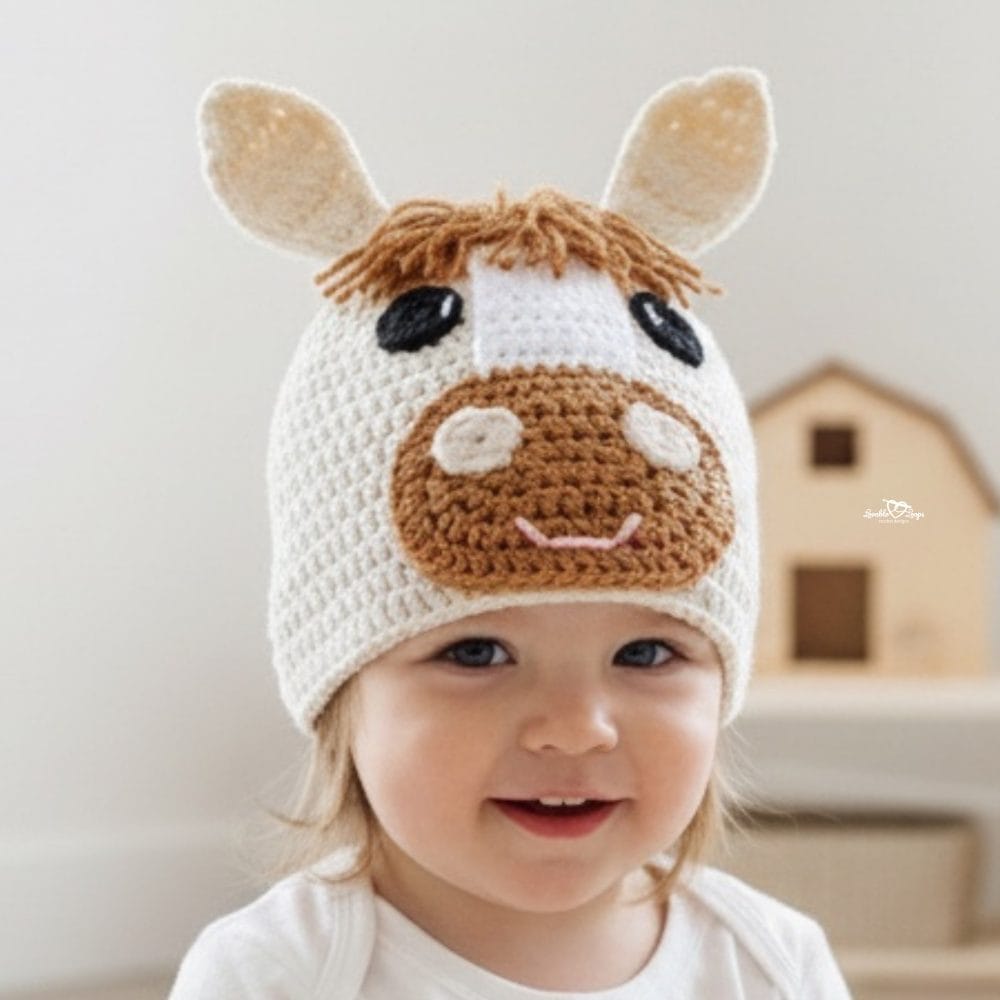
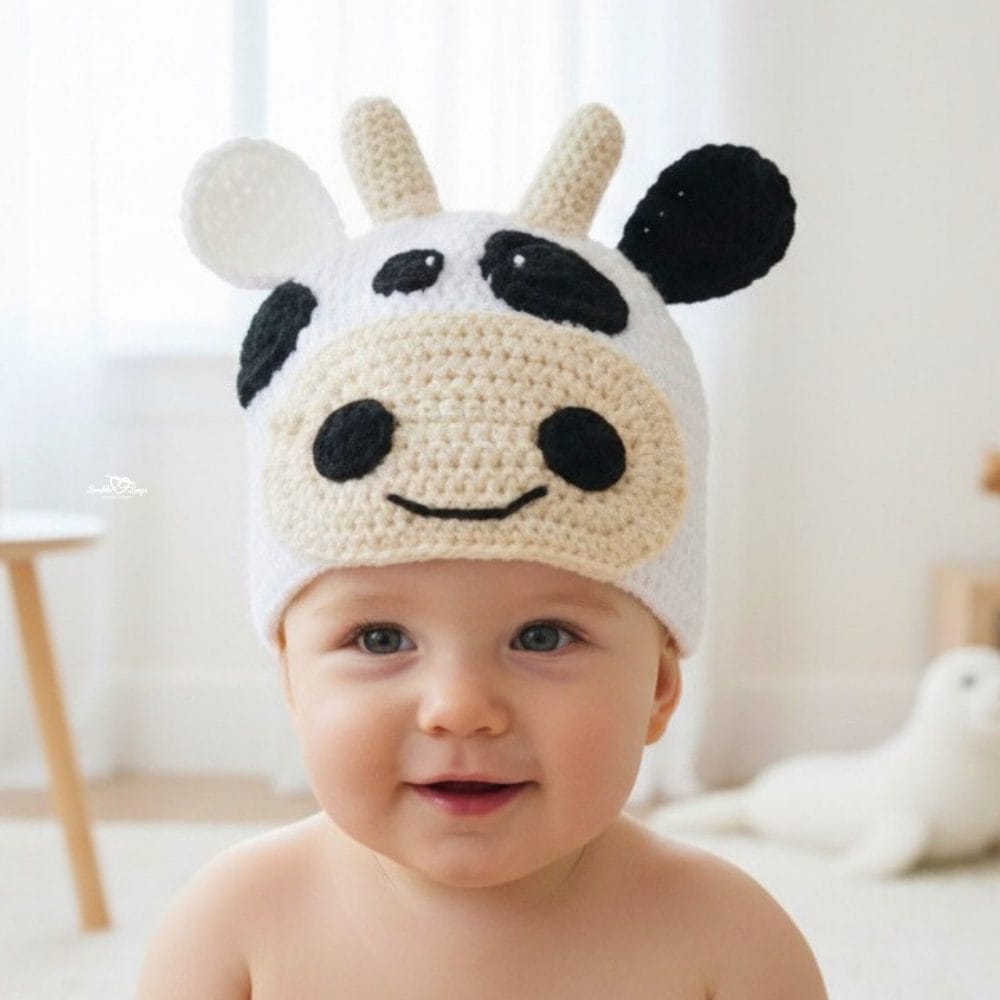
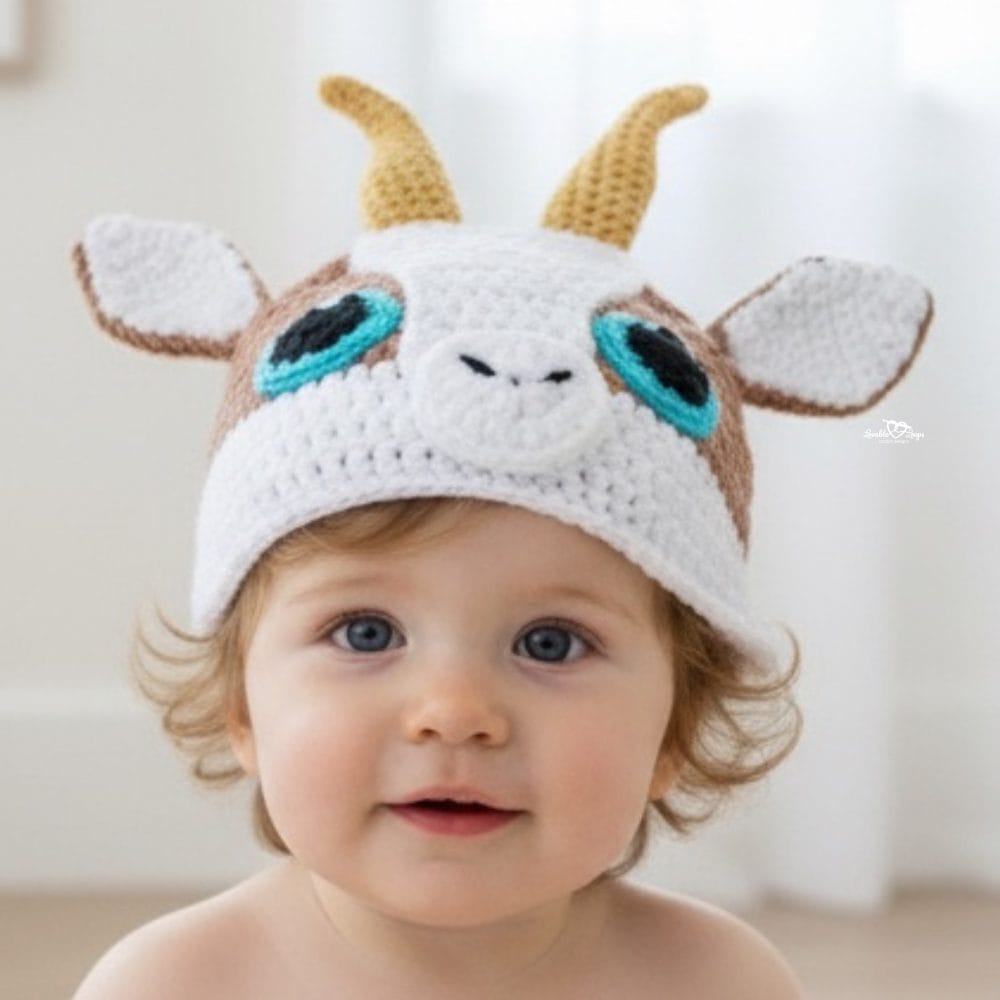
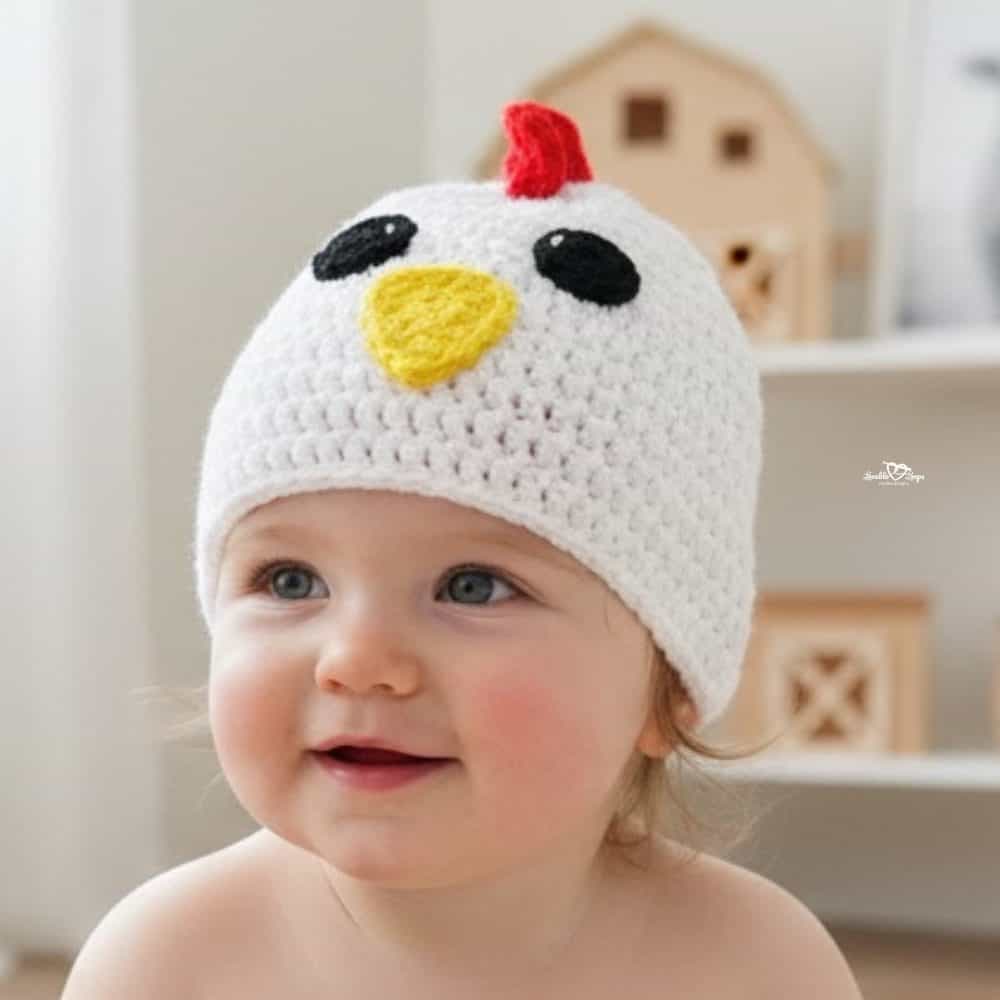
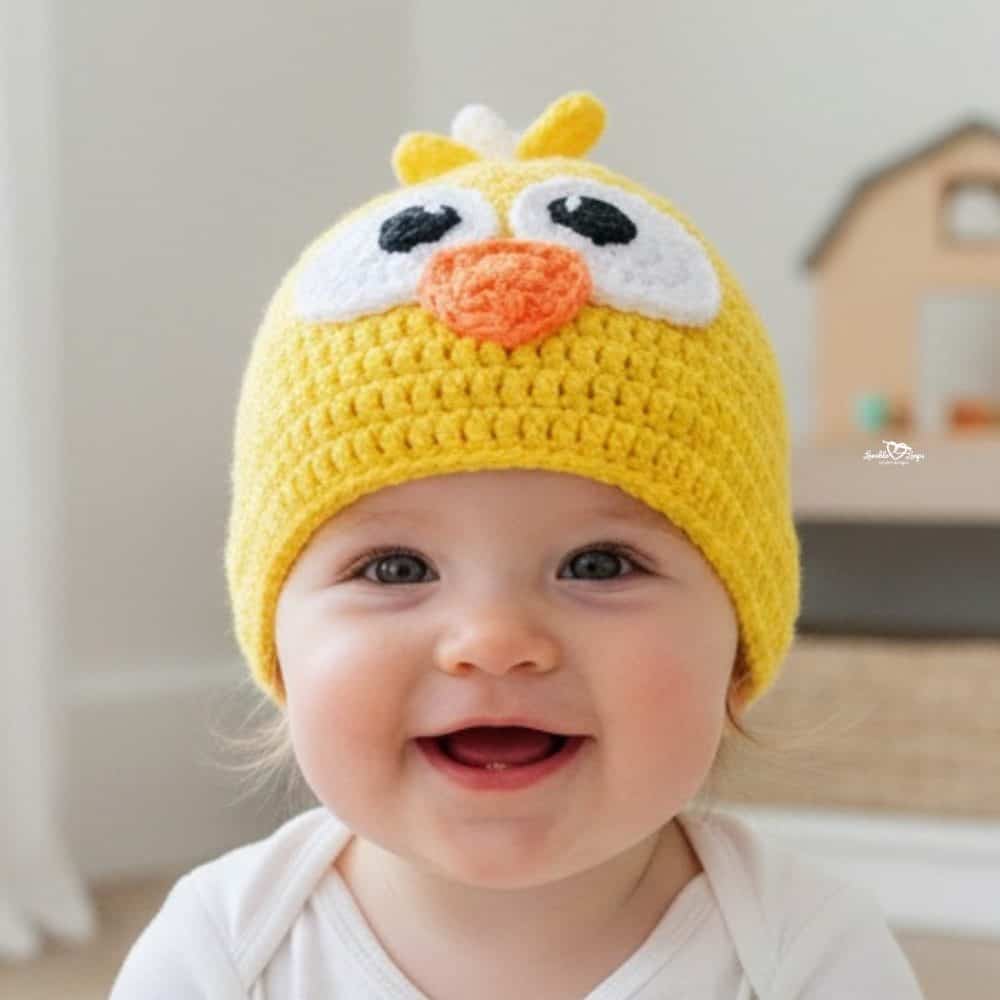
More free crochet animal hat patterns
Love cute animal hats? You’re in the right place! This collection of free crochet animal hat patterns includes fun designs for every season and personality, from sweet farm animals to wild zoo favorites.