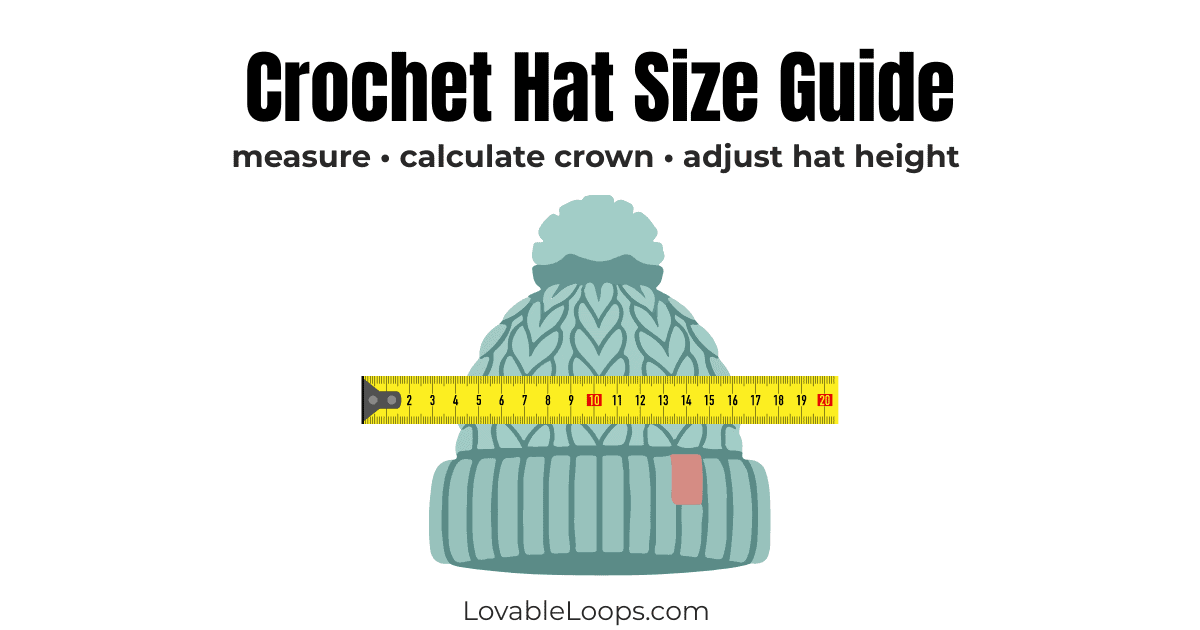
Crochet hat sizing guide: how to measure head circumference for the perfect fit
Struggling to get the right fit when making a crochet hat?
Understanding head circumference is the key to crocheting hats that fit comfortably — not too tight and not too loose.
This crochet hat sizing guide will show you how to measure correctly, how much negative ease to use, how to calculate crown diameter, and how to adjust your pattern for the perfect fit every time.
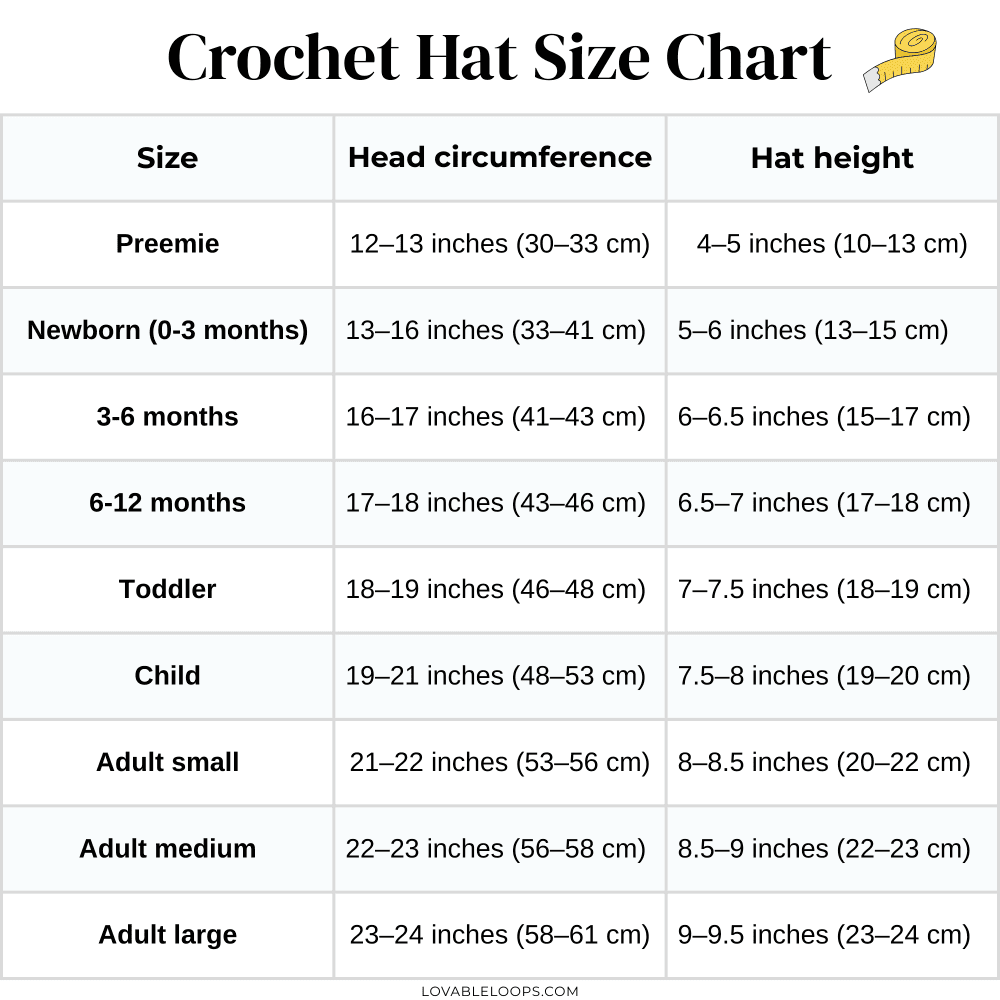
This crochet hat size chart is based on standard head circumference measurements for babies, kids, and adults. The table above is a quick reference for choosing the right size when making crochet hats or adjusting a pattern for a better fit.
Quick answer
To size a crochet hat correctly, measure the head circumference around the widest part of the head (just above the ears and eyebrows). Most adult head circumferences range from 21–23 inches (53–58 cm). Crochet hats are usually made 1–2 inches smaller than the actual head measurement to allow for stretch — this is called negative ease.

How to measure head circumference for a crochet hat
Use a soft tape measure.
Wrap it around:
• The widest part of the head
• Just above the ears
• Across the forehead
The tape should be snug but not tight.
Write down the measurement in inches.
If you don’t have a tape measure, you can:
• Wrap a piece of yarn around the head
• Mark where it overlaps
• Measure the yarn with a ruler
That’s your head circumference.
Standard crochet hat size chart
Use this crochet hat size chart as a reference when you cannot measure the head directly.
Preemie: 12–13 inches (30–33 cm)
Newborn (0–3 months): 13–16 inches (33–41 cm)
3–6 months: 16–17 inches (41–43 cm)
6–12 months: 17–18 inches (43–46 cm)
Toddler: 18–19 inches (46–48 cm)
Child: 19–21 inches (48–53 cm)
Adult small: 21–22 inches (53–56 cm)
Adult medium: 22–23 inches (56–58 cm)
Adult large: 23–24 inches (58–61 cm)
These are averages. Always measure when possible.
Understanding head circumference vs finished hat size
When reading a crochet hat pattern, it’s important to know the difference between head circumference and finished hat measurement.
Head circumference (actual head measurement)
Head circumference is the measurement around the widest part of the head — usually across the forehead and around the back. This is the number you measure with a soft tape measure.
For example:
Adult medium head circumference: 22–23 inches (56–58 cm)
This is the actual size of the person’s head — not the hat.
Finished hat measurement (what the hat measures)
The finished hat measurement is how wide the hat measures when laid flat and unstretched.
Most crochet hats are made with negative ease, which means the hat is intentionally made slightly smaller than the head. This allows the hat to stretch and fit snugly without slipping.
For example:
If a head circumference is 22–23 inches, the finished hat might measure 20–22 inches before stretch.
Once worn, the ribbing or stitch pattern stretches to fit comfortably.
What is negative ease in crochet hats?
Negative ease means the finished hat is slightly smaller than the actual head circumference.
Because yarn stretches, this helps the hat stay secure and comfortable.
For most crochet hats:
• Subtract 1–2 inches from the head measurement
• Use stretchy stitches like back loop single crochet or half double crochet
Example:
Head circumference: 22 inches
Finished hat circumference: 20–21 inches
That stretch creates a better fit.
The simple formula behind crochet hat sizing
Once you understand one core principle, crochet hat sizing becomes much easier:
Crown diameter controls circumference.
For top-down hats, the width of your flat circle determines how large the hat will be around the head.
Step 1: Start with head circumference
Use the actual head measurement.
Example:
Head circumference = 22 inches
If using negative ease (subtract 1–2 inches):
22 − 2 = 20 inches finished circumference
Step 2: Use this formula
Crown diameter = Head circumference ÷ 3.14
Example without negative ease
22 ÷ 3.14 ≈ 7 inches
Your crown should measure about 7 inches across before you stop increasing.
Example with negative ease
20 ÷ 3.14 ≈ 6.4 inches
Stop increasing when your crown measures about 6.25–6.5 inches across.
Why this works
When the crown reaches the correct diameter, the hat will naturally match the intended circumference as you continue working evenly.
This removes the guesswork and prevents:
• Increasing too long
• Stopping increases too early
• Accidentally making the hat too tight or too loose
Understanding this formula gives you control over fit instead of relying on trial and error.
Crochet hat sizing formula (quick reference)
Use this simple formula when adjusting any hat pattern:
Head circumference – 1 to 2 inches = Finished hat circumference
Example:
22-inch head
22 – 2 = 20 inches
Your finished hat should measure about 20 inches before stretch.
This formula works for most stretchy yarns and stitch patterns.
How tall should a crochet hat be?
Hat height is just as important as circumference. A hat can fit perfectly around the head but still feel uncomfortable if it’s too short or too tall.
Hat height is measured from the crown (top center) straight down to the bottom edge of the brim, without stretching.
Standard crochet hat height chart (by size)
Use these average measurements as a starting point:
Preemie: 4–5 inches (10–13 cm)
Newborn (0–3 months): 5–6 inches (13–15 cm)
3–6 months: 6–6.5 inches (15–17 cm)
6–12 months: 6.5–7 inches (17–18 cm)
Toddler: 7–7.5 inches (18–19 cm)
Child: 7.5–8 inches (19–20 cm)
Adult small: 8–8.5 inches (20–22 cm)
Adult medium: 8.5–9 inches (22–23 cm)
Adult large: 9–9.5 inches (23–24 cm)
These are averages. Always measure when possible.
What about cuffed hats?
If the hat has a folded brim, add 1–2 inches (2.5–5 cm) to the total height before folding.
Example:
An adult medium cuffed hat may measure 10–11 inches (25–28 cm) before folding to achieve a finished visible height of about 8.5–9 inches.
How to adjust hat height
If the hat feels too short:
• Add more rows (for flat construction)
• Add more rounds before starting brim ribbing (for top-down hats)
• Increase cuff depth
If the hat feels too tall:
• Remove rows or rounds
• Reduce cuff height
• Stop earlier before beginning crown shaping (for bottom-up construction)
Always check your gauge before making height adjustments, especially when changing yarn or hook size.
Slouchy vs fitted hats
Height controls slouch — not width.
For a fitted beanie, stay within the standard height ranges above.
For a slouchy hat:
• Add 1–2 extra inches (2.5–5 cm) in height
• Keep circumference the same unless a looser fit is desired
Extra height creates drape at the back of the head without affecting overall fit.
How to adjust a crochet hat pattern for better sizing
Even when you follow a pattern exactly, small variations in gauge, yarn, or tension can change the final fit. Understanding how your hat is constructed makes it much easier to adjust confidently.
Before making changes, always check your gauge swatch.
If your hat is worked top-down (in the round)
Most crochet hats begin with a flat circle that increases to form the crown.
If the hat is too tight:
• Add one more increase round to widen the crown
• Continue increasing until the crown diameter matches your target size
• Consider using a slightly larger hook
If the hat is too loose:
• Stop increasing sooner
• Check that your crown diameter isn’t larger than needed
• Try a smaller hook if your stitches are loose
Tip: Crown diameter largely determines circumference in top-down hats. Adjust there first before changing height.
If your hat is worked bottom-up
Bottom-up hats usually start with ribbing or a foundation row and build upward before crown decreases.
If the hat is too tight:
• Increase the starting chain or ribbing length
• Add stitches evenly in the first round
• Use a larger hook
If the hat is too loose:
• Reduce the starting stitch count
• Remove a few stitches in the first round
• Try a smaller hook
The starting circumference controls overall fit in this construction style.
If your hat is worked flat (rectangle style)
Rectangle hats are seamed after working rows back and forth.
If the hat is too tight:
• Add more rows to increase width before seaming
• Loosen tension or go up a hook size
If the hat is too loose:
• Remove a few rows before seaming
• Tighten tension slightly or size down your hook
Width (row count) determines circumference in flat construction.
If the height feels off
If the hat covers the head but doesn’t sit correctly:
• Add rounds or rows before beginning crown shaping
• Adjust cuff depth
• Remove rounds if the hat feels bulky
Remember:
Circumference = width adjustments
Height = row or round adjustments
Understanding that distinction prevents overcorrecting the wrong area.
Crochet hat sizing tips for consistent results
• Always check gauge
• Use the same yarn weight as the pattern
• Measure the head whenever possible
• Remember that cotton stretches less than acrylic
• Try the hat on before finishing the top

Frequently asked questions
What if I don’t know the person’s head size?
Use standard sizing charts and aim for average measurements.
Do crochet hats stretch over time?
Yes. Acrylic and wool have natural stretch. Cotton stretches less.
Should children’s hats use negative ease?
Yes, but closer to 1 inch instead of 2.
Final thoughts
Learning how to measure head circumference correctly makes every crochet hat pattern more successful. Whether you’re making a baby hat, a men’s beanie, or a slouchy winter hat, proper sizing makes all the difference.
Once you understand negative ease, crown diameter, and height measurements, you can confidently adjust any crochet hat pattern to fit perfectly — without guessing.
Popular crochet hat patterns
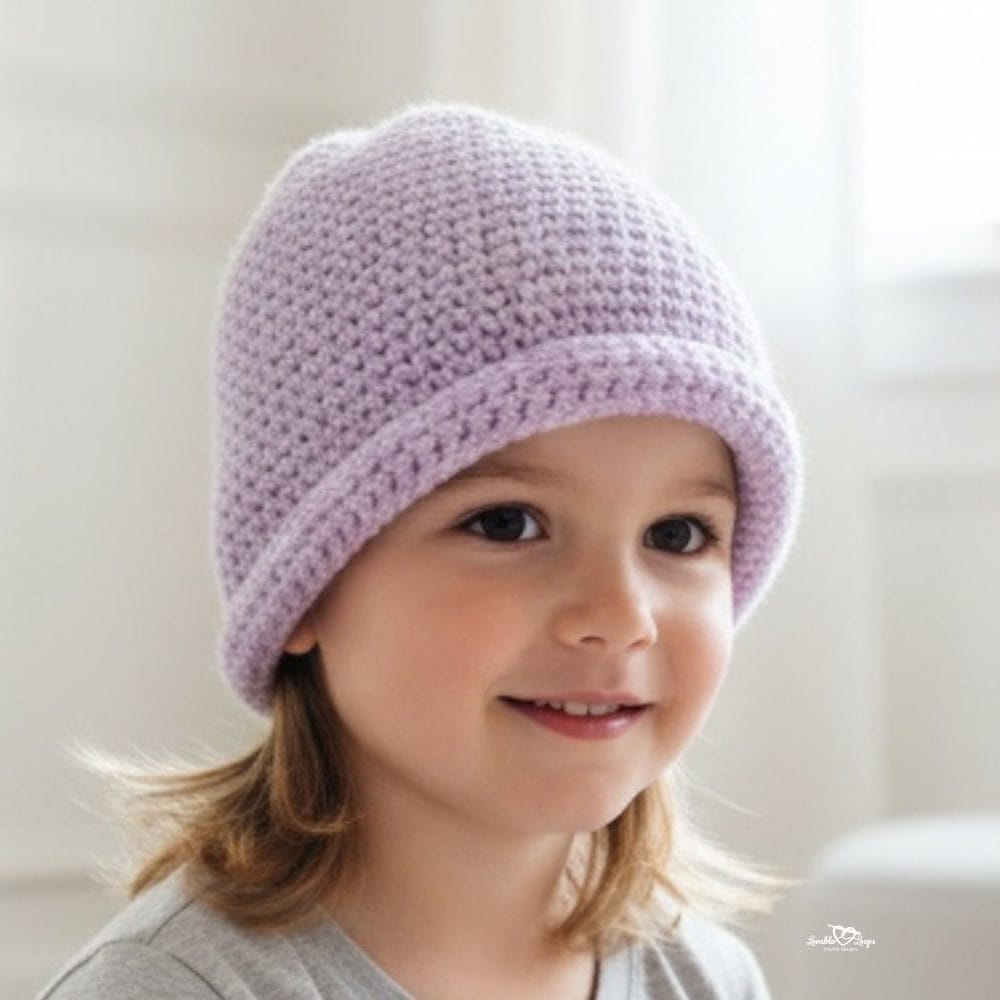
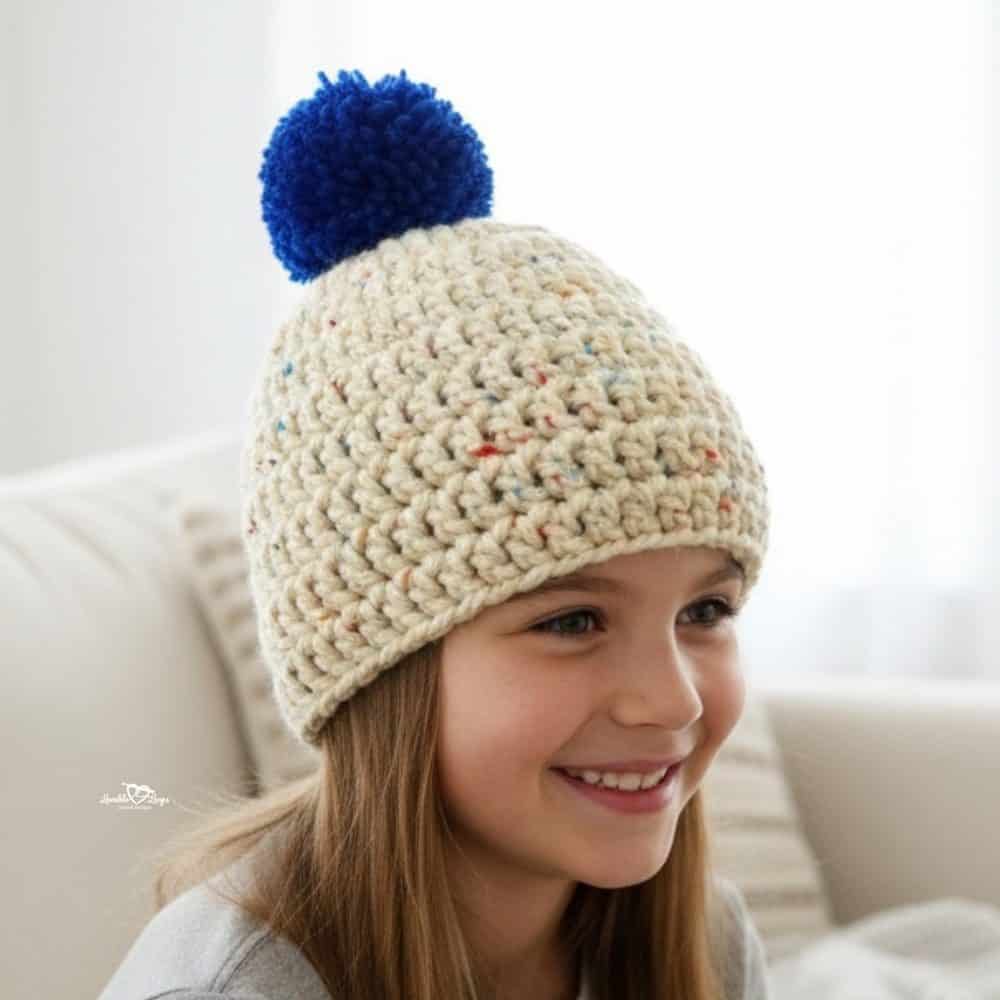
Now that you understand how to measure head circumference and choose the right size, you’re ready to start stitching.
Below you’ll find beginner-friendly crochet hat patterns for babies, kids, and adults. Each pattern includes clear sizing details and finished measurements so you can confidently select the right fit.
Use this crochet hat sizing guide as a reference while you work, especially when adjusting crown size, hat height, or negative ease.
Click on any crochet hat pattern below to get started.
Easy crochet hat patterns for beginners
If you’re just starting out, explore my collection of easy crochet hat patterns. These simple beanies use basic stitches and classic construction, making them perfect for practicing sizing and learning how crochet hats are shaped.
👉 See all easy crochet hat patterns


Crochet hats for all sizes
Looking for even more hat ideas? Browse my full collection of free crochet hat patterns to find designs for babies, kids, and adults in a variety of styles.
👉 See all free crochet hat patterns


Crochet baby hat patterns
If you’re making hats for little ones, explore my collection of 40+ free crochet baby hat patterns including newborn hats, easy baby beanies, and seasonal baby designs.
👉 See all 40+ free crochet baby hat patterns
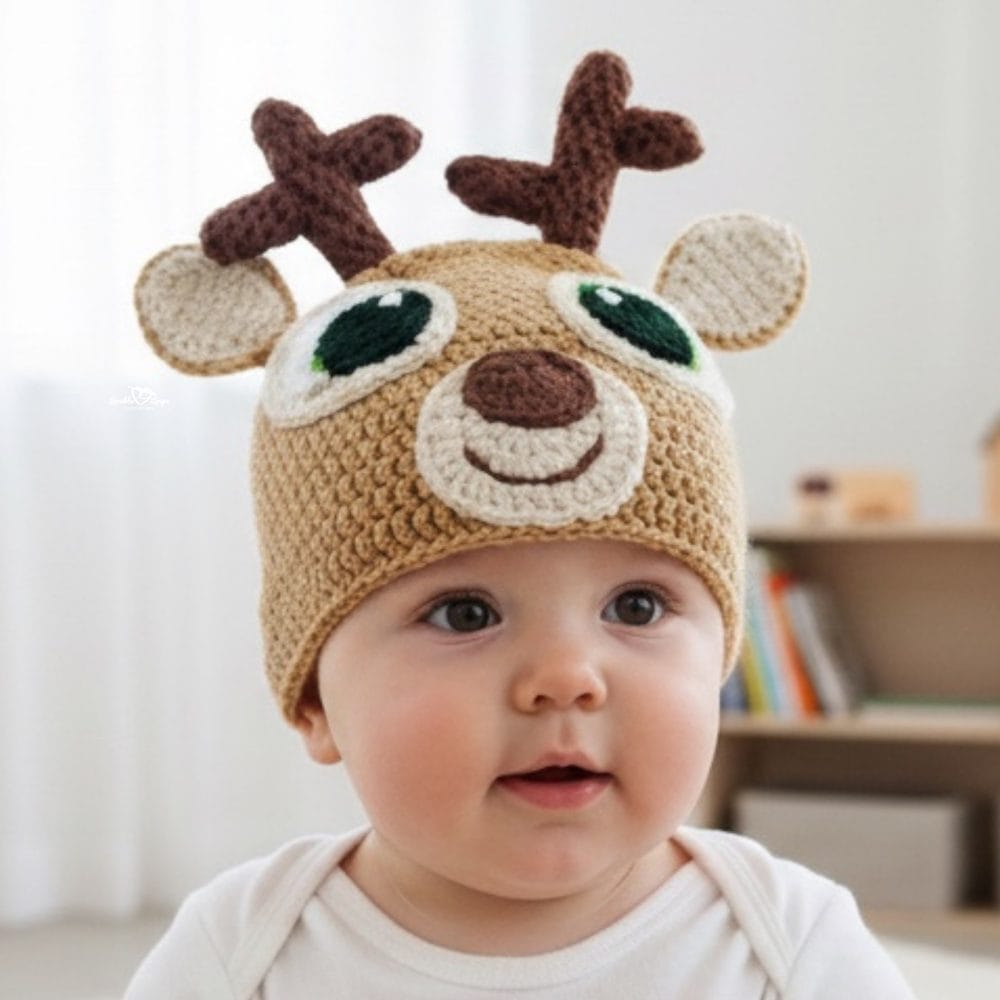
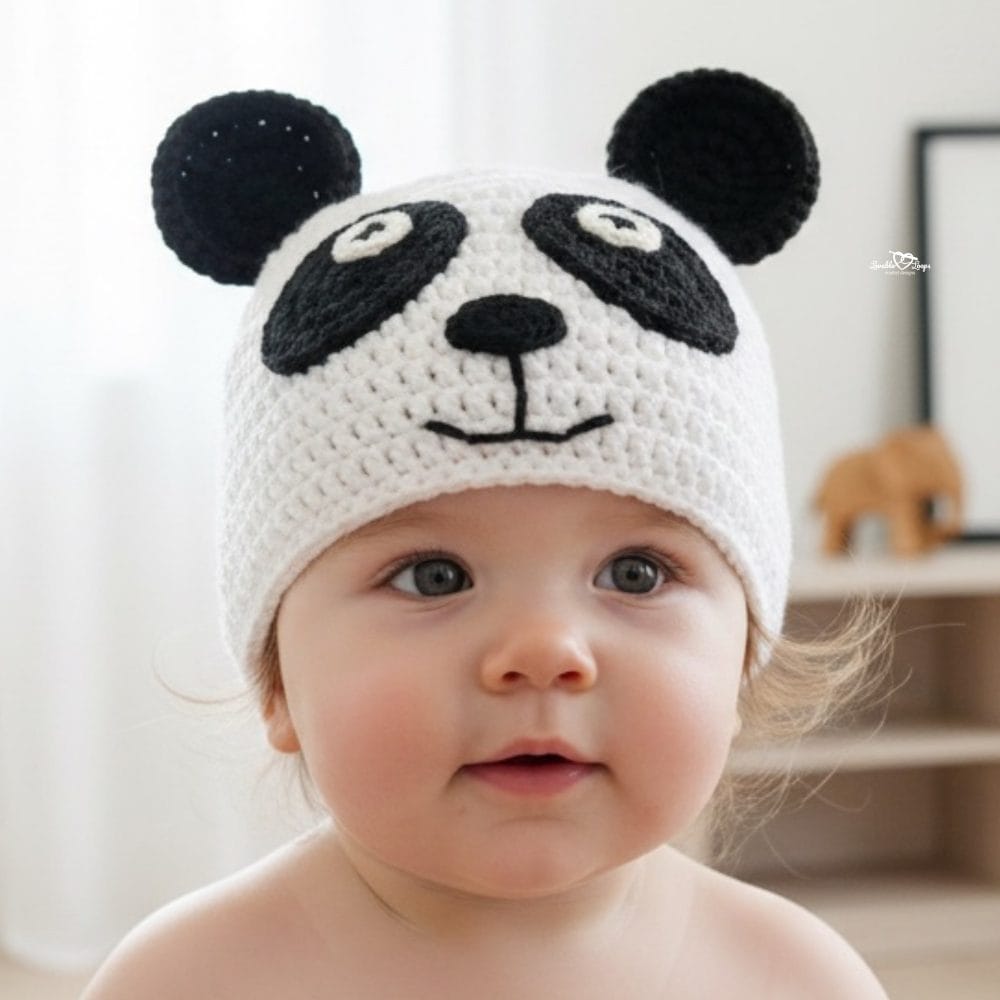
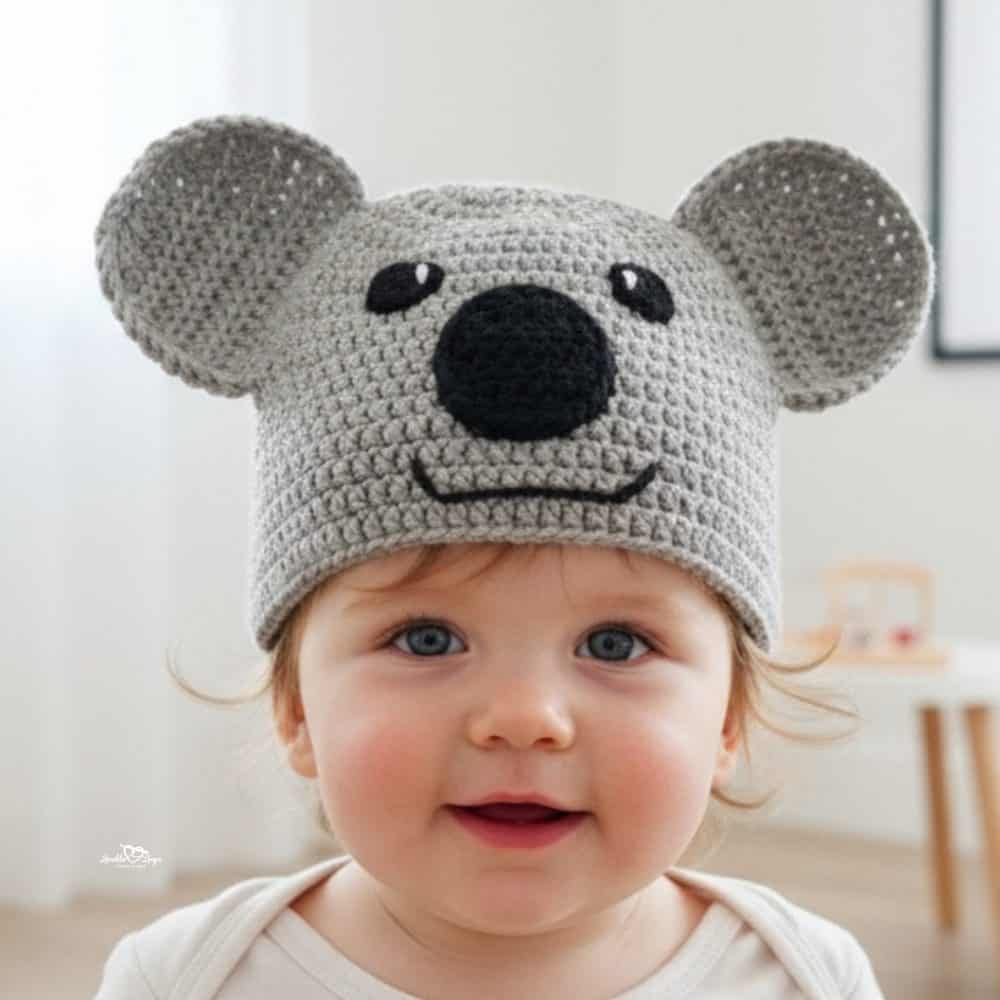
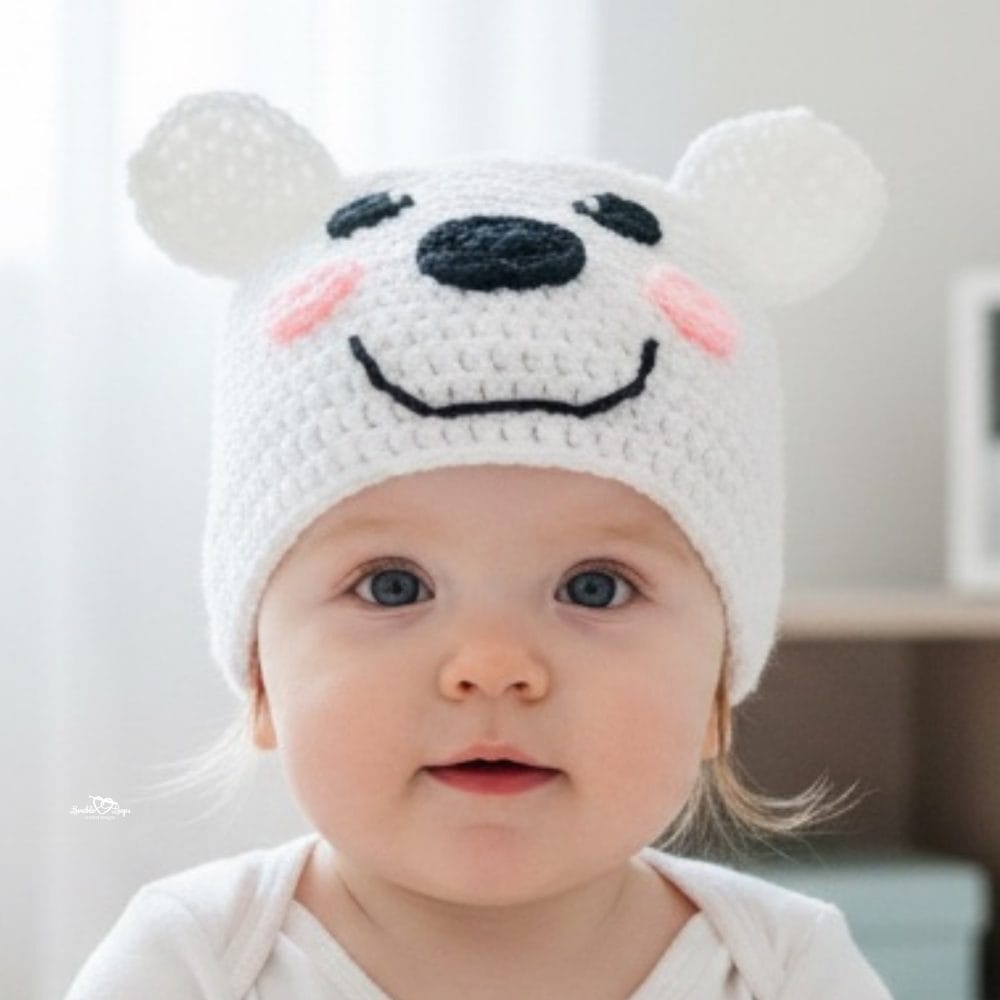
Crochet animal hat patterns
Want something playful and fun? Browse my collection of crochet animal hat patterns featuring bears, bunnies, farm animals, safari animals, and many more character hats for babies, kids, and adults.
👉 See all crochet animal hat patterns

Let’s connect!
I’d love to see what you’re making! Share your finished project and follow along for more free crochet patterns and tutorials.
📌 Don’t forget to pin this pattern for later!
Happy crocheting! 🧶
— Melissa