


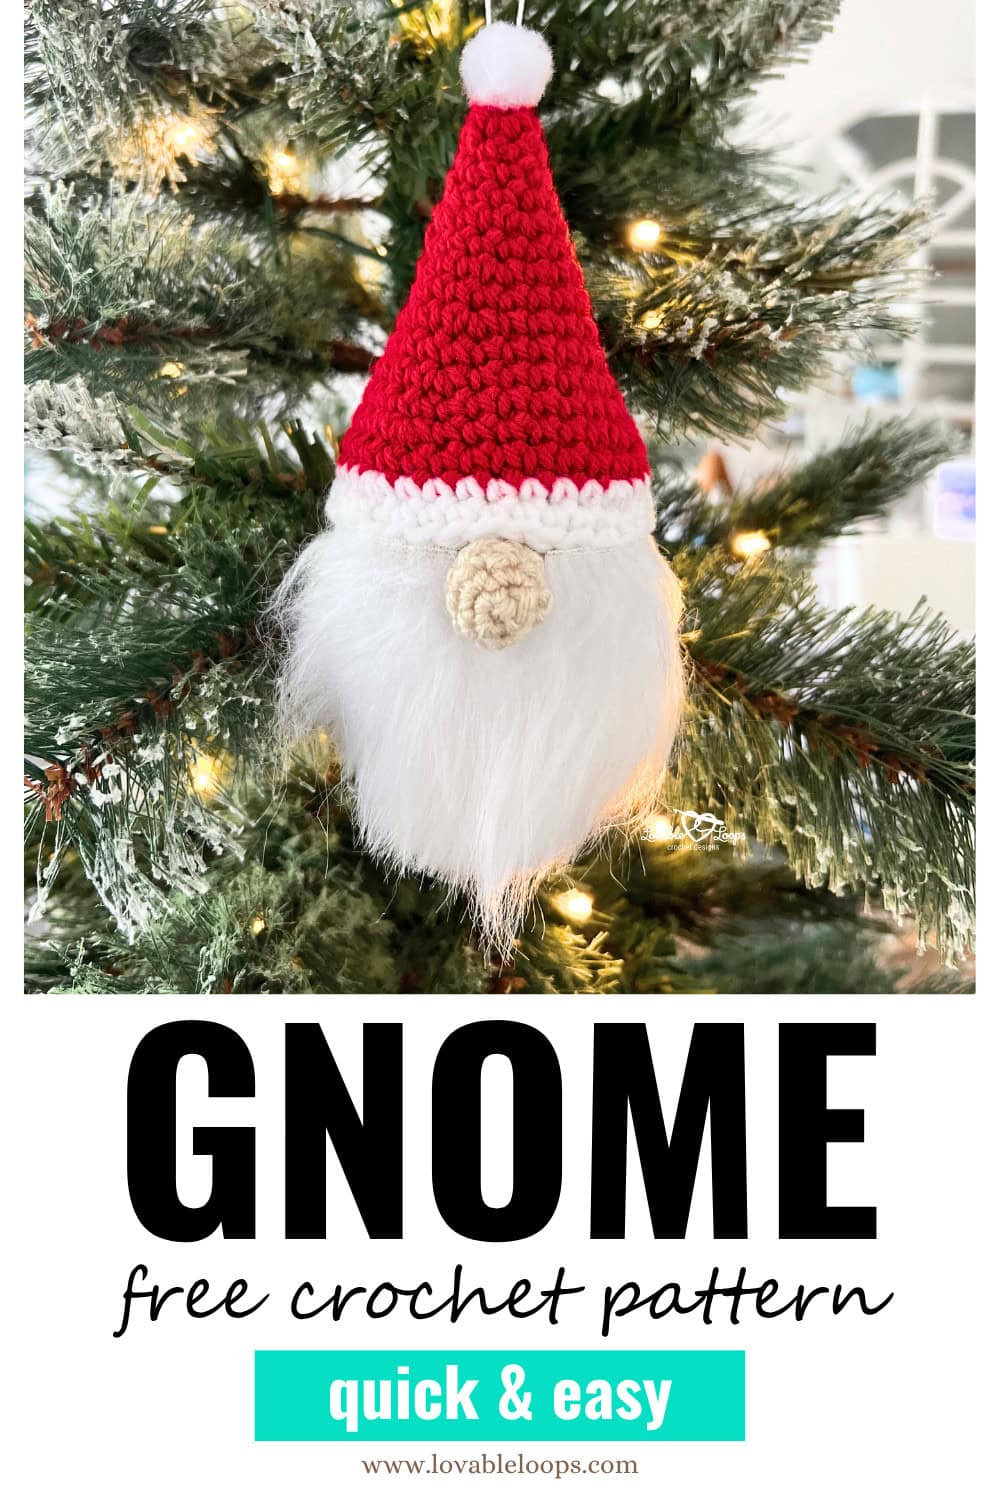
Crochet gnome ornament pattern (free & easy tutorial)
Looking for a festive handmade touch for your Christmas tree? 🎄 This free crochet gnome ornament pattern is quick, easy, and so much fun to make!
With a fluffy faux fur beard, a tiny pom pom hat, and your choice of colors, each gnome turns out unique and full of charm. They’re the perfect size for decorating your holiday tree, topping gifts, or selling at craft fairs. Keep reading for the full free pattern below!
Why you’ll love this pattern
A few reasons this Christmas crochet gnome pattern will quickly become a favorite:
- Beginner-friendly – If you can single crochet in the round, you can make this!
- Quick project – Each gnome works up in about an hour.
- Great stash buster – Use leftover yarn in fun Christmas colors.
- Customizable – Swap out yarn shades or change the hat colors for different seasons. Make a classic crochet Christmas gnome or playful year-round gnomes in your favorite colors.
- Perfect for gifting – Handmade gnomes make adorable presents and stocking stuffers.
Crochet gnome ornament pattern details (Christmas DIY)
Skill level
Beginner – This pattern uses basic stitches and simple shaping, making it a great project for newer crocheters. If you can work in the round and do single crochet stitches, you’ll be able to make this gnome ornament.
Materials you’ll need
- Crochet hook size H-8 (5 mm) – Or the size needed to match the gauge.
- Worsted weight yarn (#4) – In tan, white, and red or green.
- Yarn needle – For weaving in ends neatly.
- Scissors – To cut your yarn.
- Stitch markers (optional) – Helpful for keeping track of rounds and stitch counts.
- Fiber fill – To stuff the gnome ornament.
- Faux fur fabric – For the beard (available on Amazon or at craft stores).
- Hot melt adhesive – To attach the beard, nose, and finishing details.
- Small pom pom – To sew or glue onto the tip of the hat.
- Hanging option – Yarn, ribbon, or twine for a loop, or ornament hangers (available on Amazon).

Finished size
Each gnome ornament measures approximately 5 inches (12.5 cm) tall, not including the pom pom or hanging loop.
Gauge
Gauge is not important for this pattern. Just make sure your stitches are tight enough so the stuffing doesn’t show through. If the stuffing is visible, try using a smaller crochet hook.
Crochet abbreviations
- sc = single crochet
- sc2tog = single crochet decrease
- blo = back loop only
- ch / chs = chain / chains
- st / sts = stitch / stitches
- sl st = slip stitch
Pattern notes
- This gnome ornament is worked in the round.
- Use stitch markers to help keep track of rounds if needed.
- The chain 2 at the start of each round does not count as a stitch.
- Join each round with a slip stitch to the first stitch of the round.
- Written in US crochet terms.
Free crochet gnome ornament pattern instructions
Gnome pattern
- Round 1: Magic circle, ch 1, 6 sc. Join. (6 sts)
- Round 2: Ch 1, 2 sc in each st around. Join. (12 sts)
- Round 3: Ch 1, *2 sc in next st, sc in next st; repeat from * around. Join. (18 sts)
- Round 4: Ch 1, *2 sc in next st, sc in next 2 sts; repeat around. Join. (24 sts)
- Round 5: Ch 1, *2 sc in next st, sc in next 3 sts; repeat around. Join. (30 sts)
- Round 6: Ch 1, *2 sc in next st, sc in next 4 sts; repeat around. Join. (36 sts)
- Rounds 7-15: Ch 1, sc in each st around. Join. (36 sts)
- Begin adding fiberfill as you work the decrease rounds.
- Round 16: Ch 1, sc2tog, sc in next 4 sts; repeat around. Join. (30 sts)
- Round 17: Ch 1, sc2tog, sc in next 3 sts; repeat around. Join. (24 sts)
- Round 18: Ch 1, sc2tog, sc in next 2 sts; repeat around. Join. (18 sts)
- Round 19: Ch 1, sc2tog, sc in next st; repeat around. Join. (12 sts)
- Round 20: Ch 1, sc2tog; repeat around. Join. (6 sts)
- Fasten off and sew closed using a yarn needle.
Gnome hat pattern
Start with red or green yarn.
- Round 1: Magic circle, ch 1, 4 sc. Join. (4 sts)
- Round 2: Ch 1, 2 sc in each st around. Join. (8 sts)
- Round 3: Ch 1, sc in each st around. Join. (8 sts)
- Round 4: Ch 1, *2 sc in next st, sc in next st; repeat from * around. Join. (12 sts)
- Round 5: Ch 1, sc in each st around. Join. (12 sts)
- Round 6: Ch 1, *2 sc in next st, sc in next 2 sts; repeat around. Join. (16 sts)
- Round 7: Ch 1, sc in each st around. Join. (16 sts)
- Round 8: Ch 1, *2 sc in next st, sc in next 3 sts; repeat around. Join. (20 sts)
- Round 9: Ch 1, sc in each st around. Join. (20 sts)
- Round 10: Ch 1, *2 sc in next st, sc in next 4 sts; repeat around. Join. (24 sts)
- Round 11: Ch 1, sc in each st around. Join. (24 sts)
- Round 12: Ch 1, *2 sc in next st, sc in next 5 sts; repeat around. Join. (28 sts)
- Round 13: Ch 1, sc in each st around. Join. (28 sts)
- Round 14: Ch 1, *2 sc in next st, sc in next 6 sts; repeat around. Join. (32 sts)
- Round 15: Ch 1, sc in each st around. Join. (32 sts)
- Switch to white yarn.
- Round 16: Ch 1, *2 sc in next st, sc in next 7 sts; repeat around. Join. (36 sts)
- Round 17: Ch 1, sc in each st around. Join. (36 sts)
- Fasten off and sew the hat to round 11 of the gnome.
- Use a dab of hot glue to attach a small white pom pom to the tip of the hat.
Nose pattern
- Round 1: Magic circle, ch 1, 4 sc. Join. (4 sts)
- Round 2: Ch 1, 2 sc in each st around. Join. (8 sts)
- Rounds 3 & 4: Ch 1, sc in each st around. Join. (8 sts)
- Fasten off and sew the nose to the gnome face, directly below the hat.
Adding the beard
I used faux fur fabric for the beard (you can find it on Amazon or at most craft stores). Cut a piece that fits snug against the hat and around the nose, then glue it in place with small dabs of hot glue. Trim the edges into a neat beard shape. Don’t worry if your beard isn’t perfect — a little trimming goes a long way.
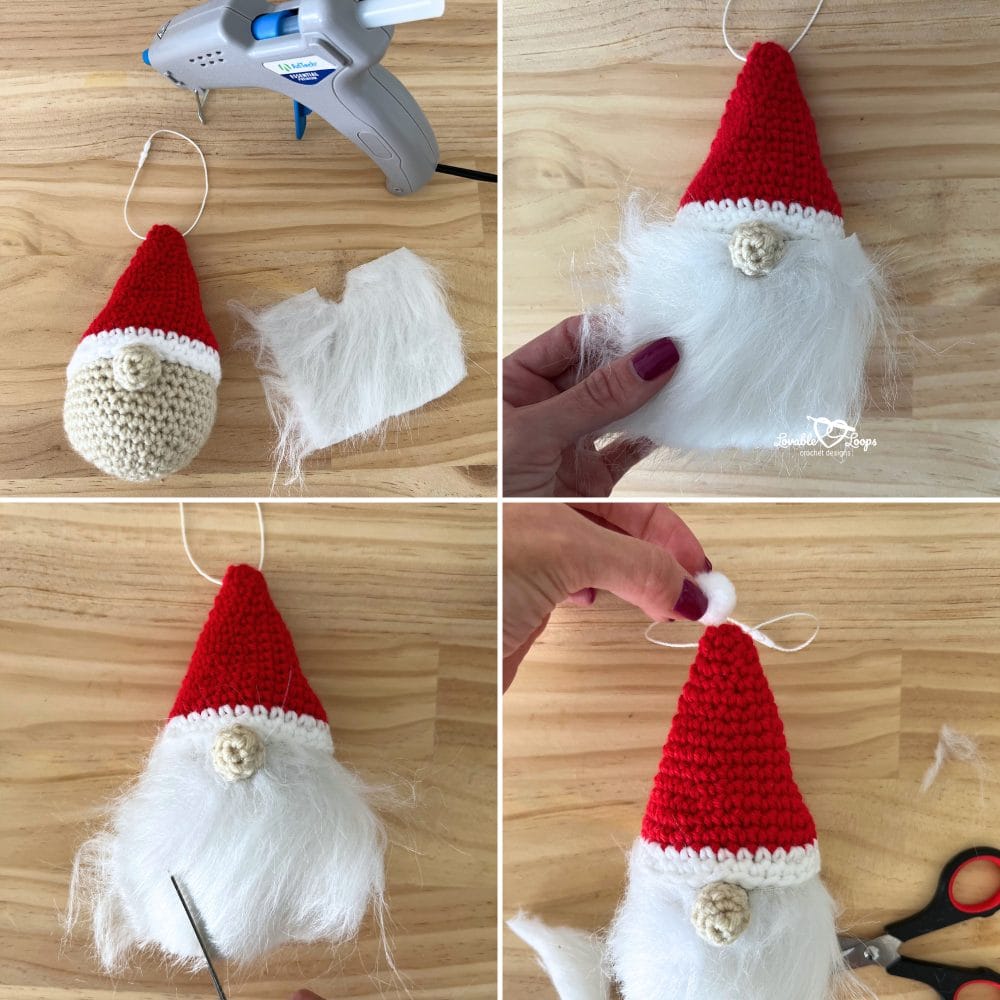
Adding a hanging loop
Cut a short length of yarn, ribbon, or twine. Make a loop and sew or glue it to the top of the hat so your gnome can hang on the Christmas tree. You can also use ornament hangers (like I did) — they’re easy to find on Amazon.
Finishing
Use your fingers or scissors to fluff the faux fur and trim any stray hairs for a polished look.
Your crochet gnome ornament is complete! You can now use it to decorate your tree, sell it at craft fairs, or gift it to family and friends.
Frequently asked questions
Do I need to match gauge?
No! Gauge isn’t important for this project. Just make sure your stitches are tight so the stuffing doesn’t show. If it does, try a smaller hook.
What kind of beard should I use?
I used faux fur fabric for the beard, which you can find on Amazon or at craft stores. Cut it to fit snug under the hat, glue it in place, and trim into shape.
Can I sell the finished gnome ornaments?
Yes! You’re welcome to sell items you make from this pattern. Please just credit Lovable Loops as the designer when you share or sell.
How long does it take to make one?
Most crocheters finish one gnome ornament in about an hour, making them perfect for last-minute gifts or stocking craft fair tables.
What’s the finished size?
Each gnome ornament measures about 5 inches (12.5 cm) tall, not including the hanging loop.
More free Christmas crochet patterns
If you enjoyed making this gnome ornament, you’ll love these other festive designs from my blog:


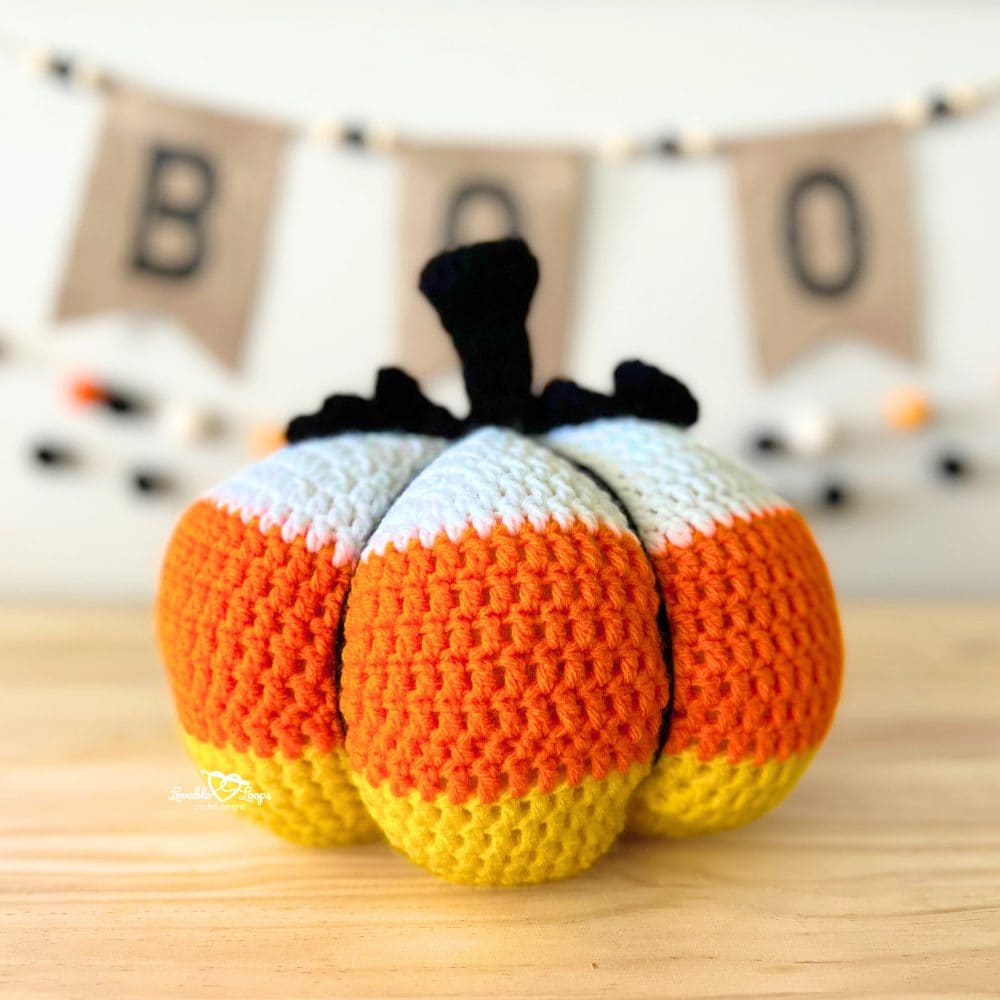
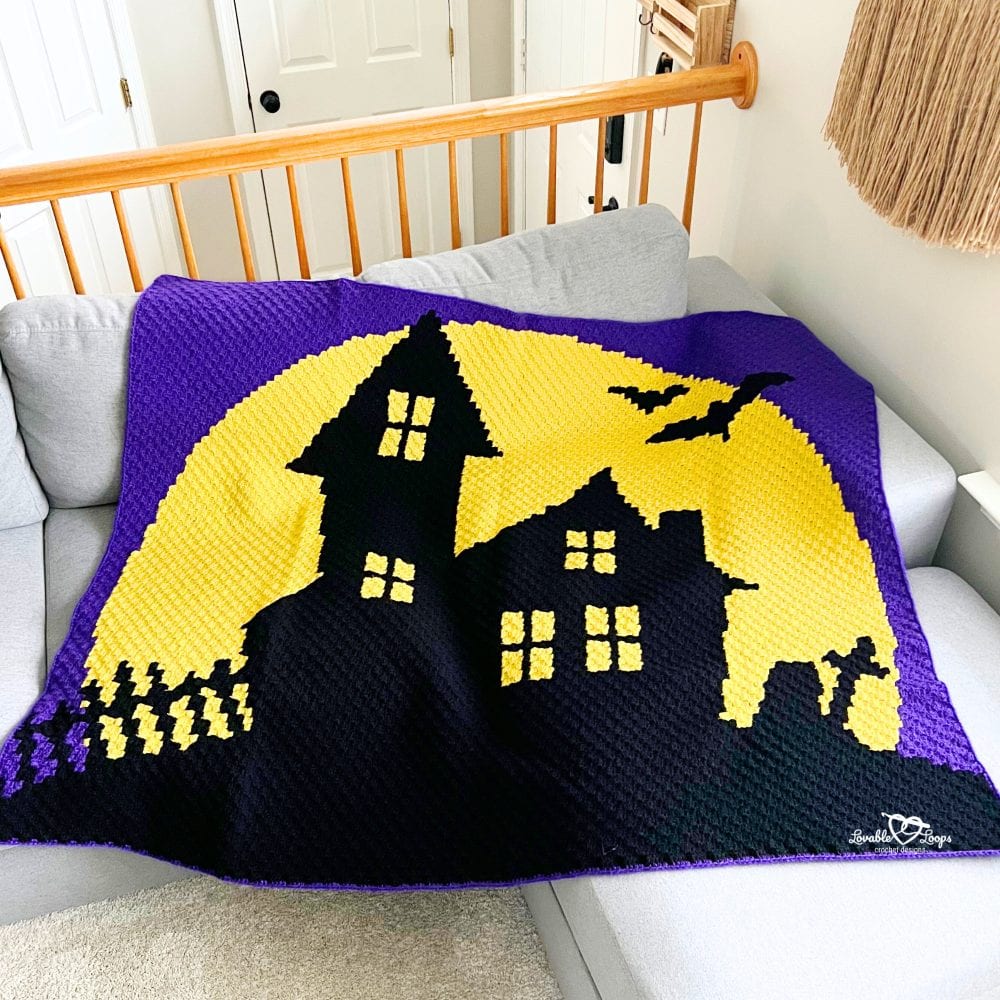
Free Halloween crochet patterns
Looking for free Halloween crochet patterns? 🕸️ These spooky and fun designs are great for fall decorating, handmade gifts, or craft fair makes. Start your Halloween crochet projects early and get ready for a festive spooky season!


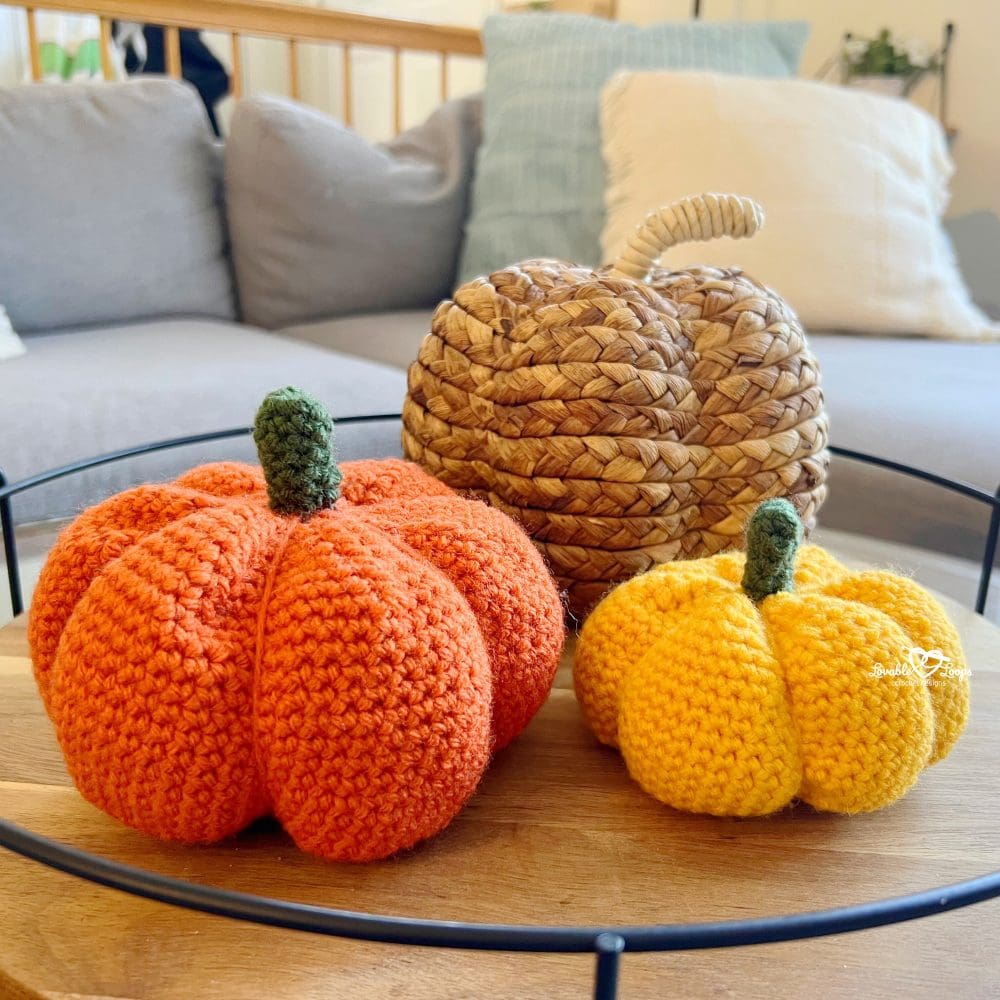
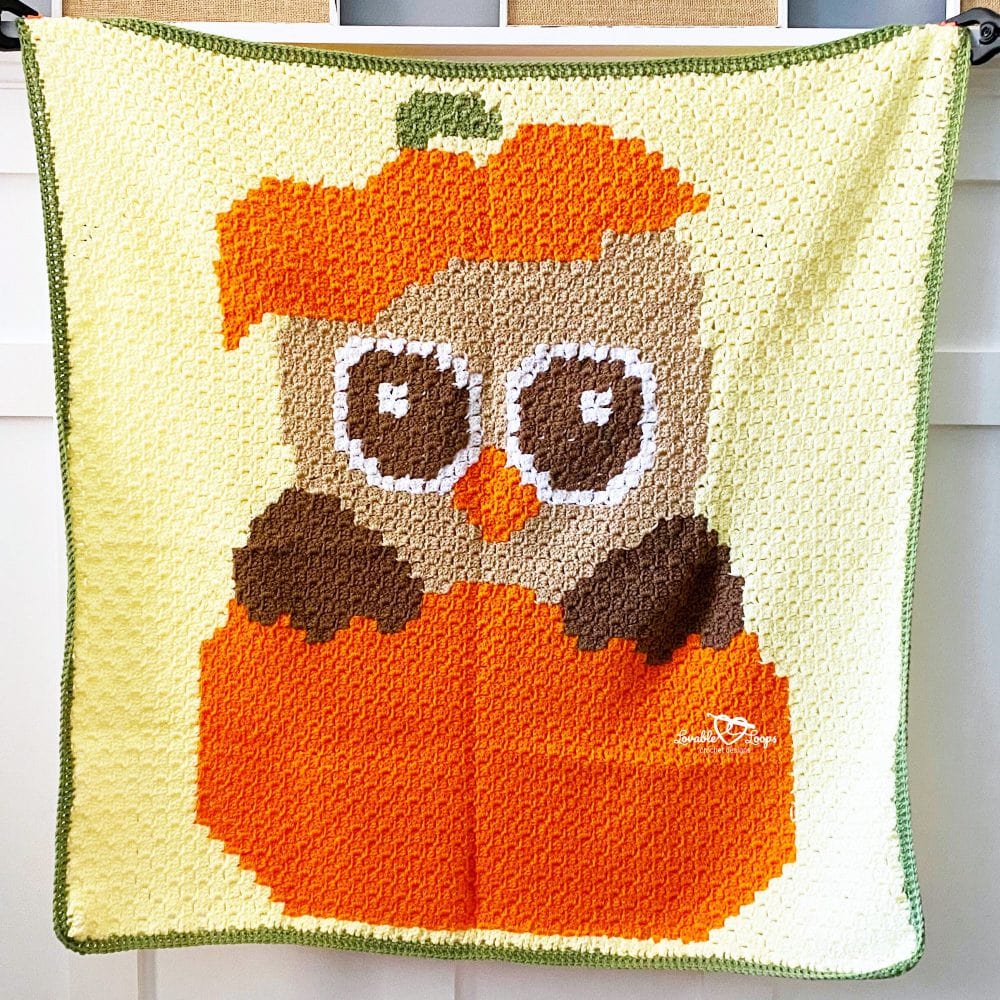
Free Fall crochet patterns
Looking for free fall crochet patterns? 🍁 These cozy and creative designs are perfect for autumn decorating, handmade gifts, and craft fairs. Start your fall crochet projects now and add a touch of handmade warmth to the season.


Let’s connect!
I’d love to see what you’re making! Come hang out with me on social media:
📸 Instagram
📌 Pinterest
📘 Facebook
▶️ YouTube
🛍️ Etsy Shop
🧶 Ravelry
Happy crocheting! 🧶 Don’t forget to pin this pattern so you can come back to it later!
— Melissa