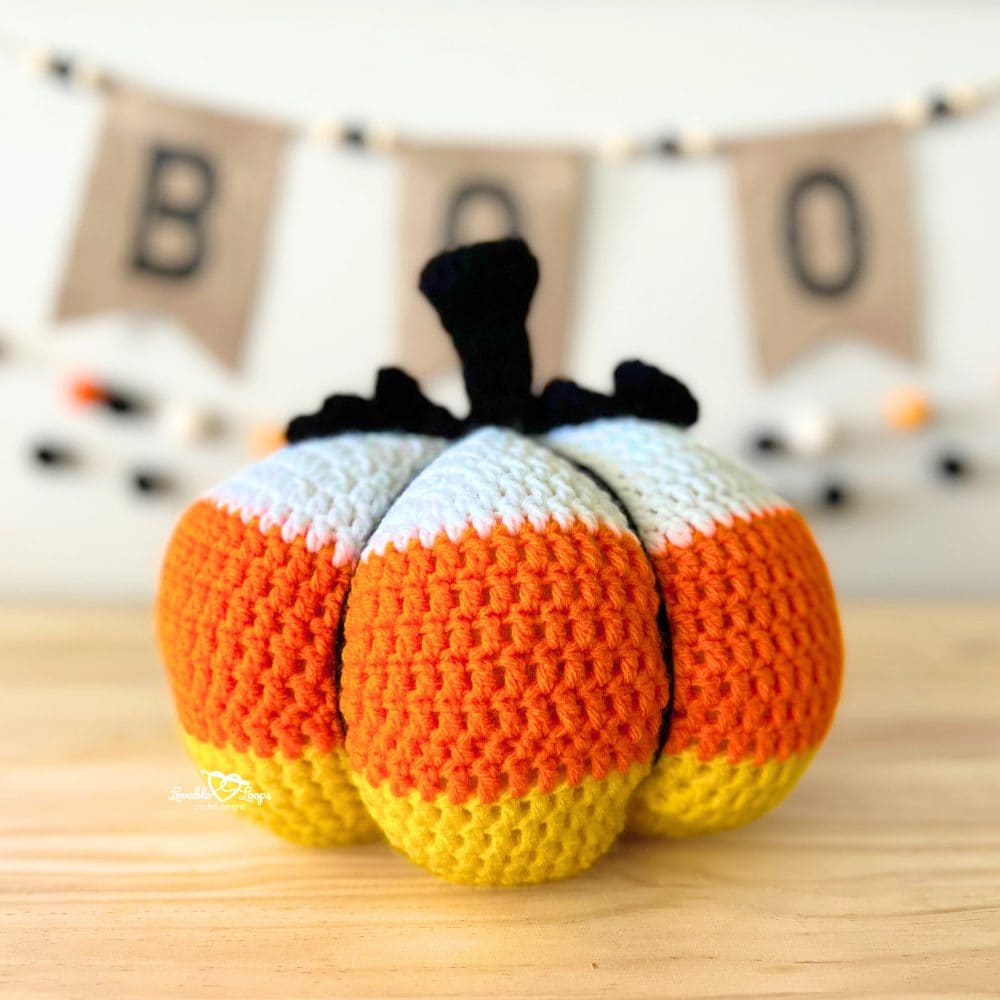
Easy crochet pumpkin pattern for beginners
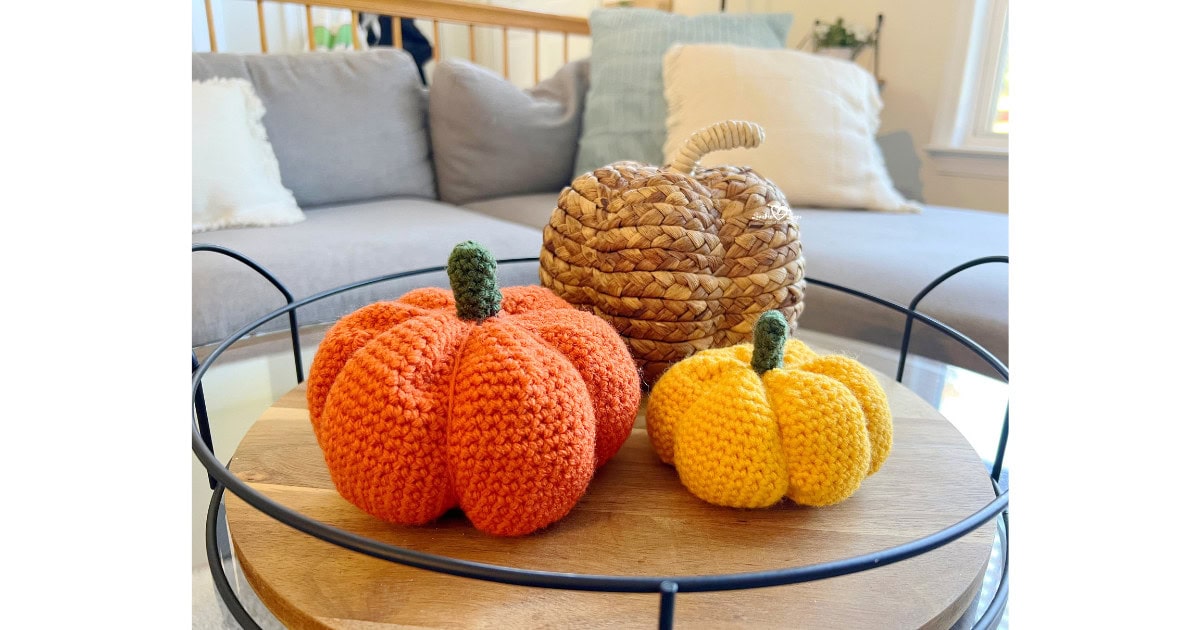
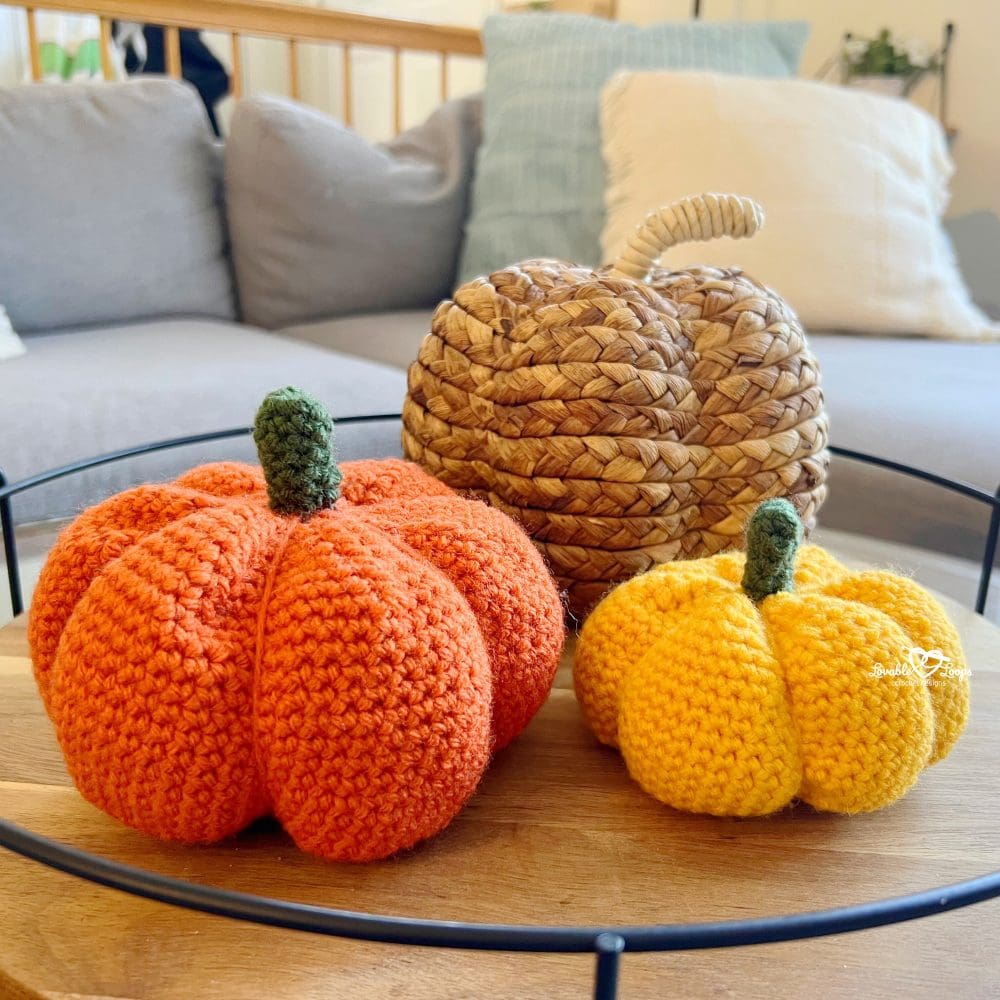
Nothing says cozy fall quite like pumpkins, and this free crochet pumpkin pattern is the perfect way to add handmade charm to your autumn decor. This design is worked in the round using single crochet stitches, making it a great choice for beginners. With just a bit of worsted weight yarn, some fiberfill, and simple increases and decreases, you’ll have your own set of pumpkins ready in no time.
Best of all, the pattern includes two sizes, so you can create a cute mix-and-match display. Whether you’re decorating your home, making gifts, or selling at craft fairs, these pumpkins work up quickly and bring instant fall vibes. Scroll down for the full free pattern.
Why you’ll love this pattern
- Beginner-friendly – This crochet pumpkin pattern uses only single crochet stitches in the round with simple increases and decreases, making it perfect for new crocheters.
- Quick to finish – Each pumpkin works up fast, and you can make both sizes in one afternoon. Great for last-minute fall decorating, handmade gifts, or craft fairs.
- Two sizes included – Pattern comes with small and large pumpkins, so you can mix and match for a varied fall display.
- Perfect for fall decor – Use these pumpkins as centerpieces, on your mantel, or around the home for a cozy autumn look. They’re also fun props for seasonal photo shoots.
- Customizable – Choose traditional orange, neutrals for a farmhouse look, or bold colors for a modern style. Made with worsted weight yarn for easy color matching.

Crochet pumpkin pattern details
Skill level
Beginner – This crochet pumpkin pattern is perfect for new crocheters. It uses only single crochet stitches worked in the round with simple increases and decreases. If you’re just starting out, this is a fun and easy project to build confidence while making something cute for fall decor.
Materials you’ll need
- Crochet hook size H-8 (5 mm) – Or the size needed to match the gauge.
- Worsted weight yarn (#4) – In green and a pumpkin color.
- Fiber fill – To stuff the pumpkin.
- Yarn needle – For weaving in ends neatly.
- Scissors – To cut your yarn.
- Stitch markers (optional) – Helpful for keeping track of rounds and stitch counts.
Finished sizes
Small size: 4 inches wide by 3.25 inches tall
Large size: 6 inches wide by 4.5 inches tall
Gauge
17 stitches and 19 rounds = 4 inches
- If you have too many stitches, use a larger hook.
- If you have too few stitches, use a smaller hook.
Crochet abbreviations
- sc = single crochet
- ch / chs = chain / chains
- st / sts = stitch / stitches
- sl st = slip stitch
Pattern notes
- This pumpkin is worked in the round from the bottom up.
- Chain 1 at the start of each round (does not count as a stitch).
- Join each round with a slip stitch to the first stitch of the round.
- Written in US crochet terms.
Free crochet pumpkin pattern instructions
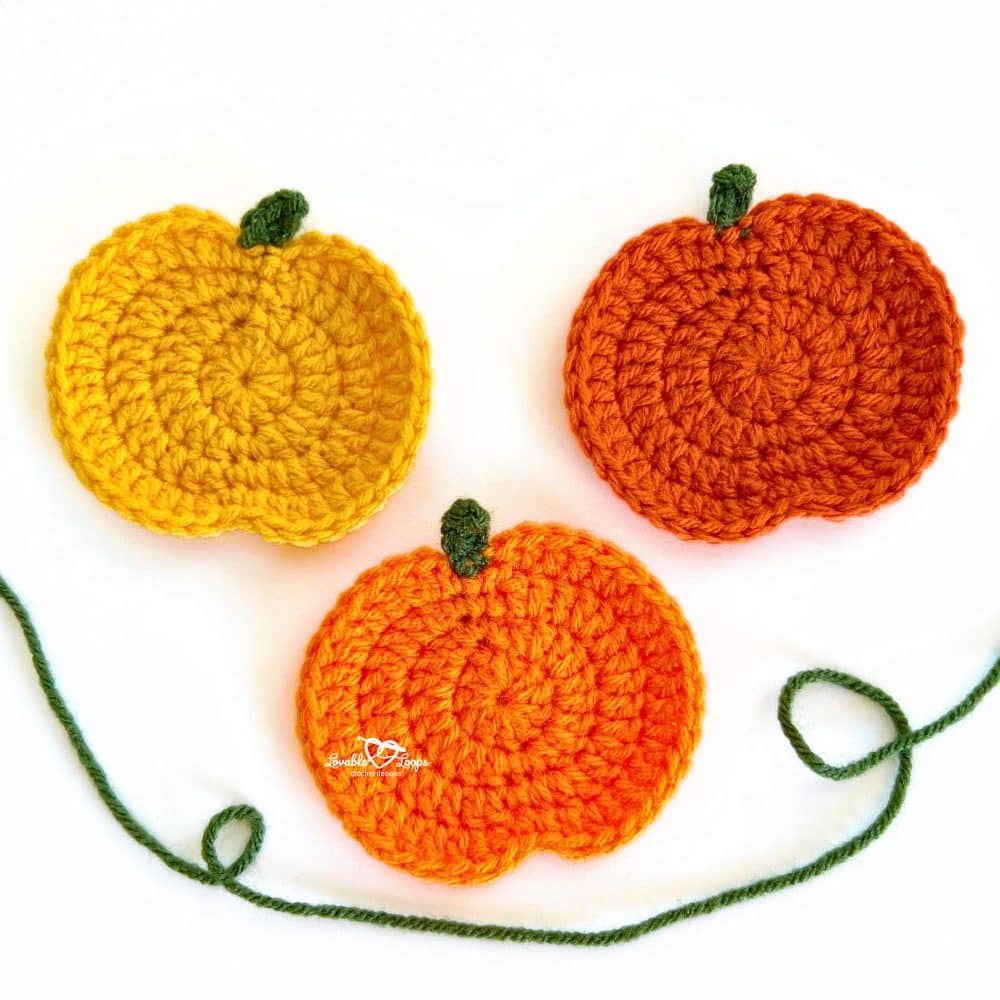
Small pumpkin
- Round 1: Magic circle, ch 1, 8 sc. Join. (8 sts)
- Round 2: Ch 1, 2 sc in each st. Join. (16 sts)
- Round 3: Ch 1, 2 sc in next st, sc in next st; repeat around. Join. (24 sts)
- Round 4: Ch 1, 2 sc in next st, sc in next 2 sts; repeat around. Join. (32 sts)
- Continue increasing each round, adding 1 more sc between increases, until Round 8 = 64 sts.
- Rounds 9–19: Sc in each st around. Join. (64 sts)
Begin adding fiberfill as you work the decrease rounds
- Round 20 (first decrease round): Ch 1, sc2tog, sc in next 6 sts; repeat around. Join. (56 sts)
- Continue decreasing each round, working 1 less sc between decreases than the previous round, until Round 26 = 8 sts.
- Fasten off and sew closed.
Large pumpkin
- Round 1: Magic circle, ch 1, 8 sc. Join. (8 sts)
- Round 2: Ch 1, 2 sc in each st. Join. (16 sts)
- Round 3: Ch 1, 2 sc in next st, sc in next st; repeat around. Join. (24 sts)
- Round 4: Ch 1, 2 sc in next st, sc in next 2 sts; repeat around. Join. (32 sts)
- Continue increasing each round, adding 1 more sc between increases, until Round 10 = 80 sts.
- Rounds 11–24: Sc in each st around. Join. (80 sts)
Begin adding fiberfill as you work the decrease rounds
- Round 25 (first decrease round): Ch 1, sc2tog, sc in next 8 sts; repeat around. Join. (72 sts)
- Continue decreasing each round, working 1 less sc between decreases than the previous round, until Round 33 = 8 sts.
- Fasten off and sew closed.
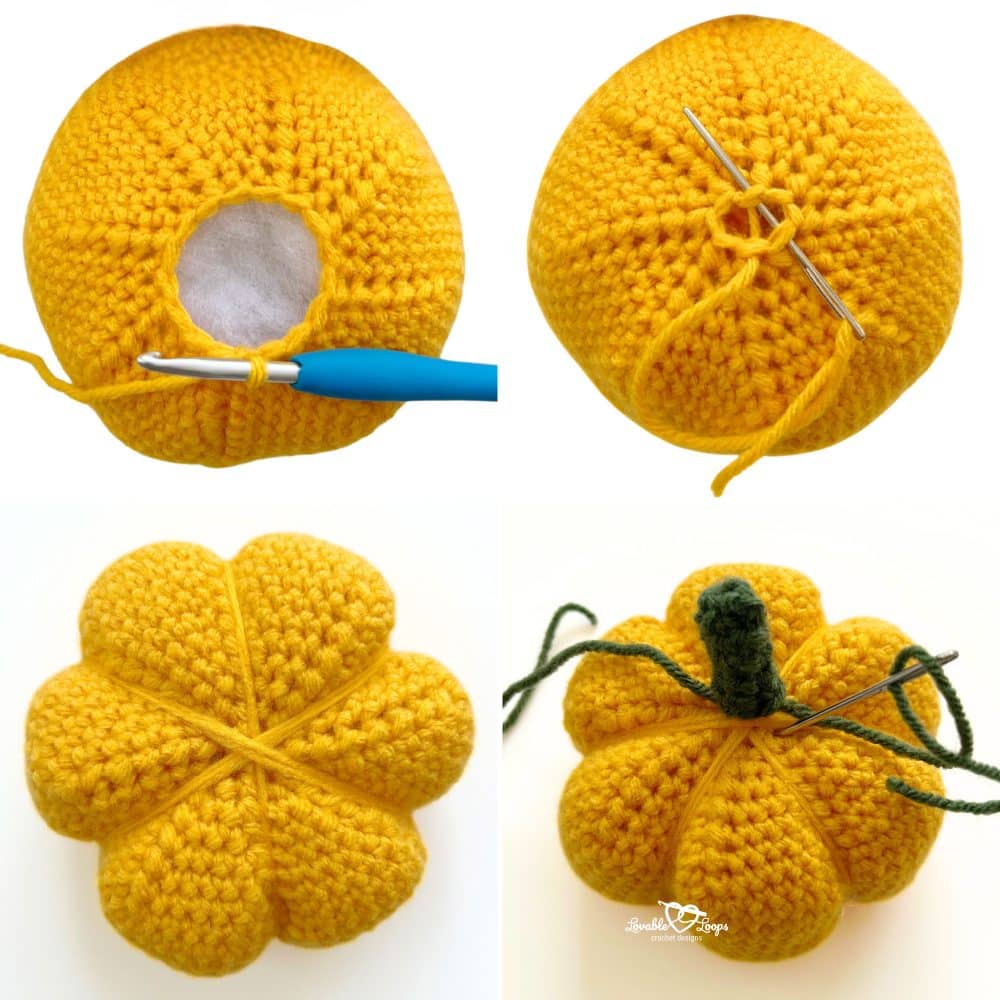
Shape the pumpkin
Cut a long piece of yarn and tie it securely around the middle of the pumpkin. Wrap the yarn snugly around the outside three times, spacing the wraps evenly so the pumpkin is divided into six equal sections. Pull gently to shape, then knot the yarn tightly to hold everything in place.
Add the stem
Small: Magic circle, work 6 sc in the round, join. Continue working sc in each st for 6 rounds.
Large: Magic circle, work 8 sc in the round, join. Continue working sc in each st for 7 rounds.
Sew the stem to the top of the pumpkin.
These free crochet pumpkins are quick, customizable, and perfect for adding handmade charm to your fall decorating. Whether you make one or a whole set, they’re sure to bring cozy autumn vibes to your home.
Frequently asked questions
How hard is this crochet pumpkin pattern?
This is a beginner-friendly crochet pumpkin pattern. It uses only single crochet stitches in the round with simple increases and decreases, so it’s a great first project.
How long does it take to make a crochet pumpkin?
These pumpkins work up quickly! You can make both sizes in just one afternoon, making them perfect for last-minute fall decor or gift ideas.
What yarn should I use for this pattern?
The pattern is designed for worsted weight yarn, which is easy to find in a wide range of fall colors. Pair it with fiberfill stuffing to give your pumpkin shape.
Does the pattern include more than one size?
Yes! The instructions include two sizes so you can crochet a small and a large pumpkin. Display them together for a cute, handmade fall centerpiece.
Can I customize the color of my crochet pumpkin?
Absolutely. While orange is classic, you can use cream, mustard, or green yarn for a farmhouse look, or choose bold colors for modern autumn decorating.
What can I use my crochet pumpkins for?
They make adorable fall decorations, unique handmade gifts, or items to sell at craft fairs. You can use them in centerpieces, photo props, or mantel displays.
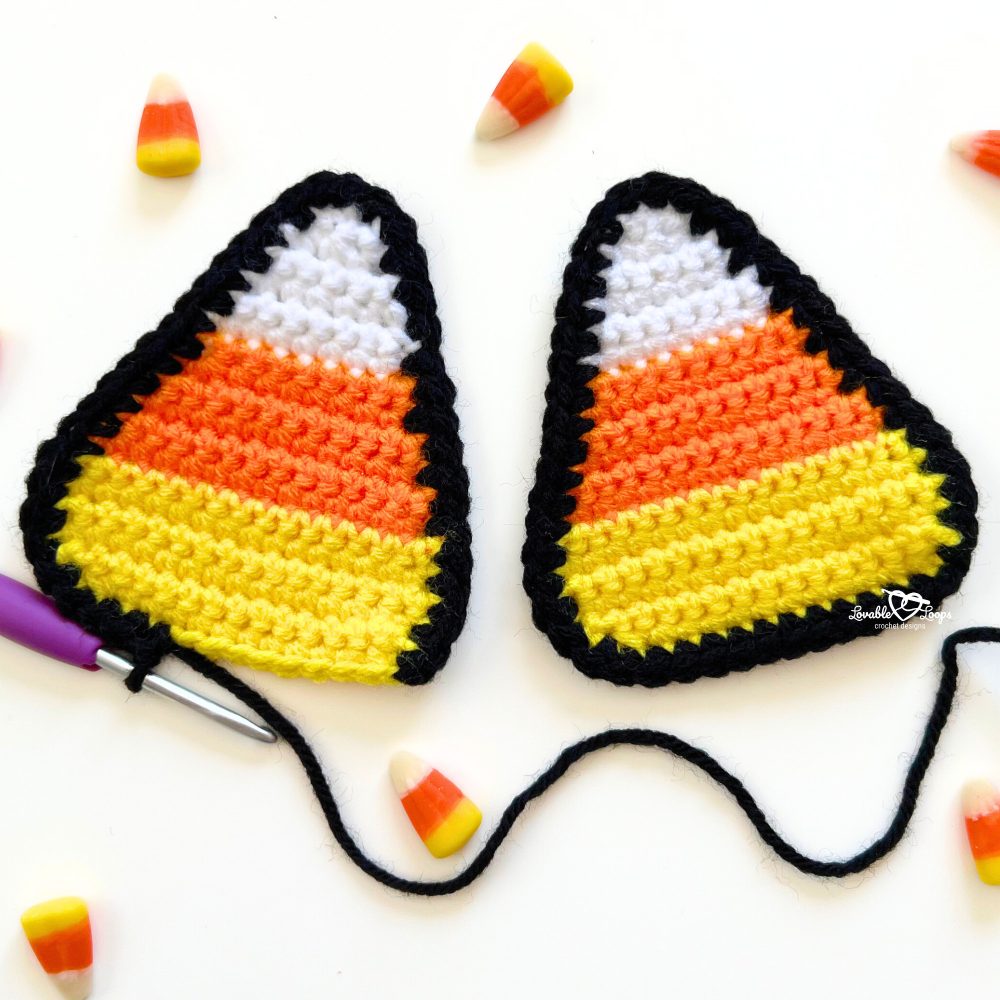
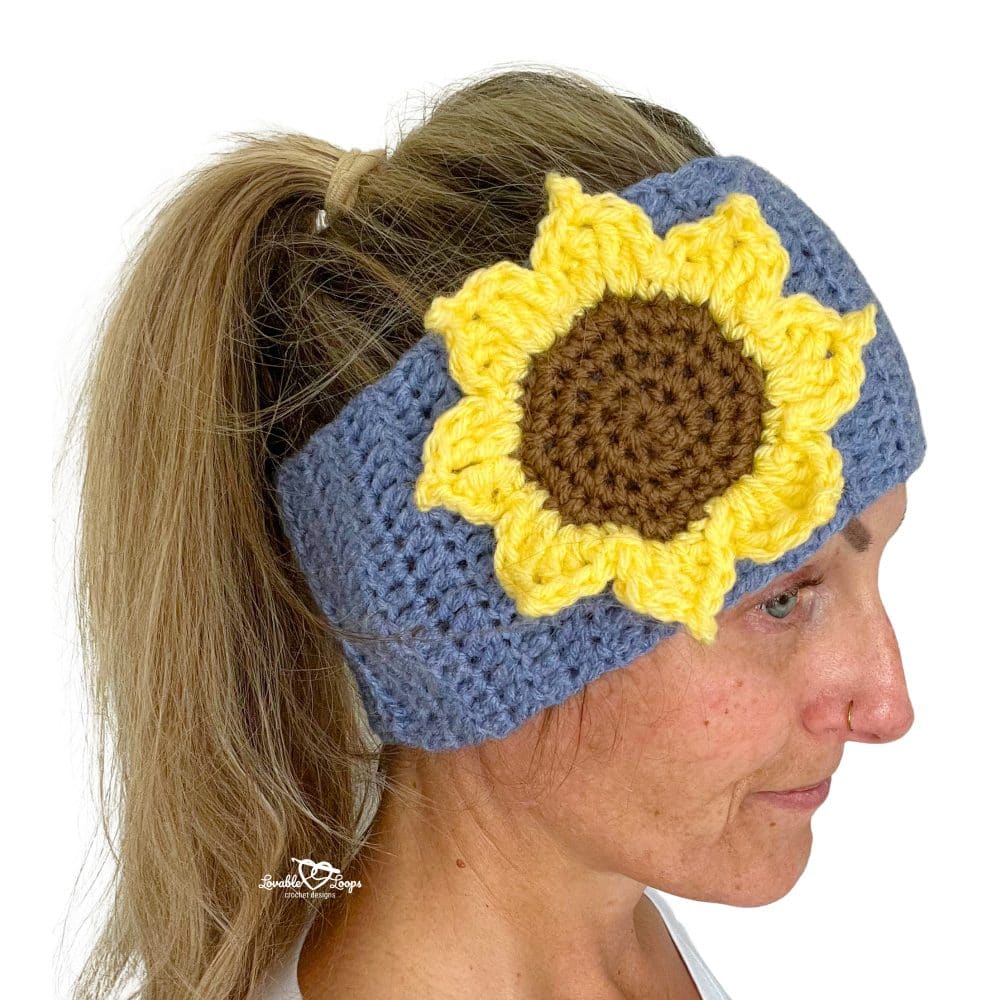
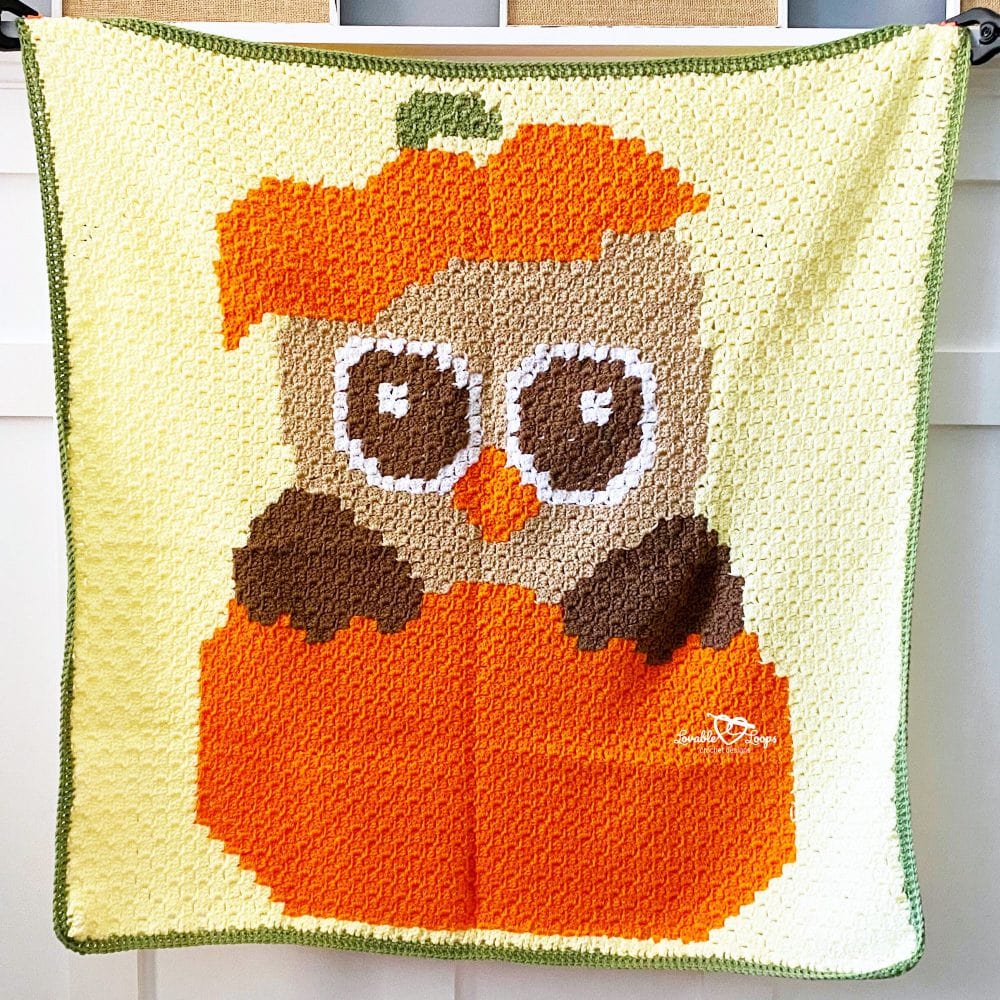
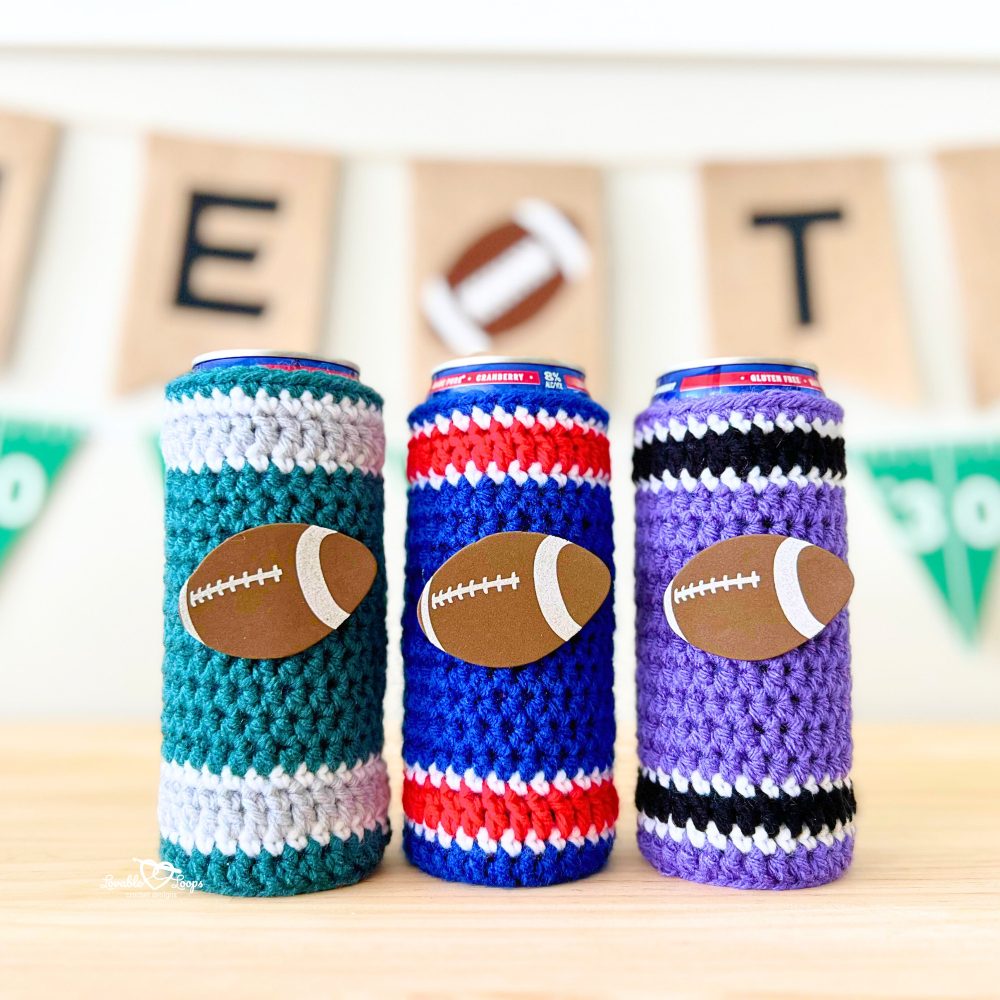
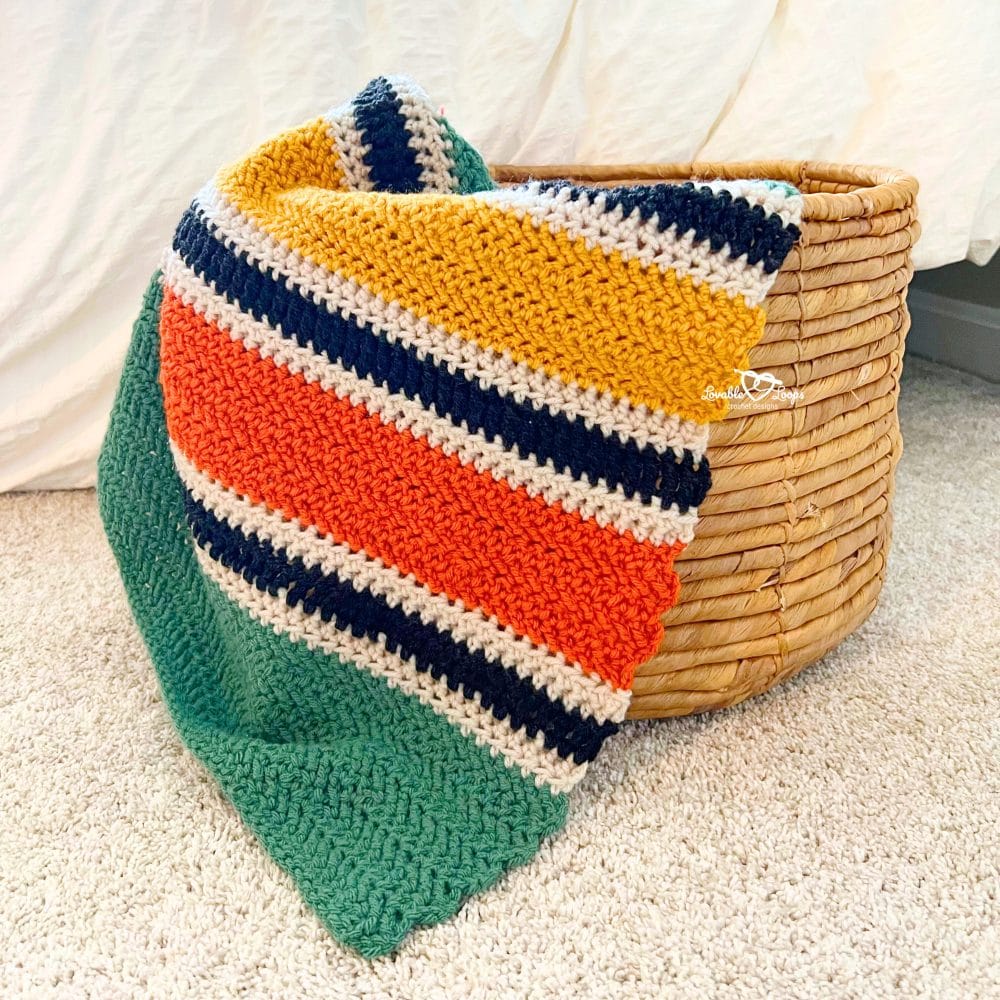
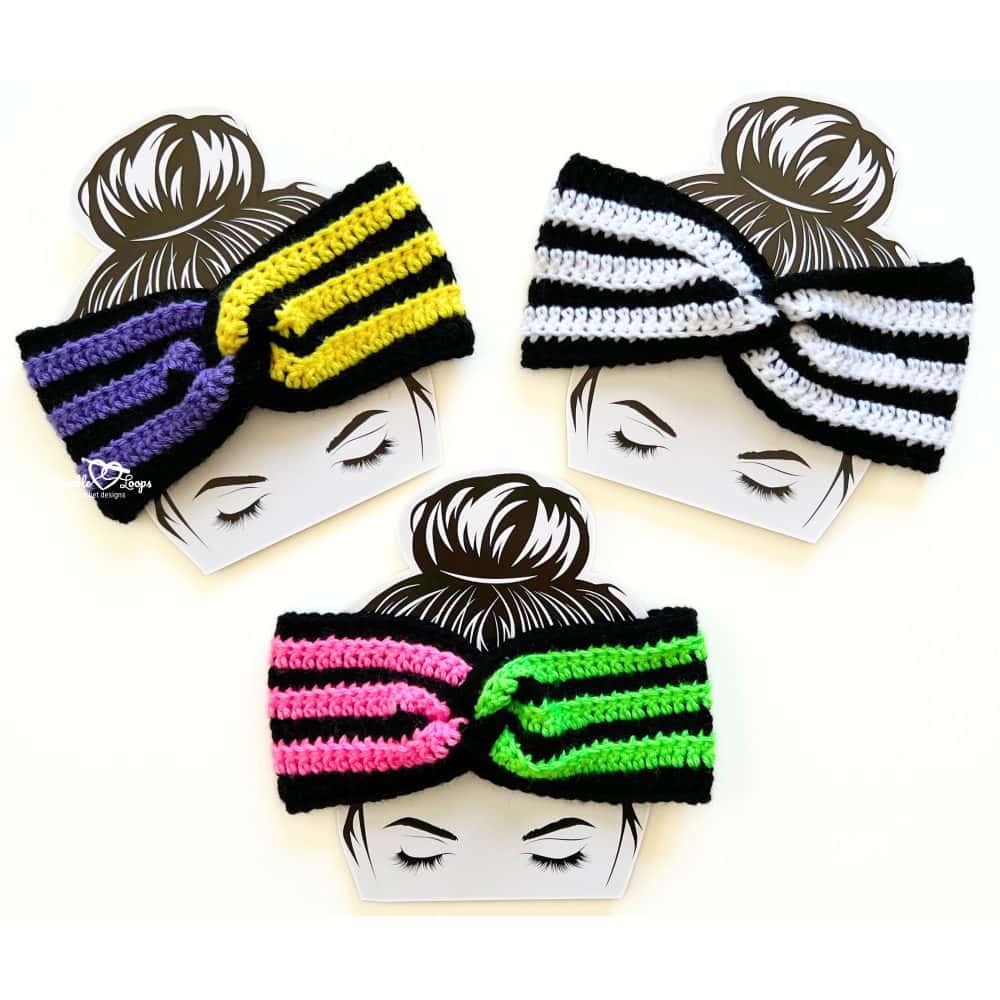
More free crochet patterns
If you liked this small crochet pumpkin pattern, you may also like these projects. 🍁 These cozy and creative designs are perfect for autumn decorating, handmade gifts, and craft fairs. Start your fall crochet projects now and add a touch of handmade warmth to the season.


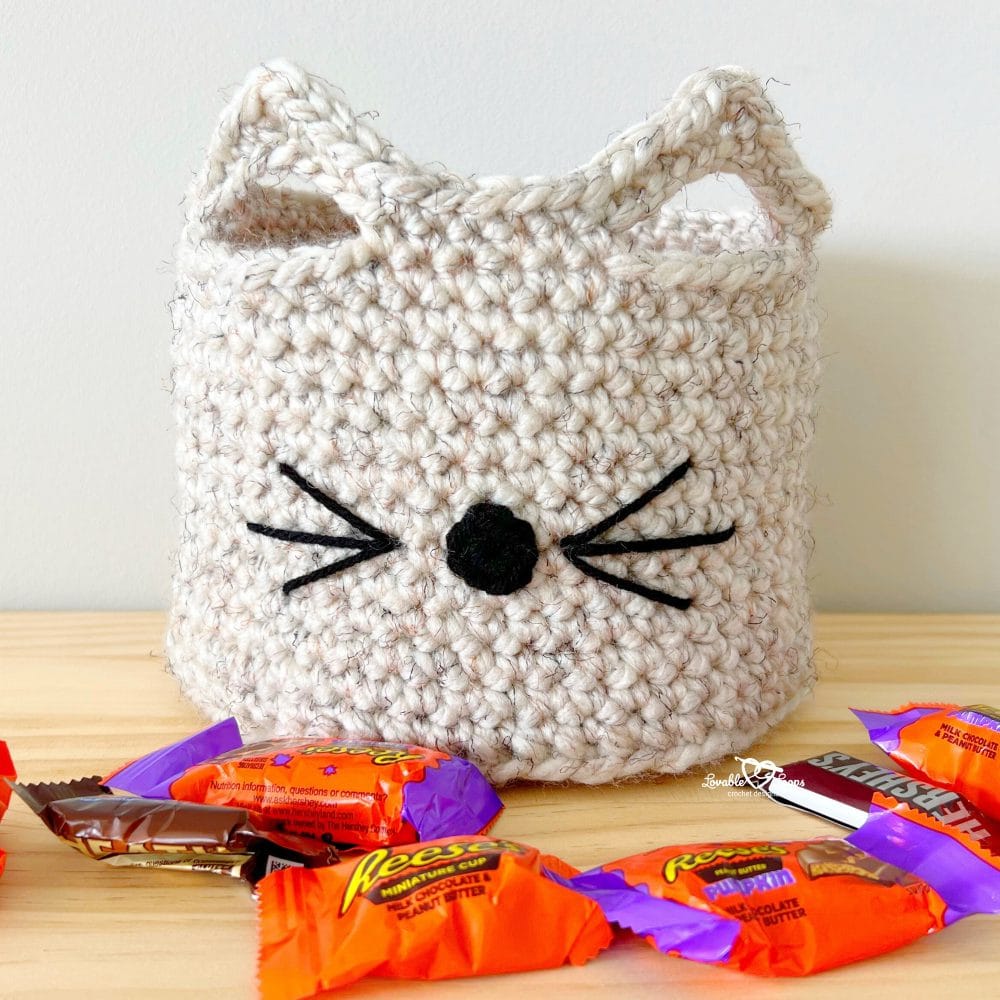
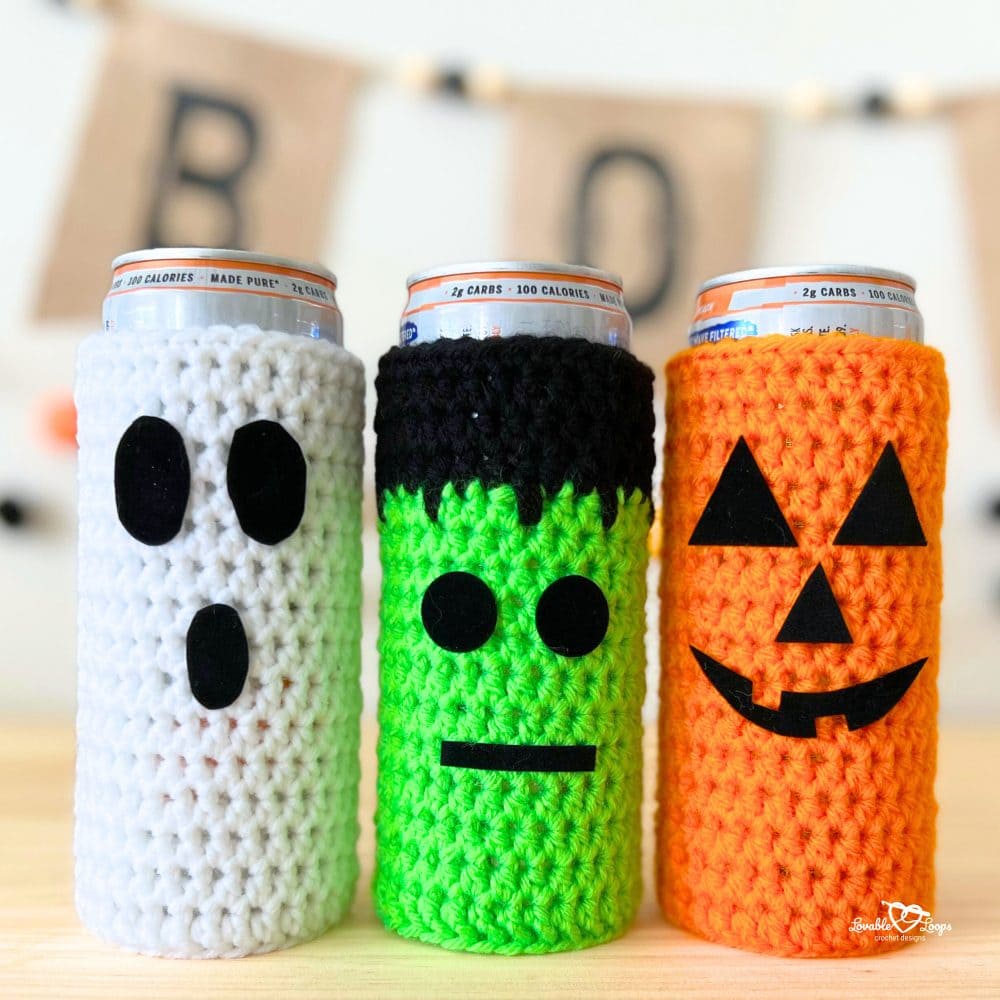
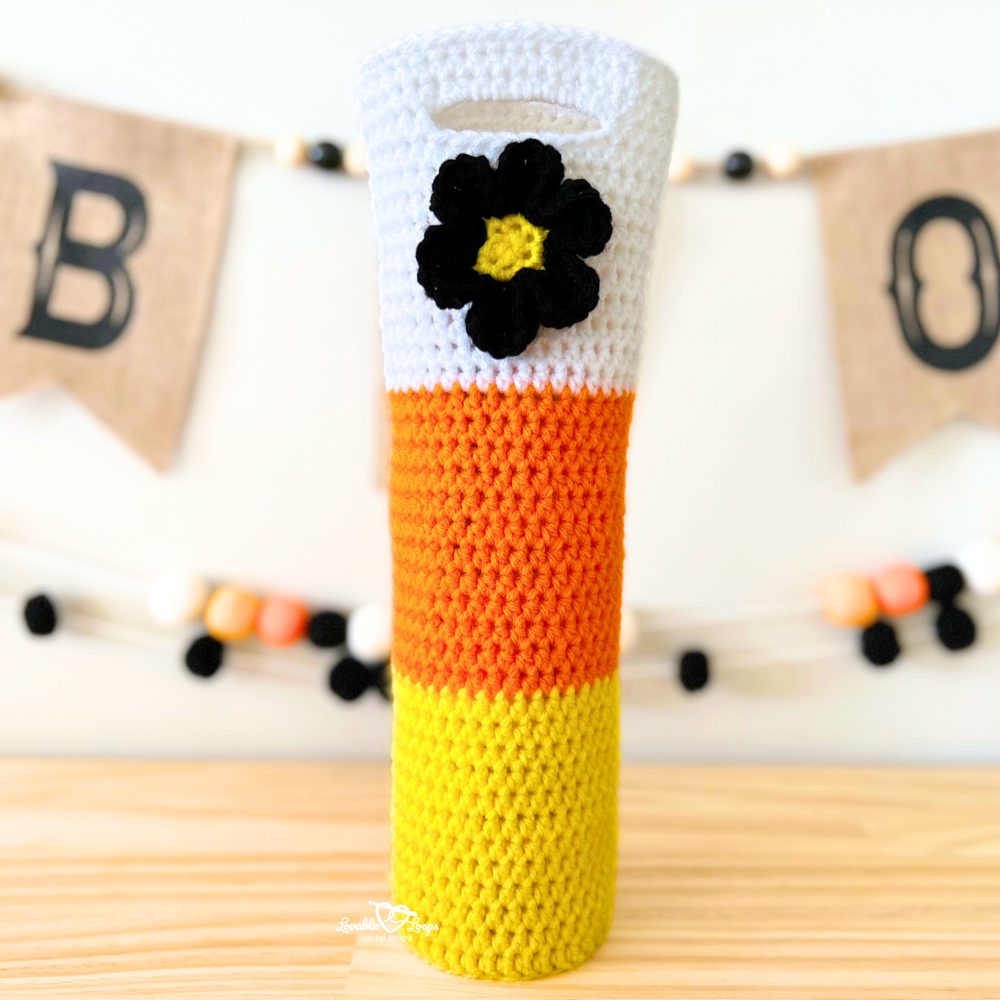
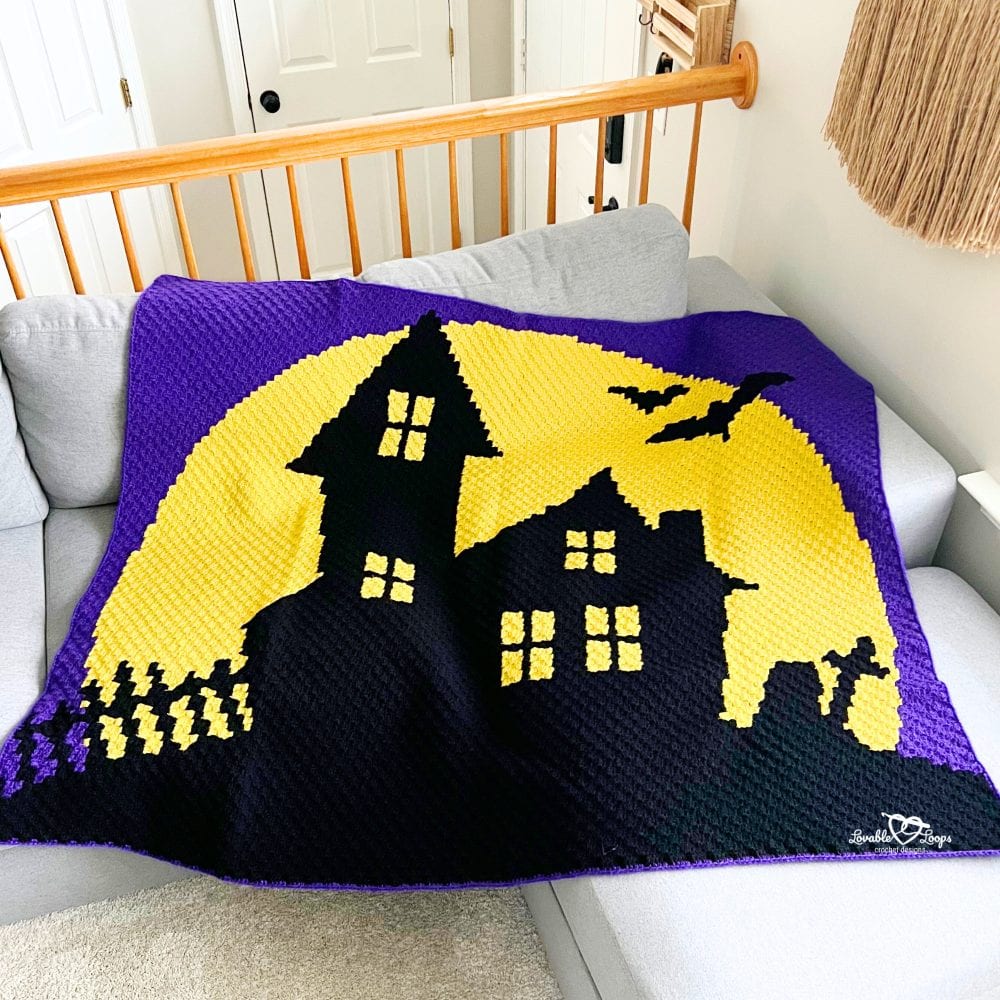
Free Halloween crochet patterns
Looking for free Halloween crochet patterns? 🕸️ These spooky and fun designs are great for fall decorating, handmade gifts, or craft fair makes. Start your Halloween crochet projects early and get ready for a festive spooky season!


Free Christmas crochet patterns
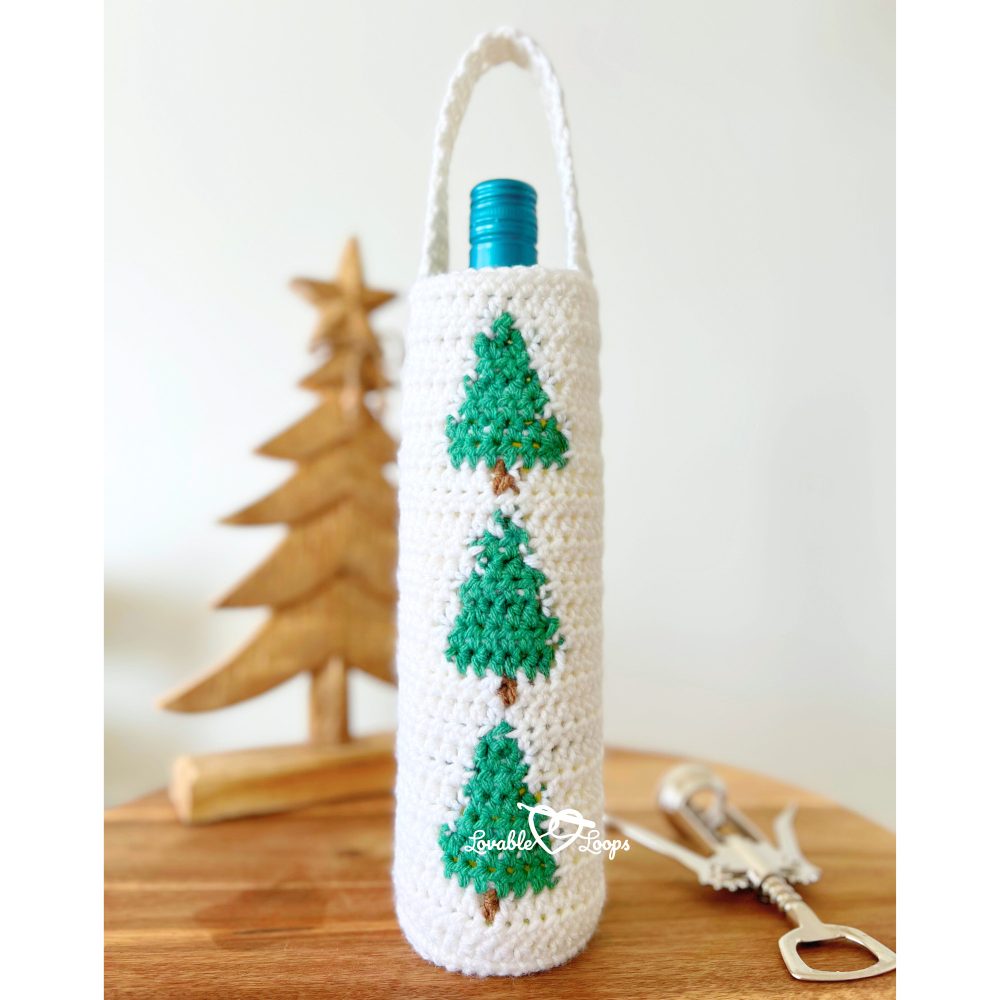
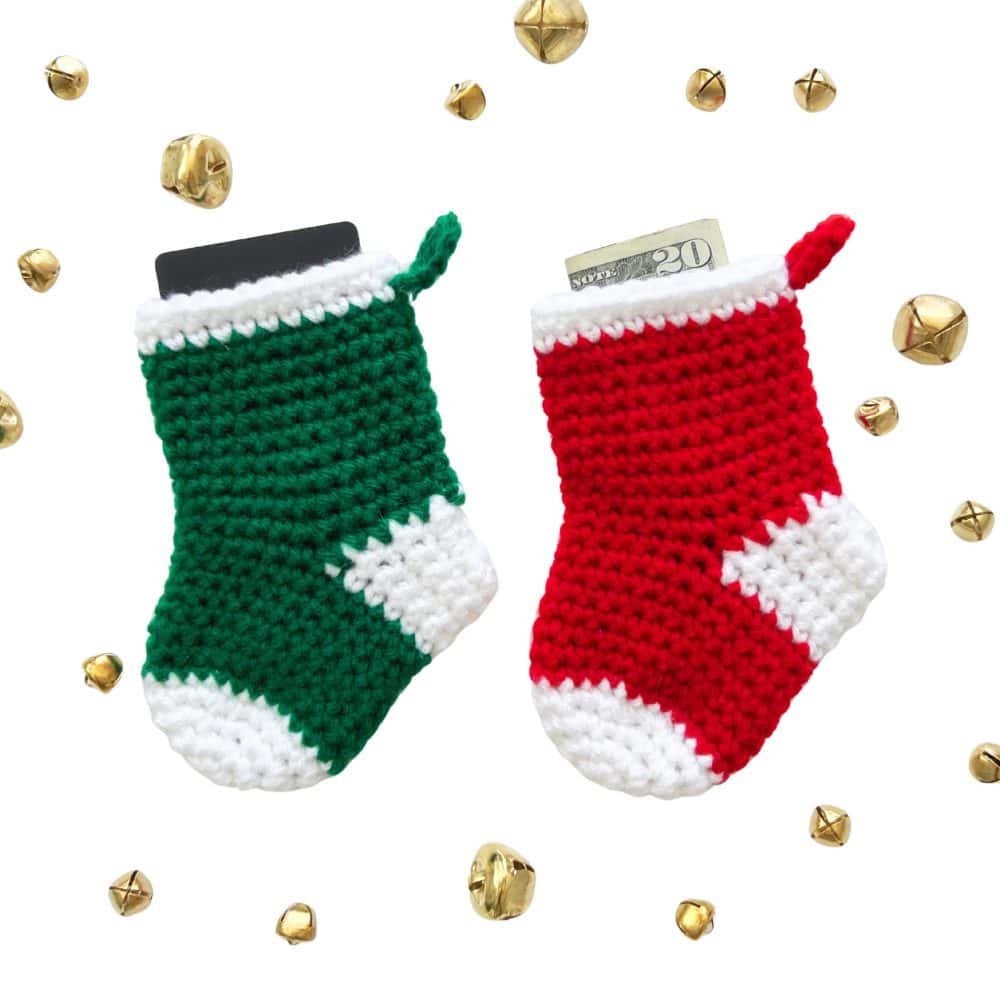
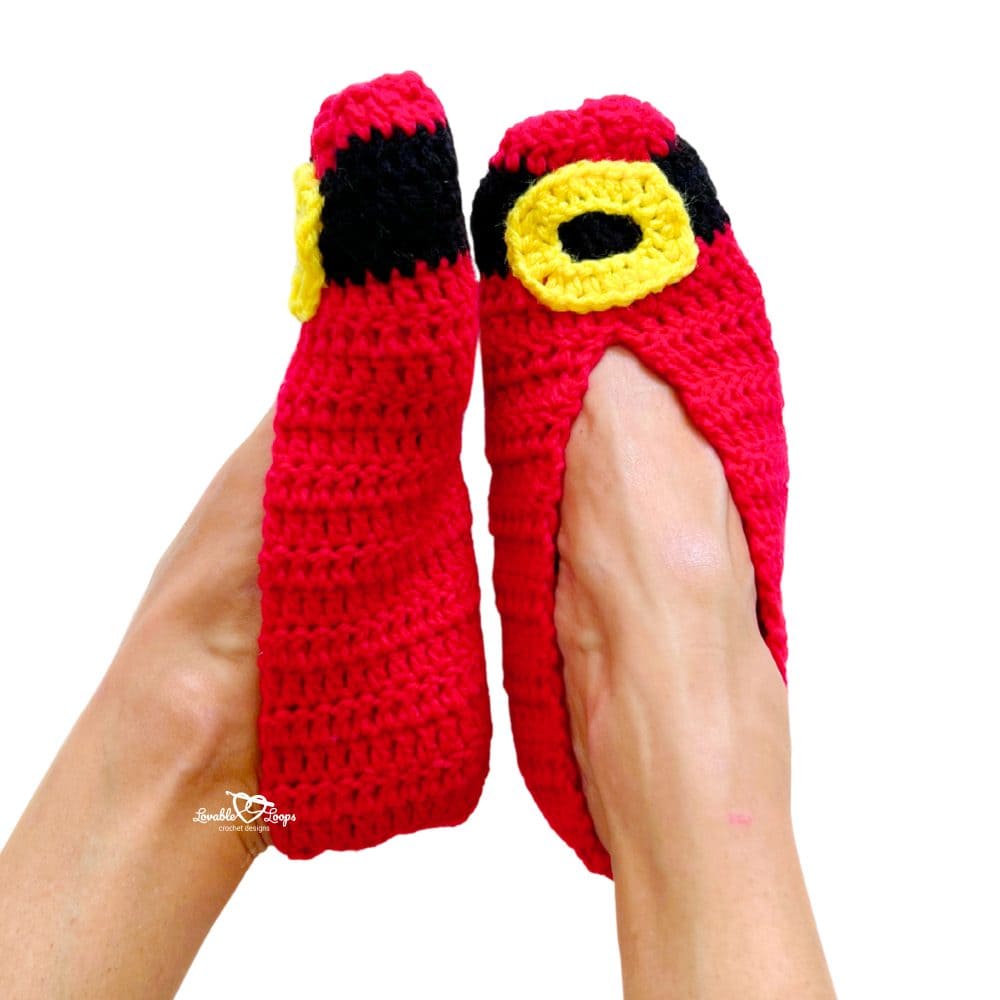
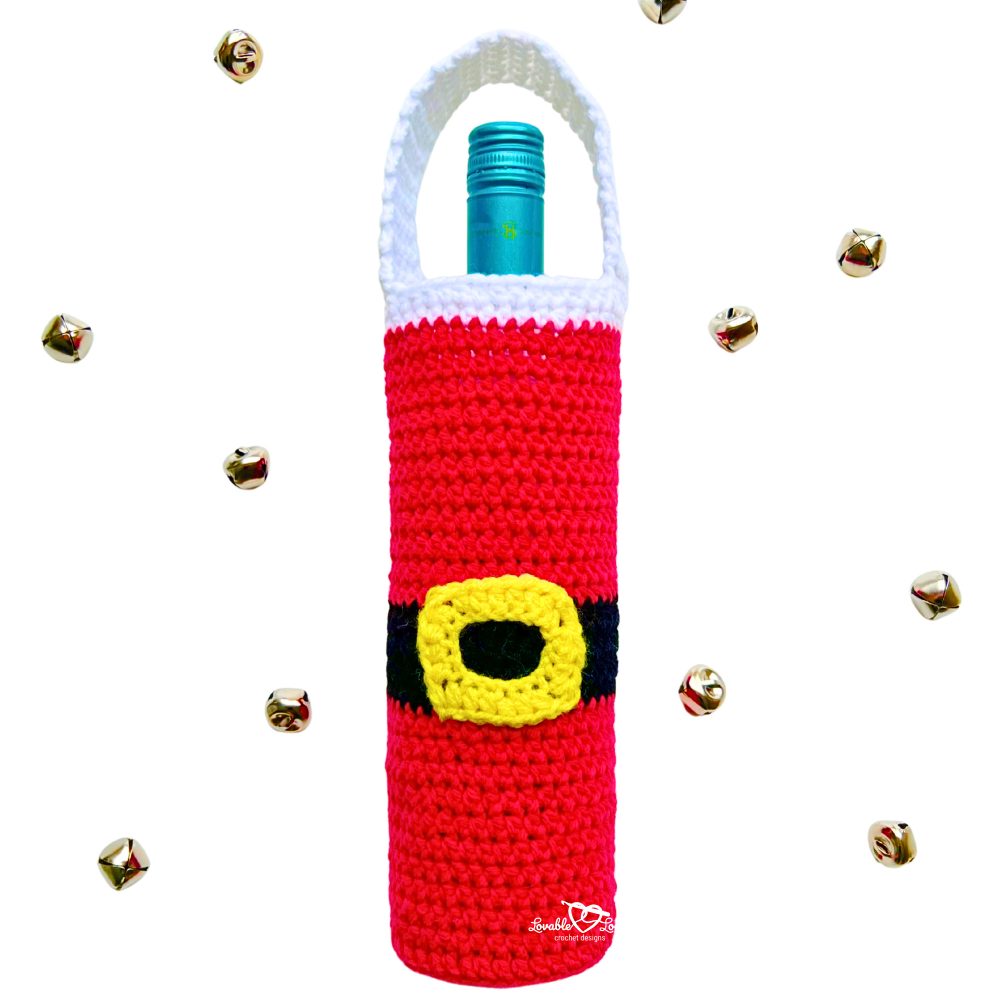
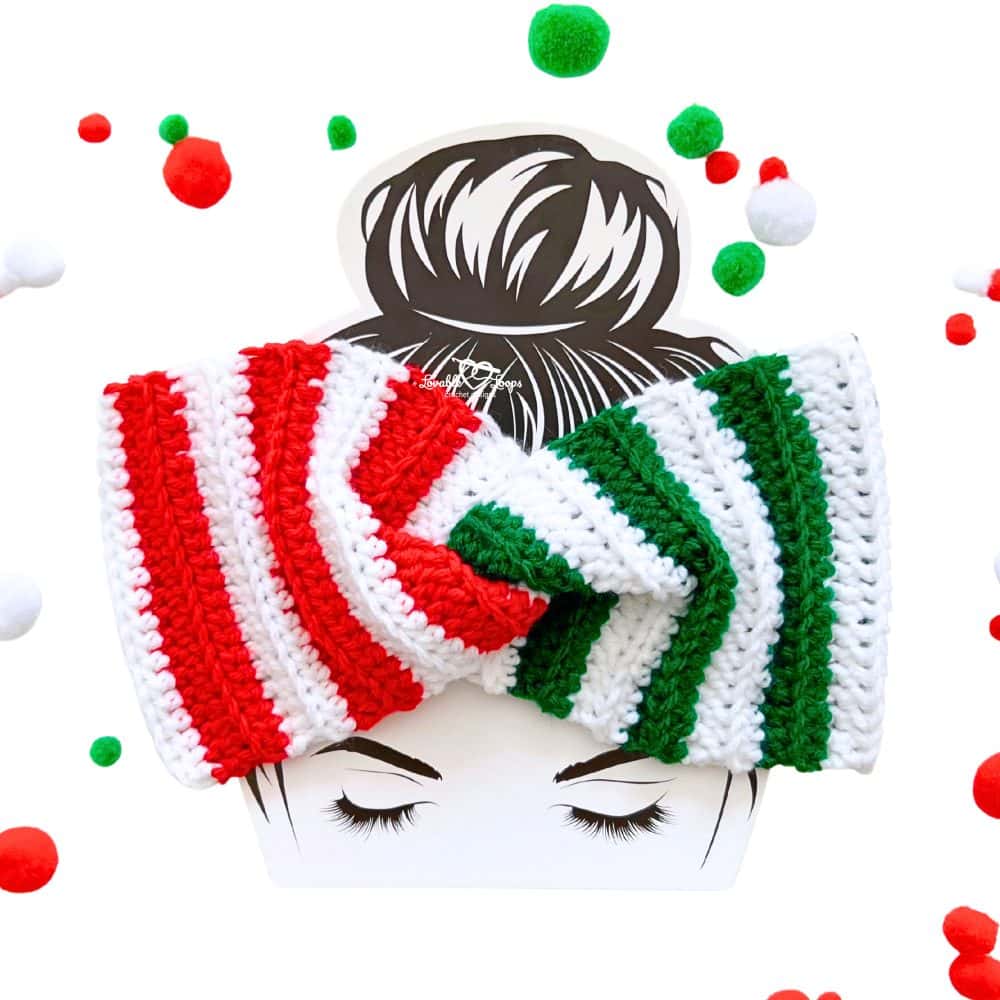
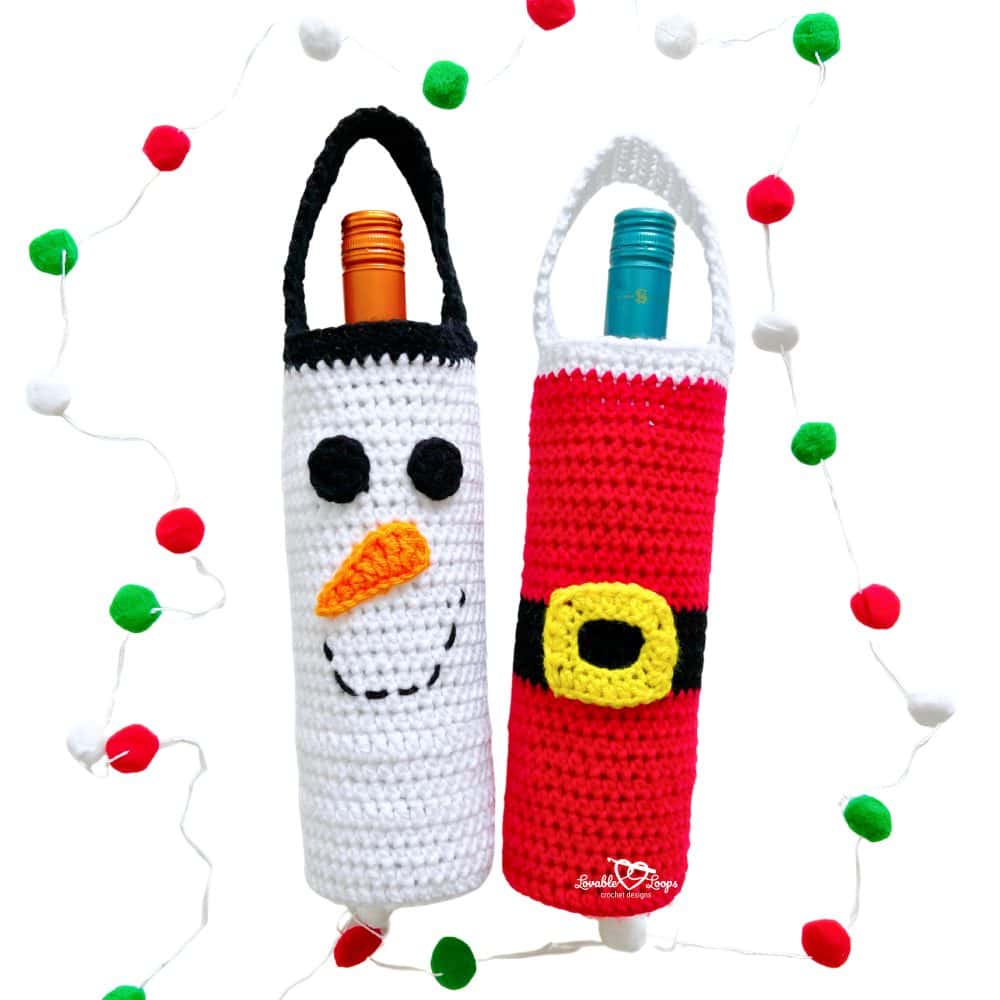
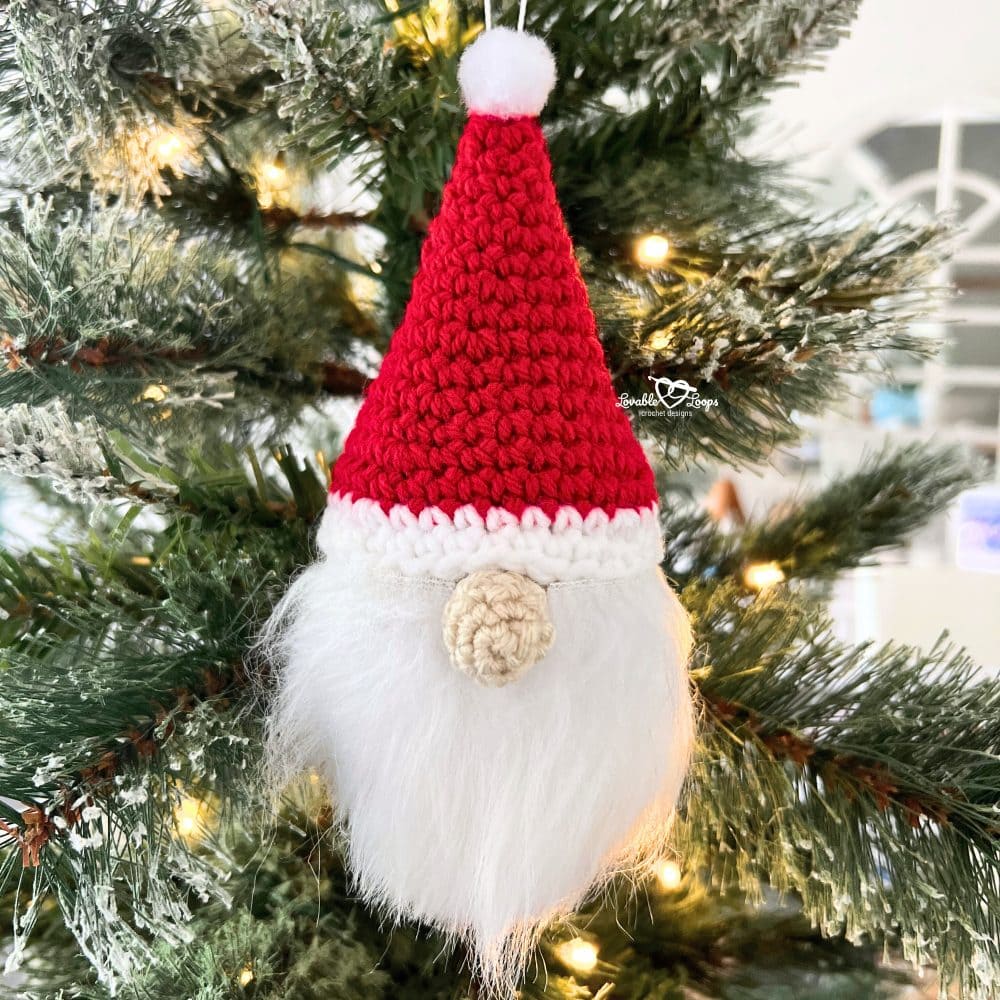
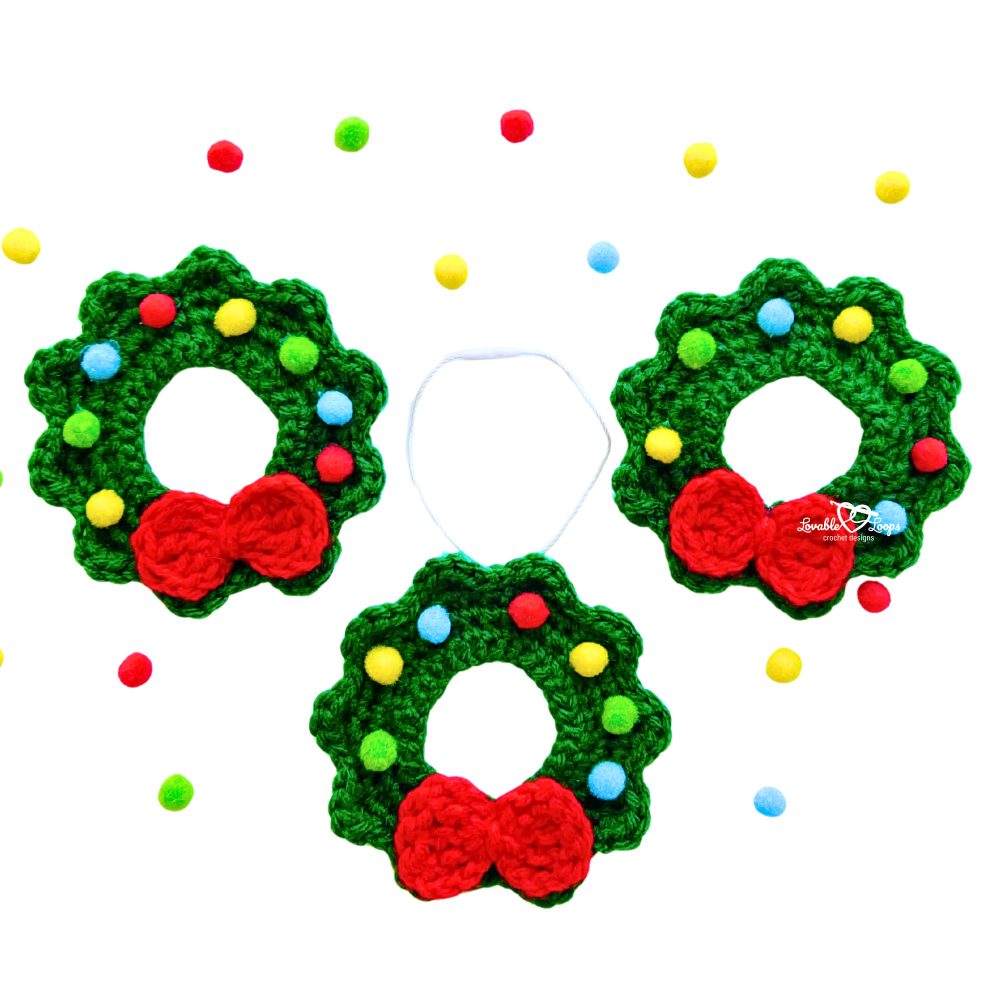
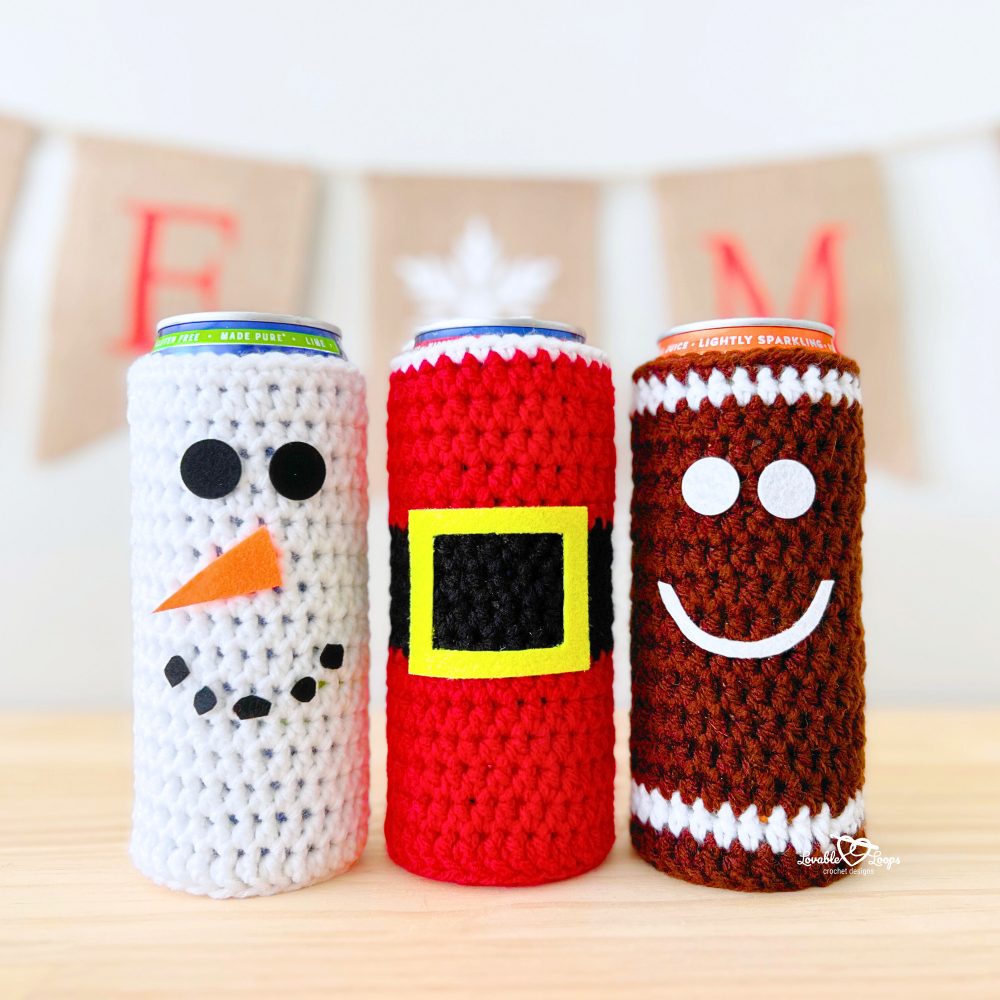
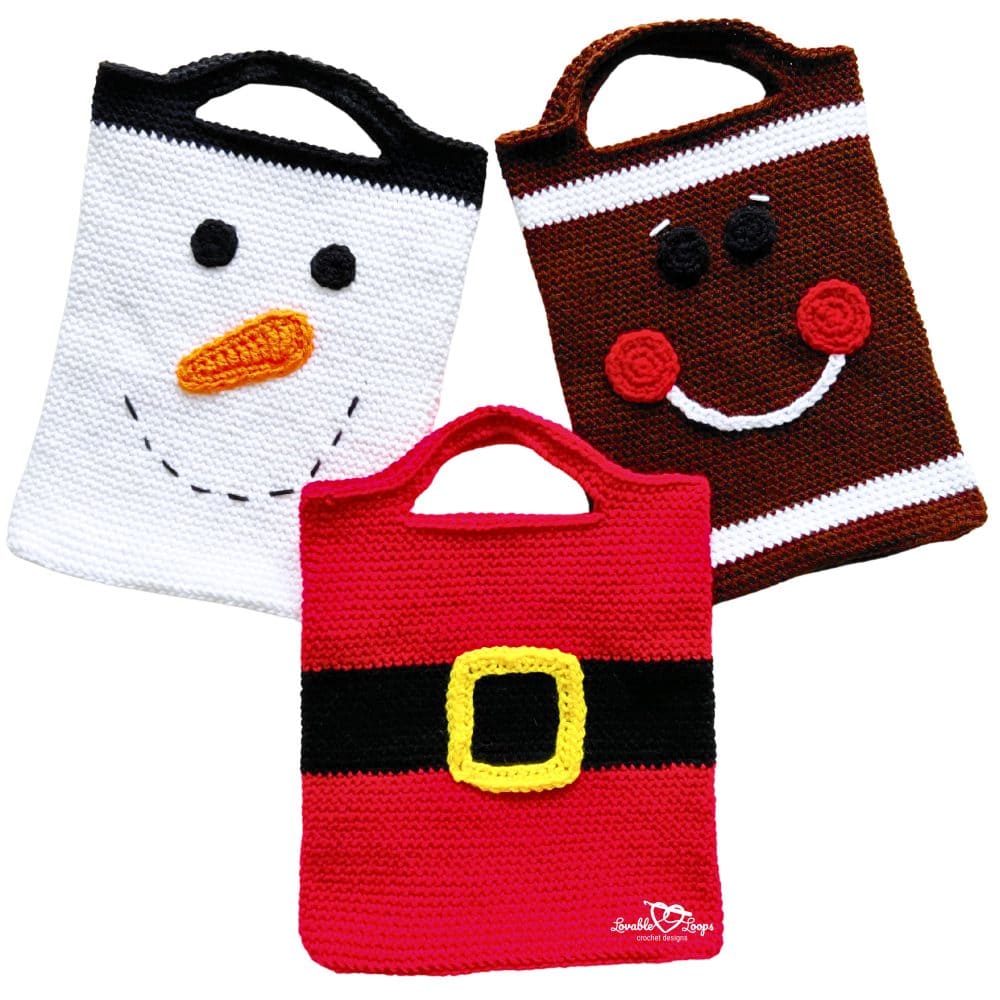
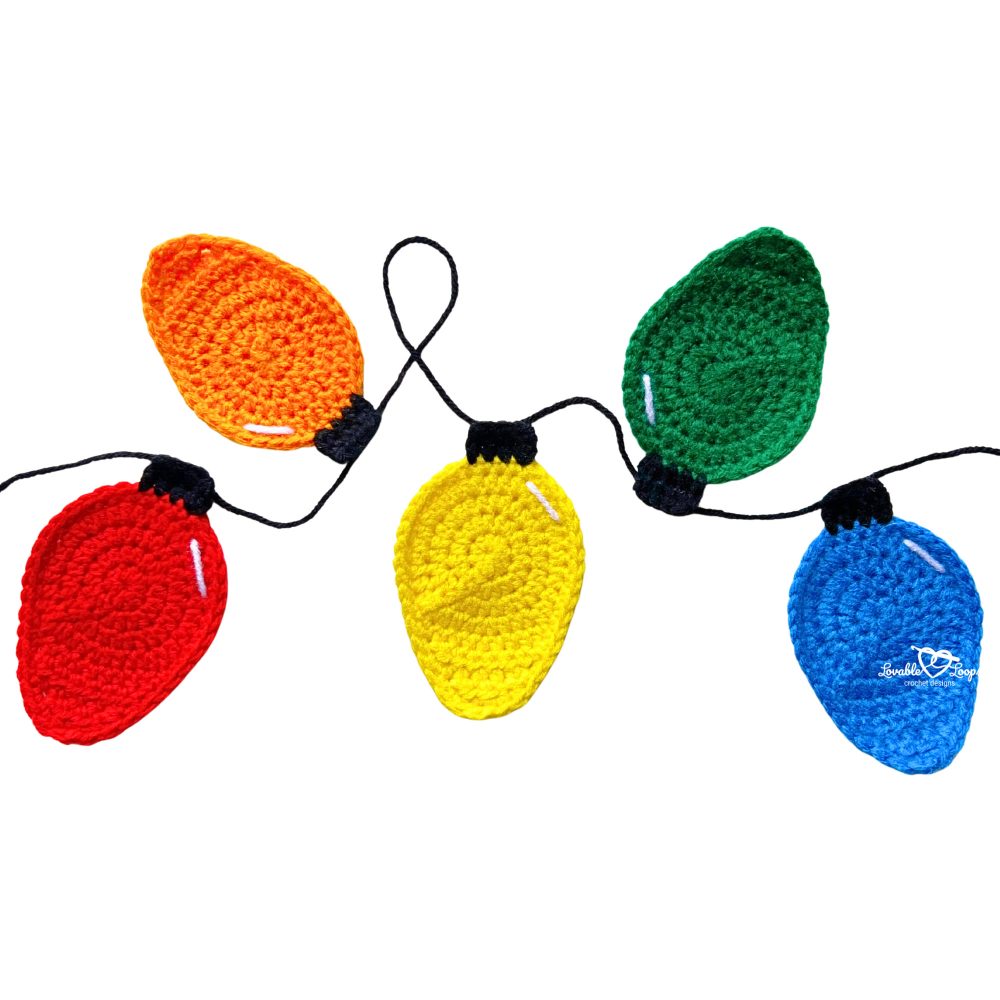
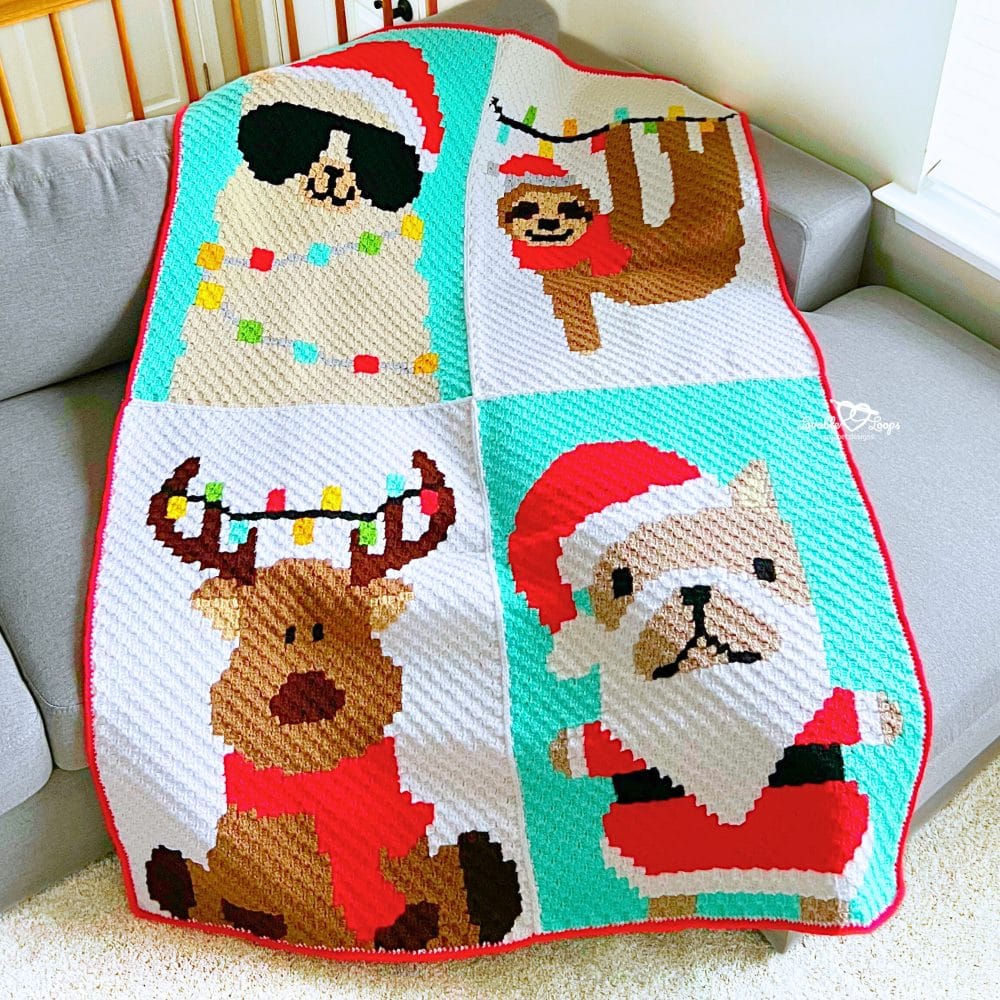
Looking for free Christmas crochet patterns? 🎅 These festive designs are perfect for holiday decorating, handmade gifts, and winter craft fairs. Start your Christmas crochet projects early and enjoy a handmade holiday season!


Let’s connect!
I’d love to see what you’re making! Share your makes and follow along here:
📸 Instagram
📌 Pinterest
📘 Facebook
▶️ YouTube
🛍️ Etsy Shop
🧶 Ravelry
Happy crocheting! 🧶 Don’t forget to Pin this pattern so you can come back to it later!
— Melissa